Okay finally a good update, been kind of crazy over here with the move to the new house and ordering a lot of fittings and hoses. But here we are so lets get this party started.

Lets start this off with a good beer. Since I have put beer a side for a couple of months (I know I’m crazy right) to get my body back into shape. Going to post up some picks from my good friend Drew. he has a Instagram posting nothing but the best crafted beers so check it out.

I begin this update with a little trip to Houston to pick up my built T56 tranny. Got all the good ready for the trip for me and the lil man.

I acquired the transmission from my good friend Evan. He owns D3 Performance Engineering and they do so sick work.. Only the best, they were the ones that tuned the Hennessy lotus. So needless to say they will be the ones that tune my car.
I also purchased some goodies for the T56. Monster Clutch was a no brainier and they were well helpful when deciding which clutch to go with.

I went with there 11″ clutch with pressure plate and light weight flywheel package.

Love the level of detail; just in making sure the customer package includes everything.

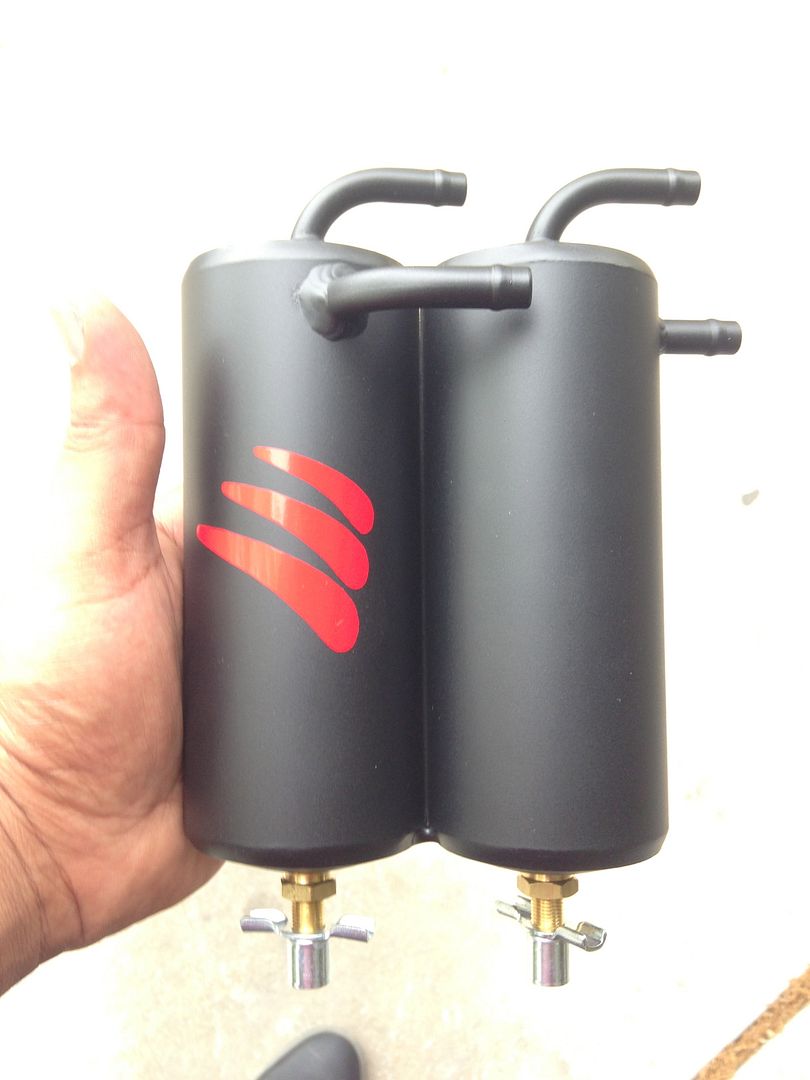
Also picked up my Saiko Michi Dual Catch can..

Love the look of this thing

Okay lets start some installs.. I picked up a new Slave Cylinder. and a backup you never know.
But first I have to switch out the lines for my Chase Bays lines..

yup undo this….

removed

new bleeder line about to get installed

I think thats about right

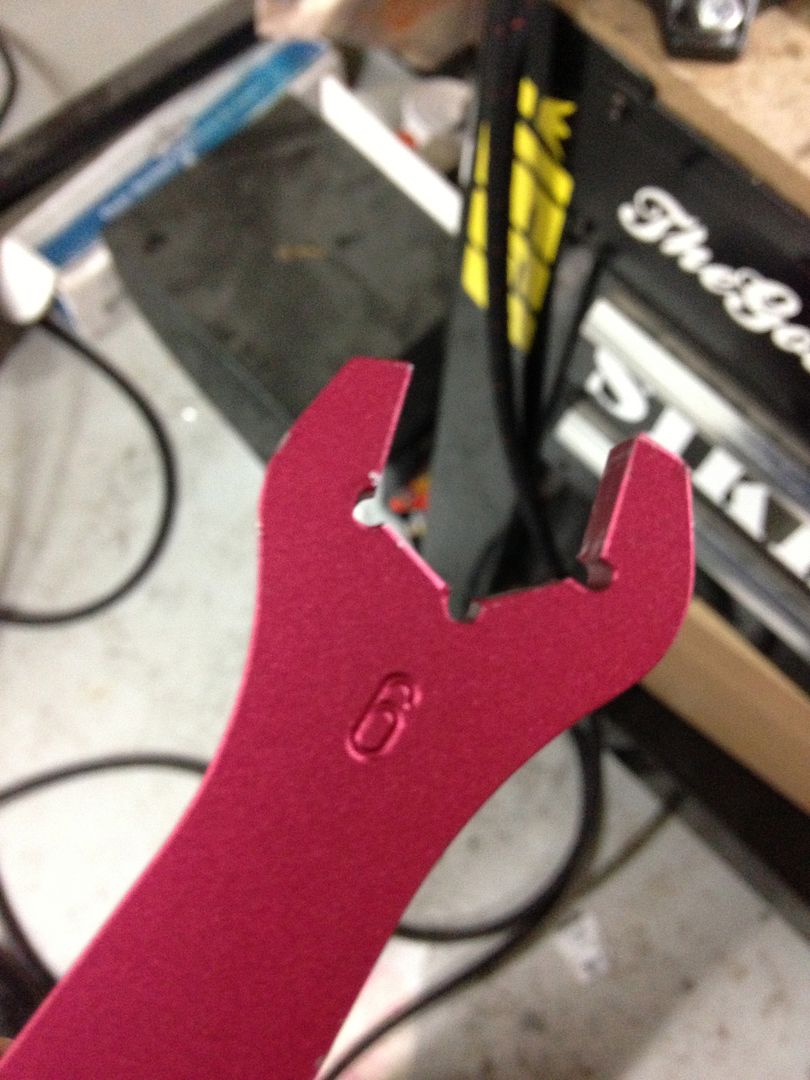
Tighten that **** up with some 15mm

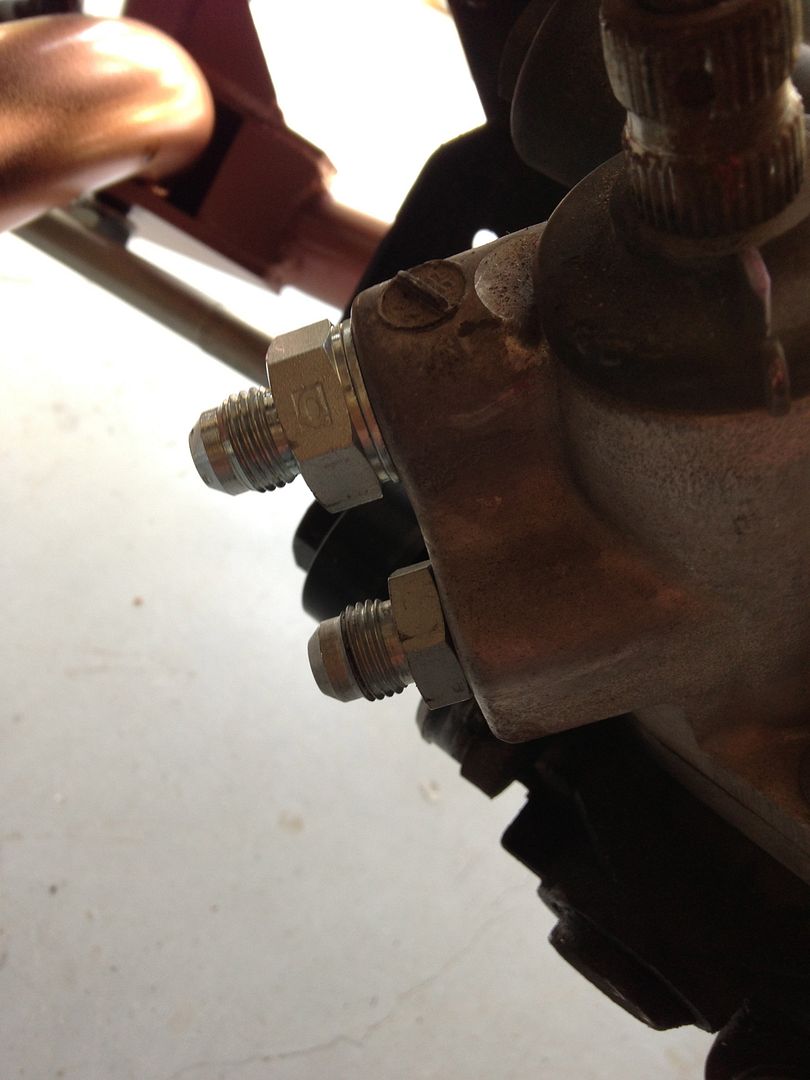
Next is the clutch line itself

have to removed this, but what there is no screw

You have to knock out this pin

yup

Once the pin is knocked out the fitting should just pop off

view of the pin

Install the new line and insert the pin.. Hammer that sucker in..

BAM!! looks like money

Time to install

You know me only the best.. ARP bolts…

Next on the list is to remove this shifter level for a GTO one.

This can show you the difference in size between the two.

Look came to help out dad.. Thanks bud

Again this has a pin that you have to remove and reinstall

Now I could install my Sikky shifter

Also drilled and tapped for my bleeder line.. Installed and ready to rock
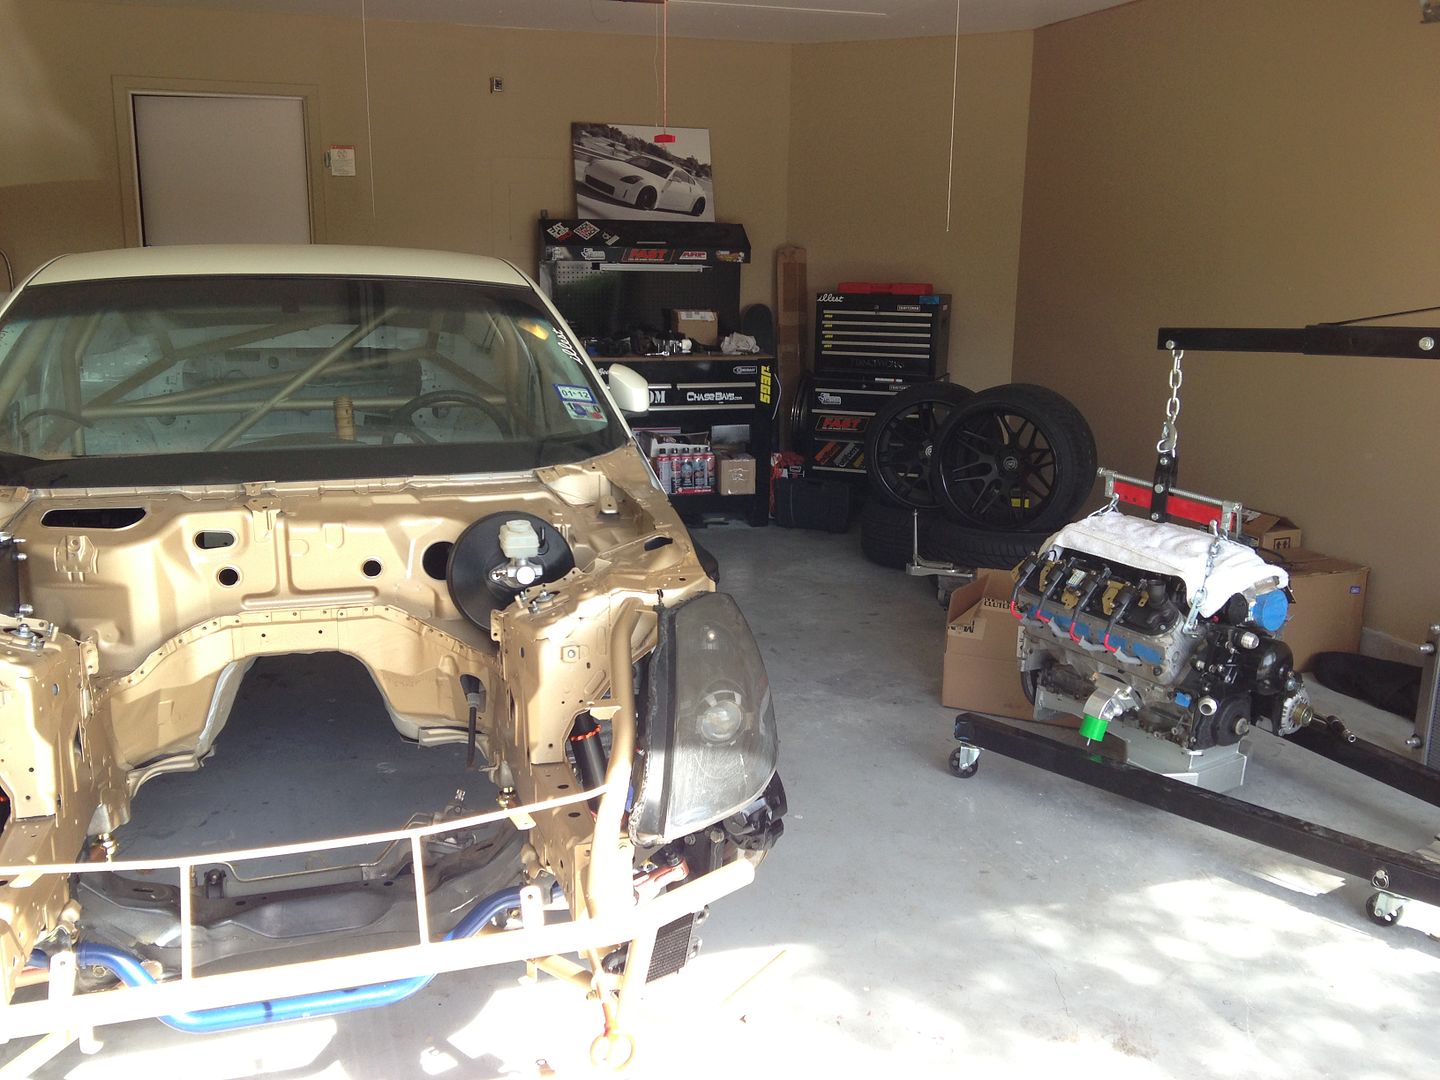
So removed the engine to start on the T56 install
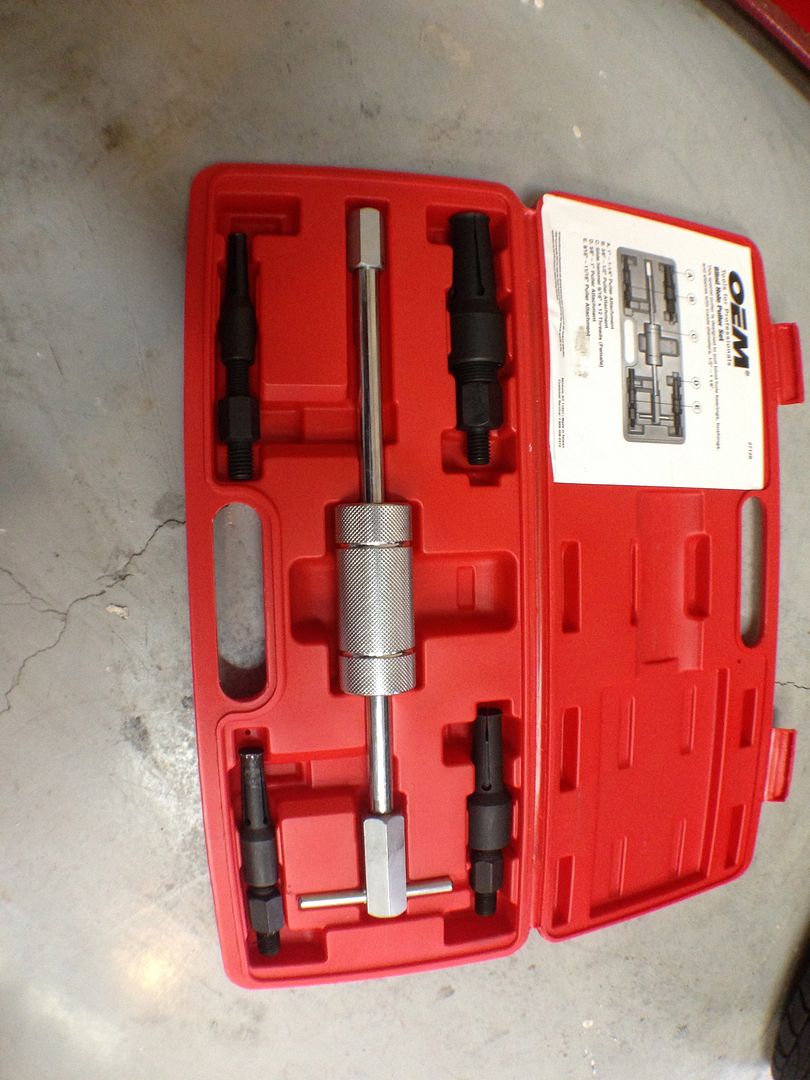
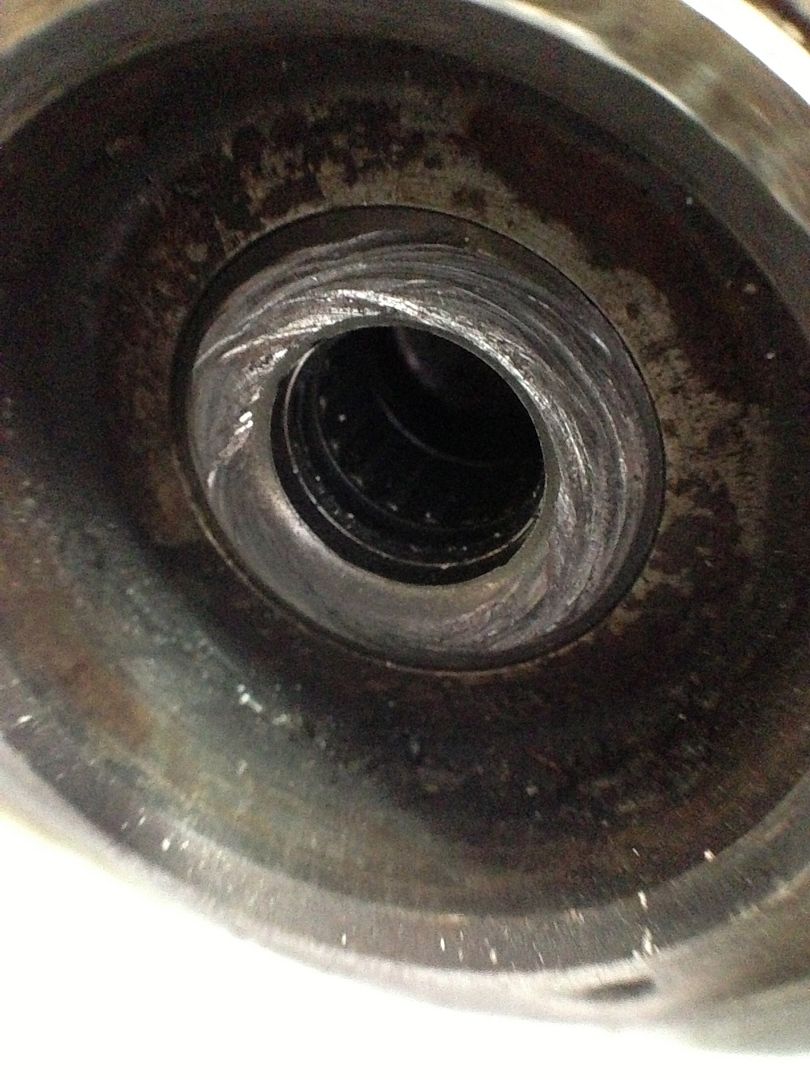
Start out by removing the old pilot bearing.. I rented this blind puller to get the job done..
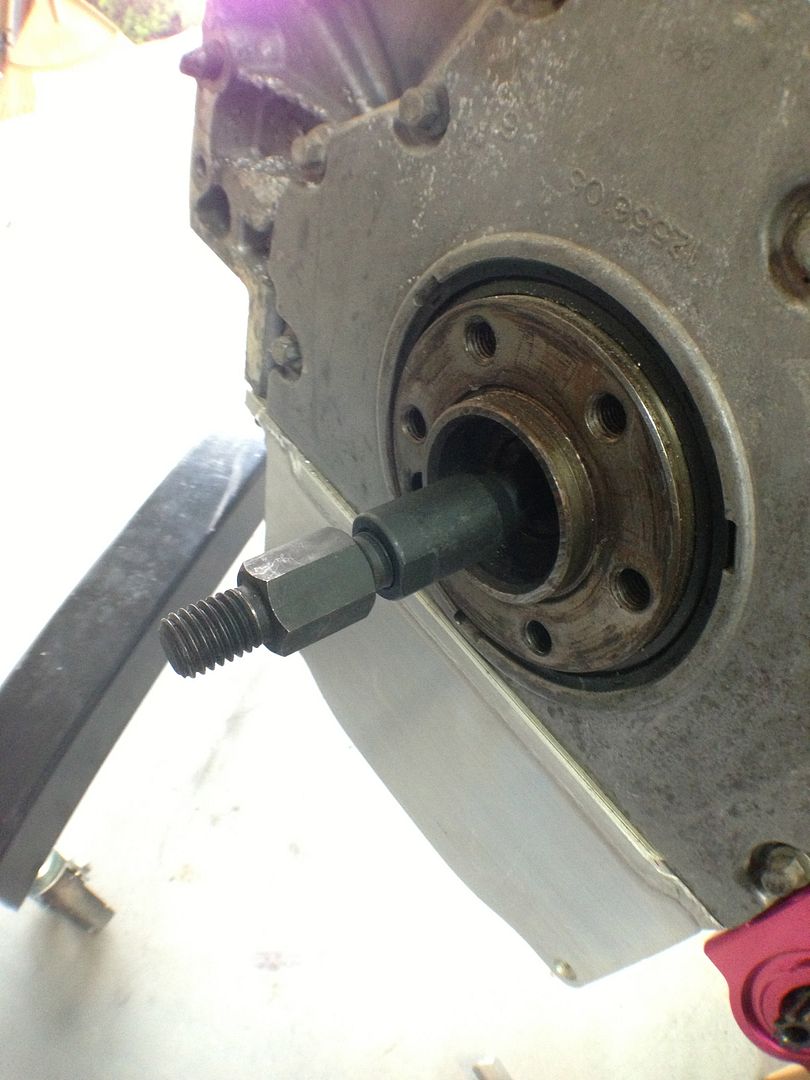
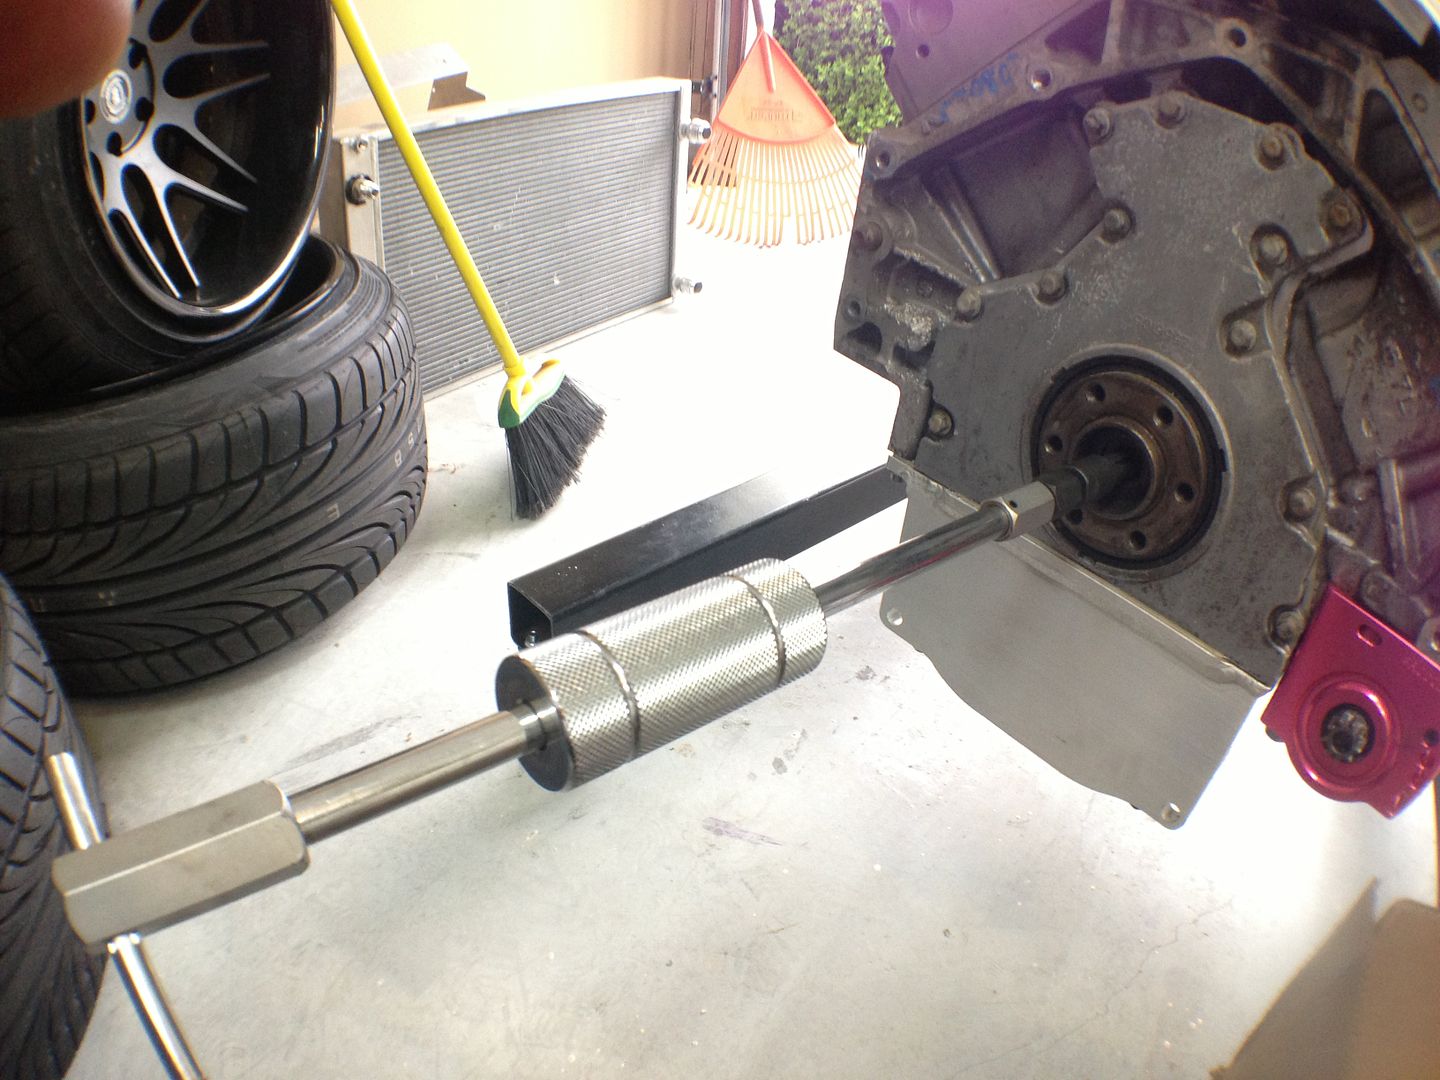
Let’s do work.. Took me about 2 min to remove.
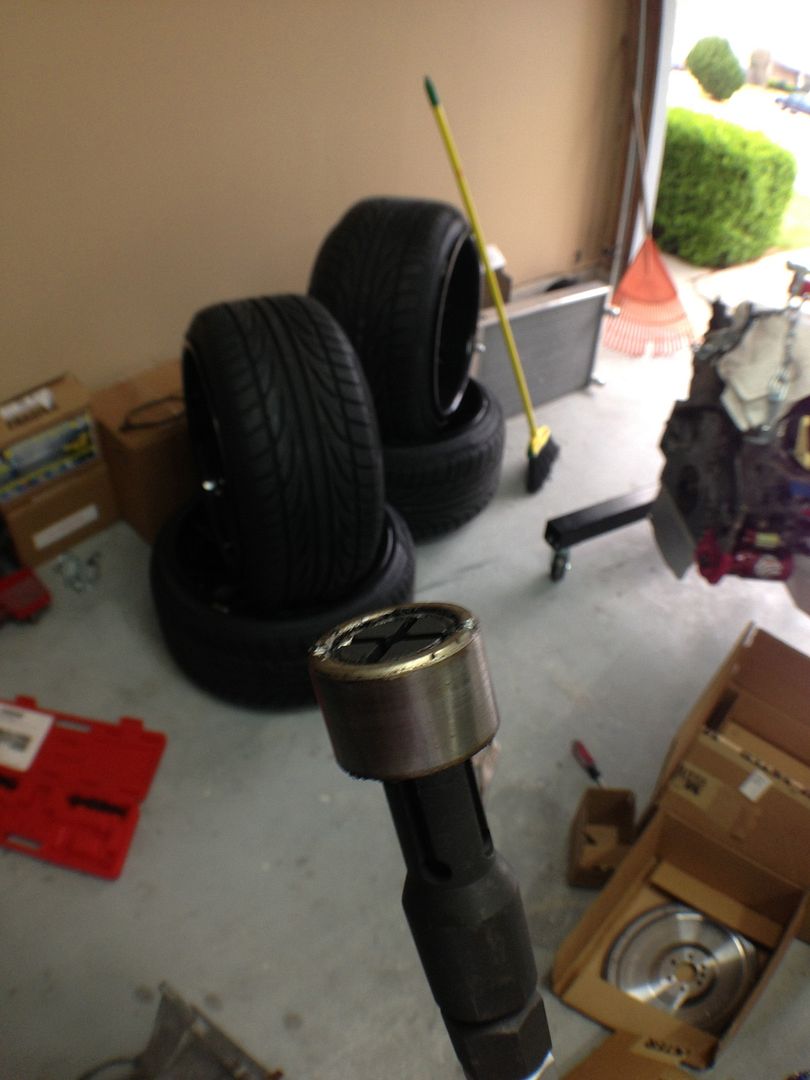
Out
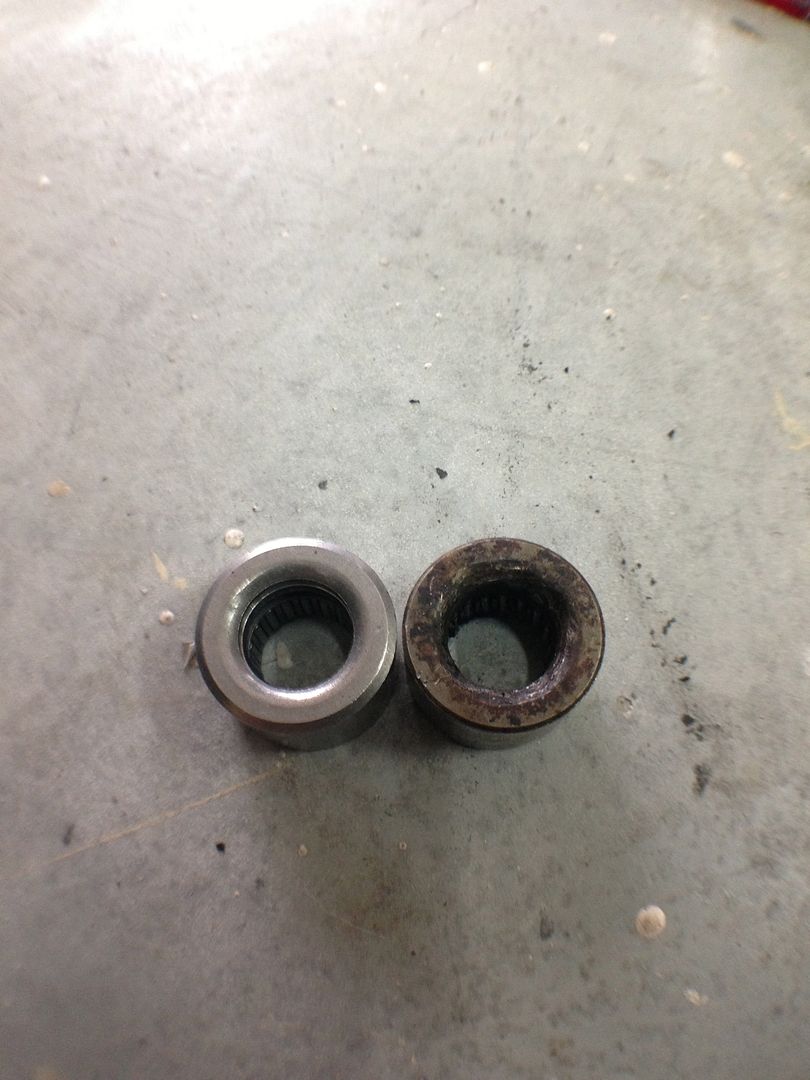
View of the old vs New..
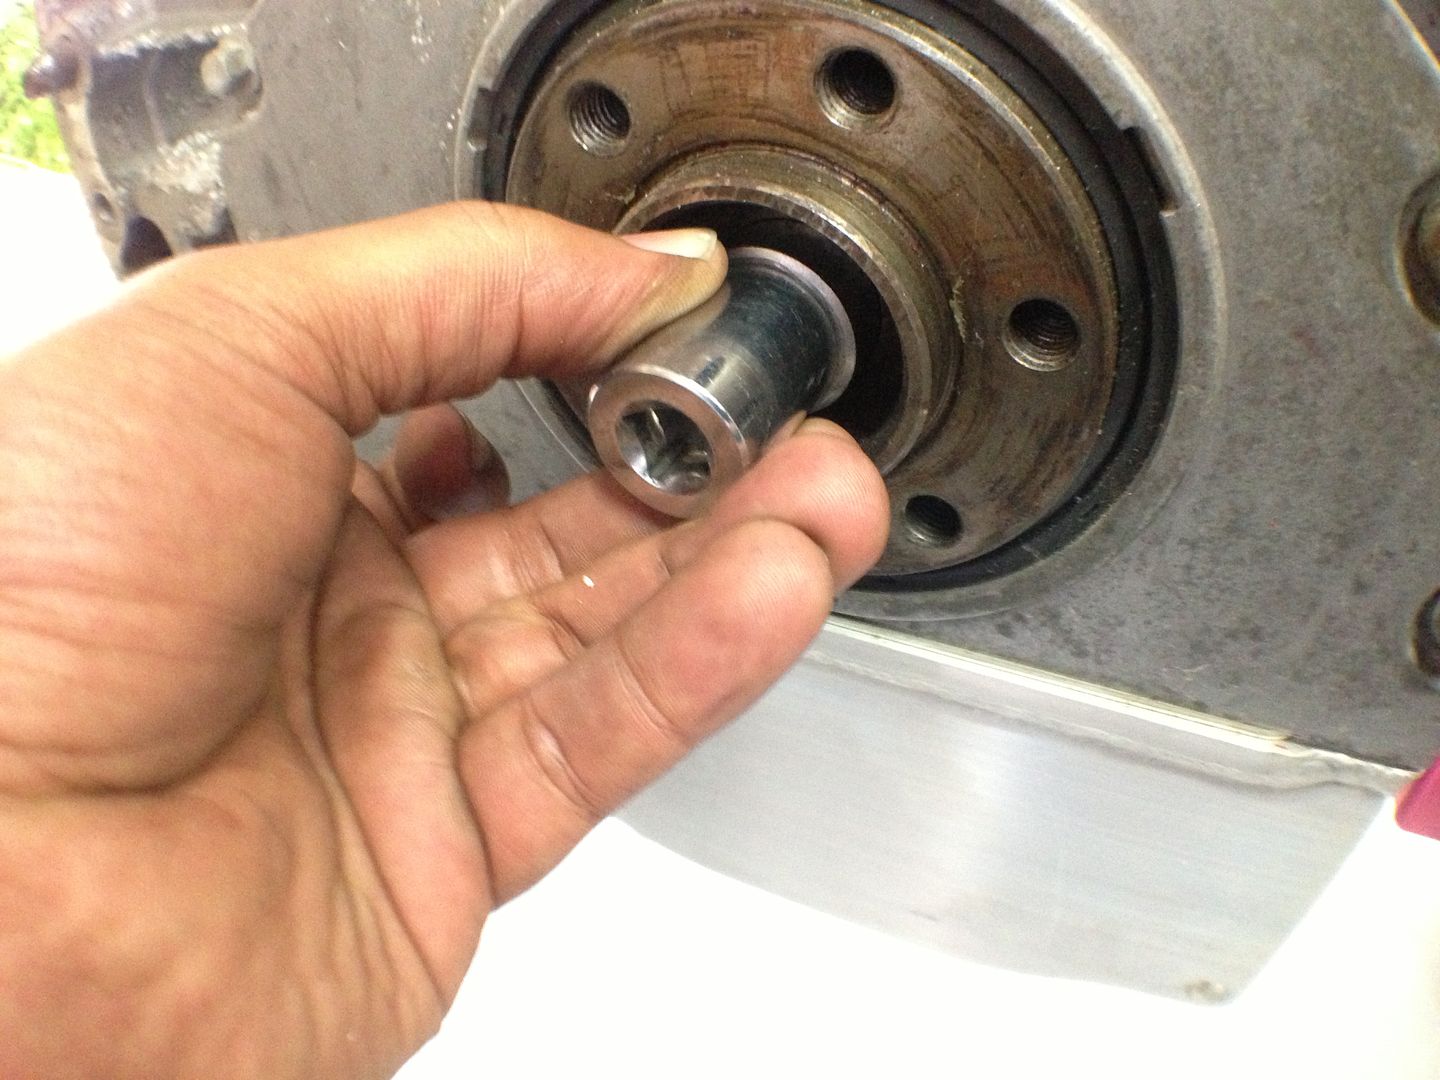
tap that sucker back in..
installed
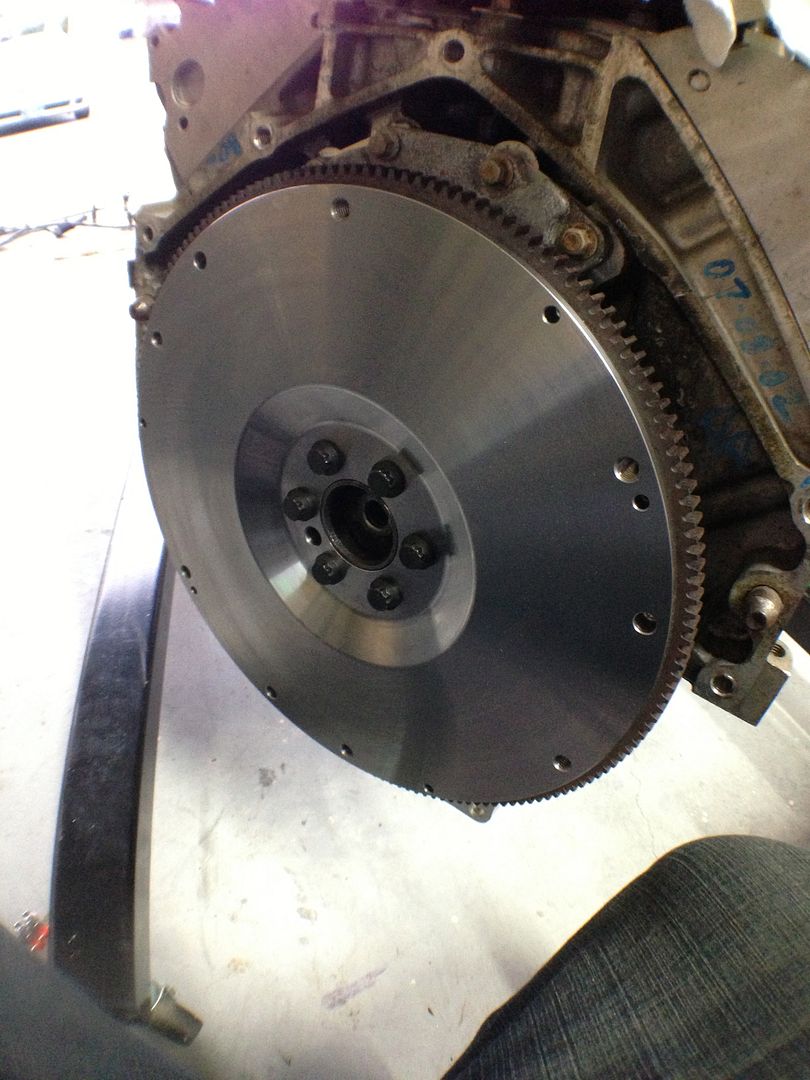
Flywheel going on.. Again ARP bolts are needed
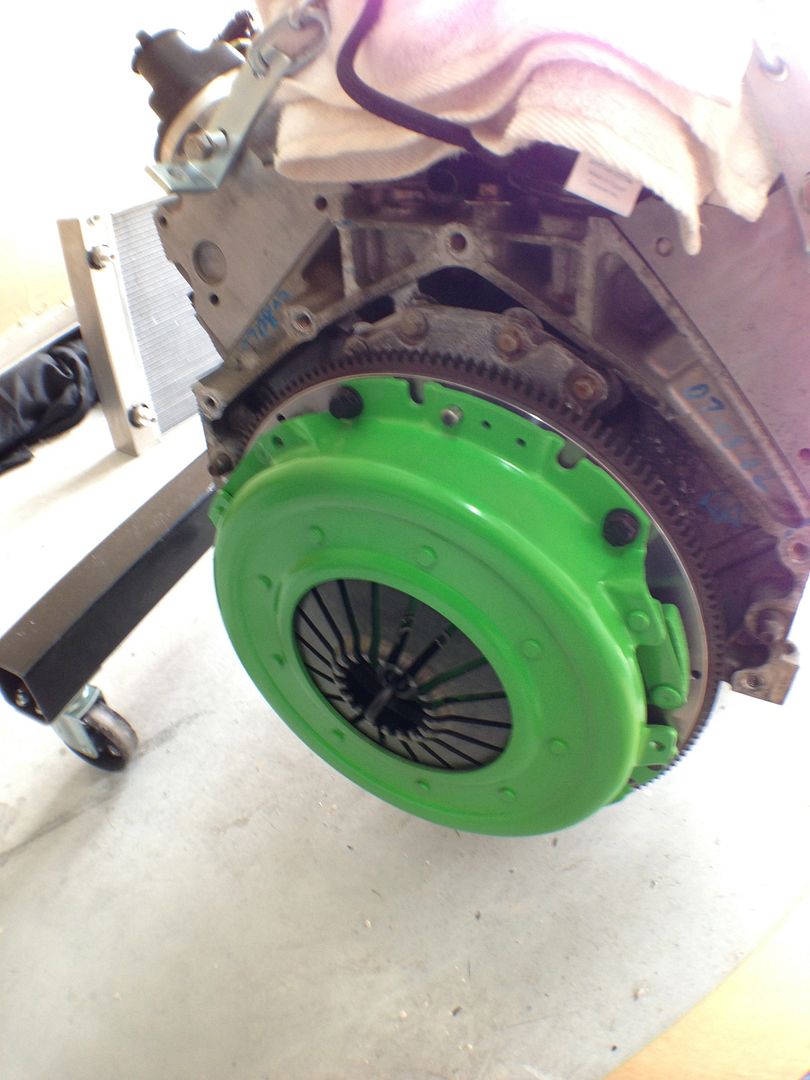
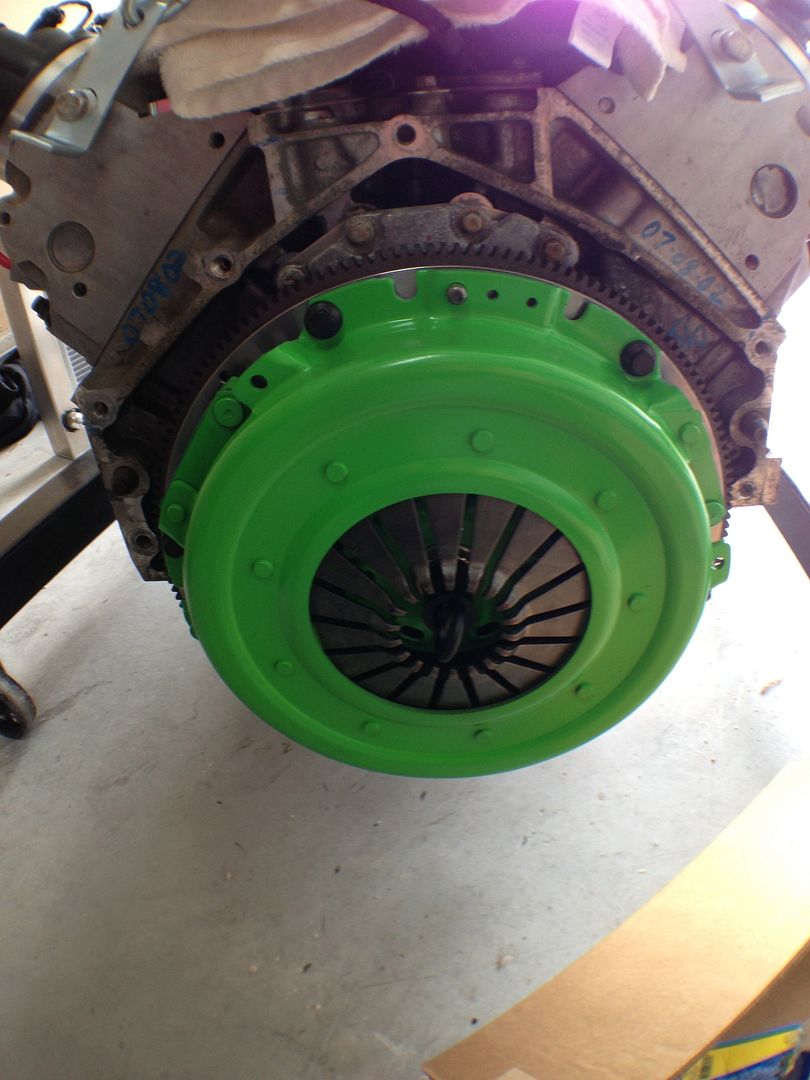
Clutch and pressure plate getting installed.. The green monster
I also re-taped some of the holes on the engine so the bolt holes would not striped. I used Hilico to get the job done.
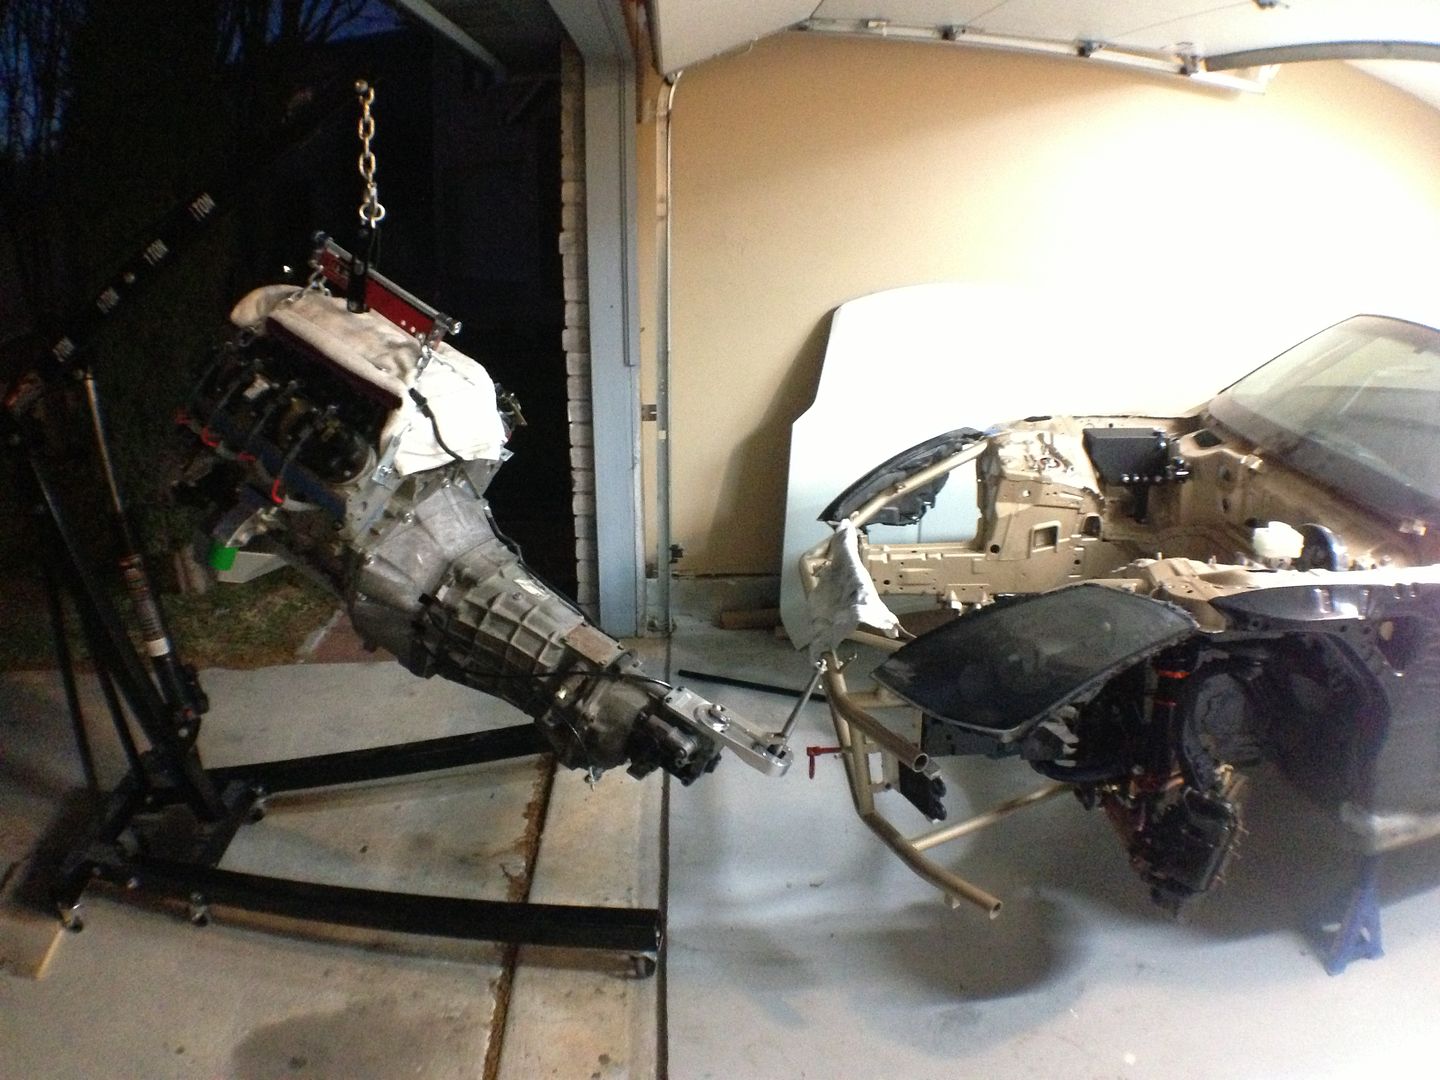
Back in you go.. And yes I removed the shifter

Next I had to tackle the fuel setup. Went with Aeromotive 340 pump and also hit up CJM for their OEM Pump To -6AN and Return Fuel Correction Kit..

Took out the old fuel pump unit

Take it apart

Pop this bottom cap off that holds the fuel pump in..

Remove the sensor

Out!!

Side by side view

Place rubber cap


Install the filter bag (I think that is the name oh well)

Place back in


You have to shave done some of the cap to make it fit.

Drill this sucker, if not you will have a rough idle..

Pop back in

Time to install the return line.. Drill whole

install fitting

Another view from underneath

install this guy and make sure all the seals are in place

Install line to it

Run the line to the top

Next install the OEM Pump To -6AN..

Complete!! Now just place back in the car

So painted my Coolant tank

And reinstalled.. I think it looks 10times better
Also while the engine was out I installed my new fittings for my power steering rack

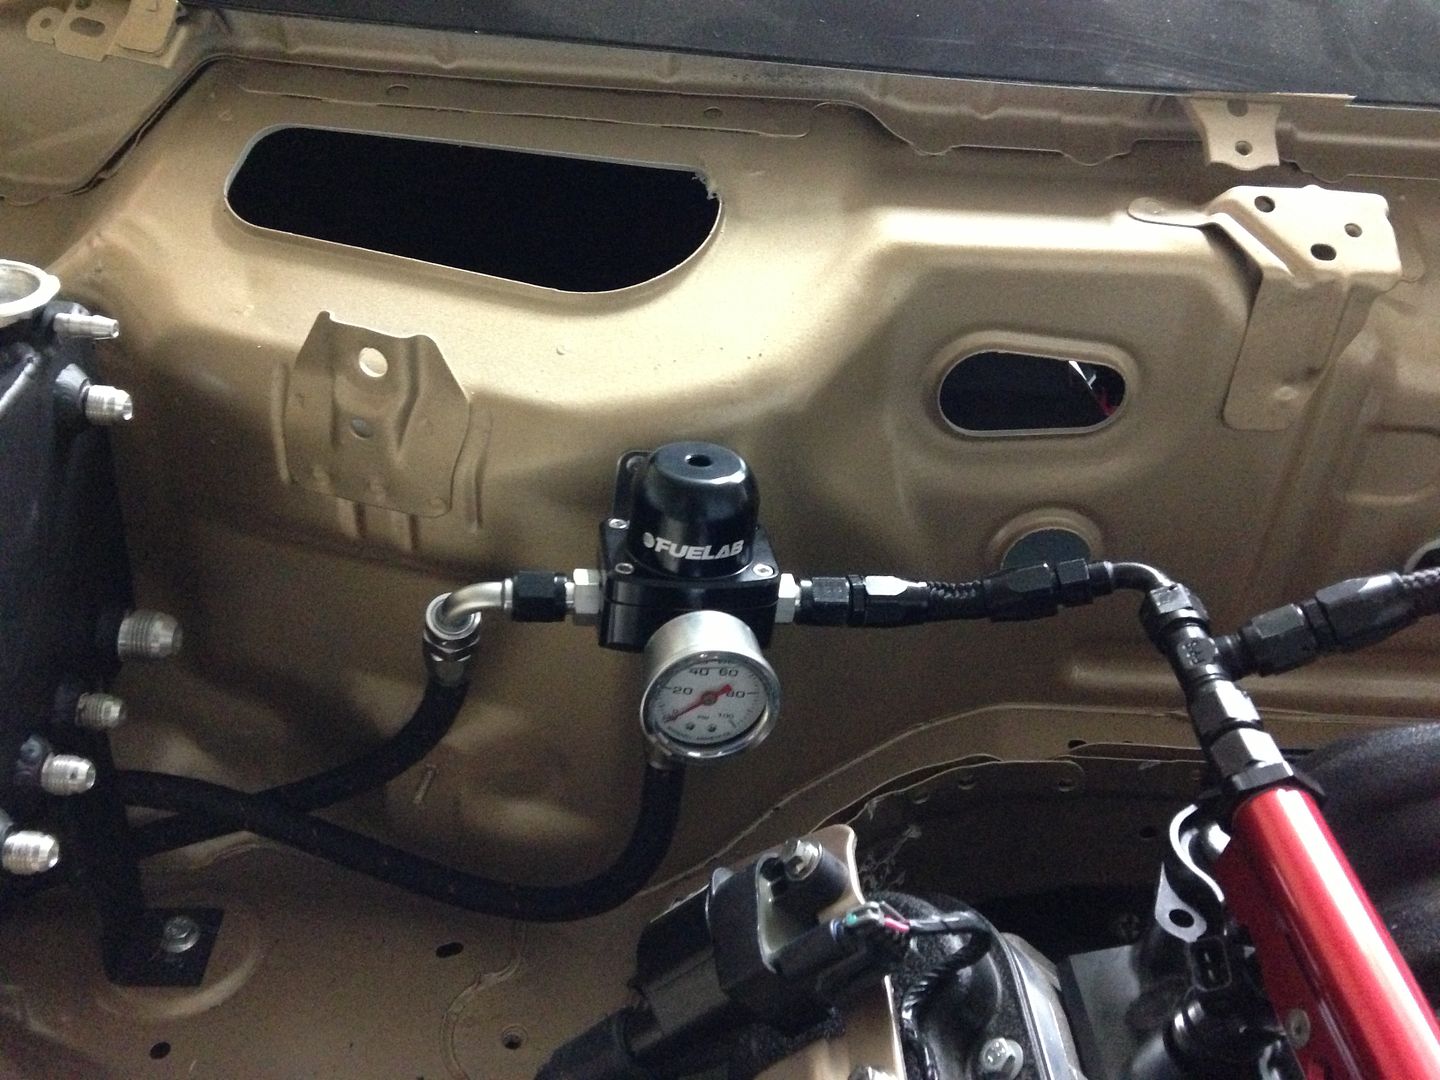
Also started to install my Fuel Pump Regulator
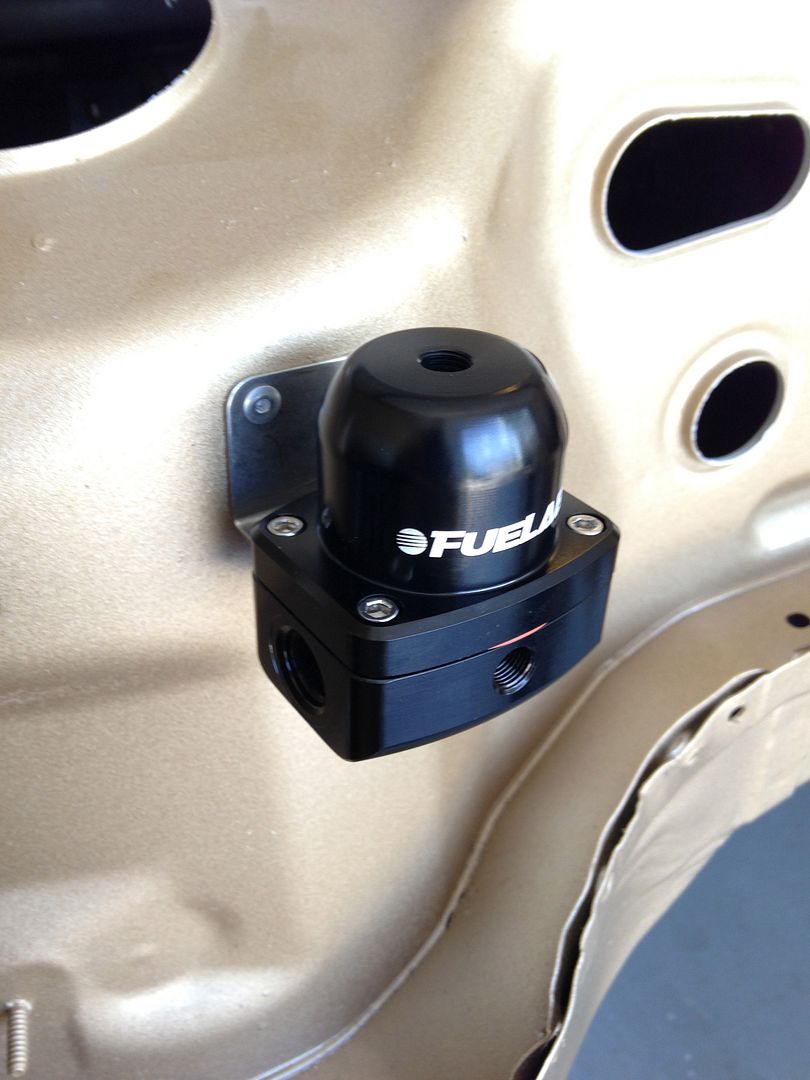
Installed
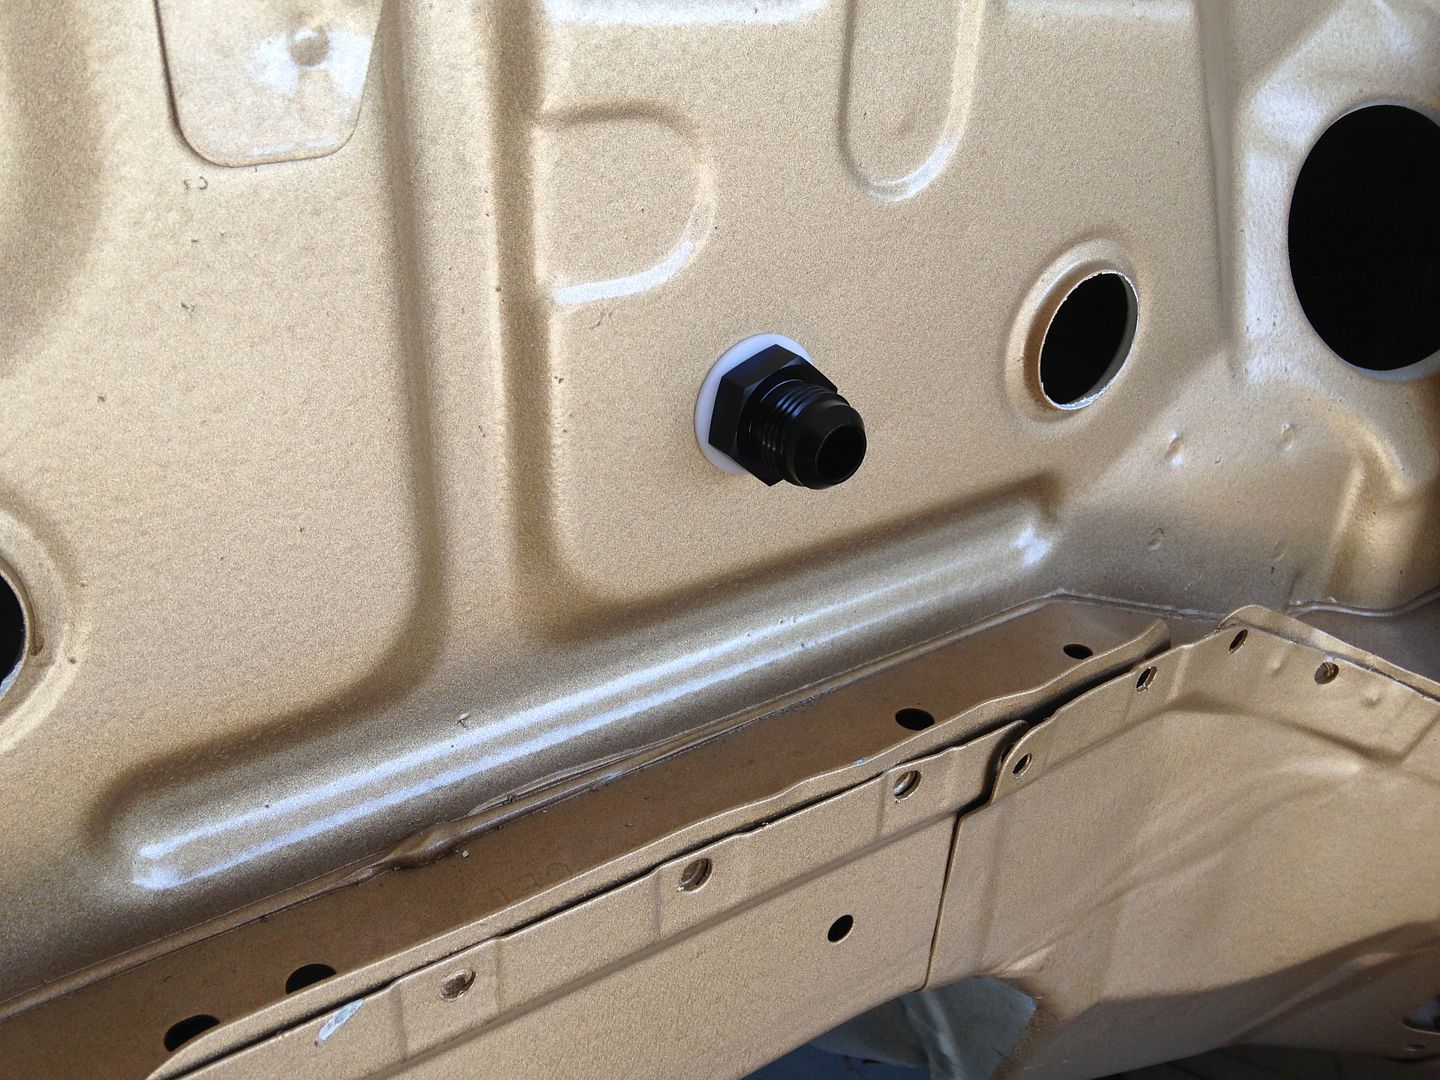
Also installed my bulkhead for my oil line to my Accusump
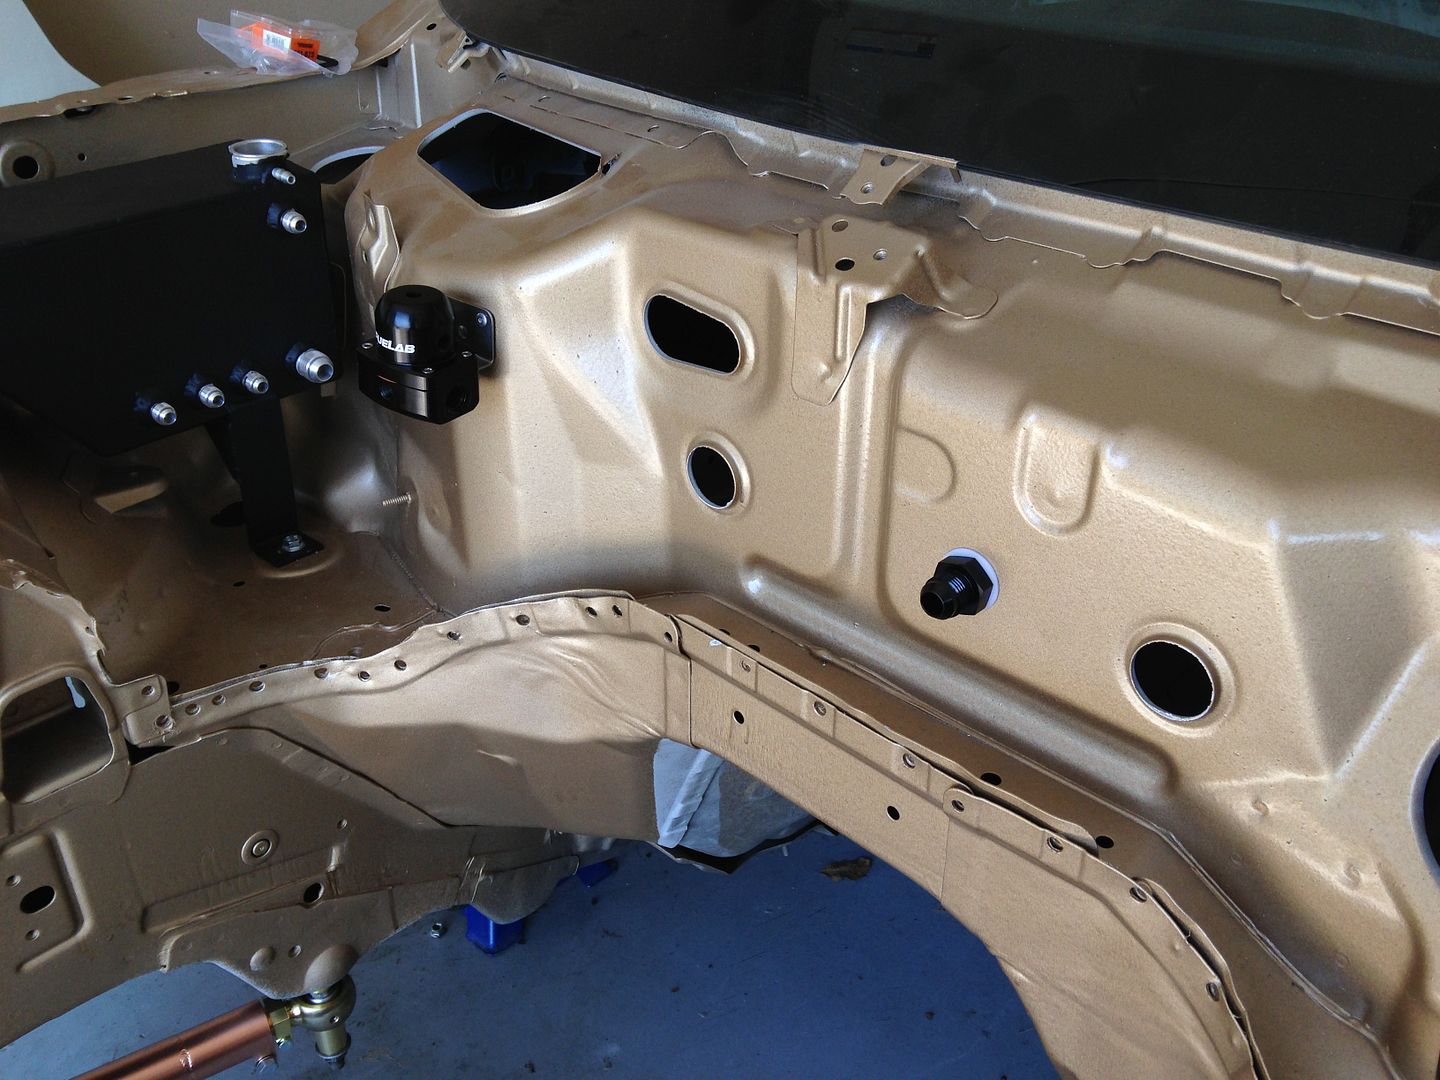
View of all of them installed
Also started getting my fittings and lines in.. This is what the color scheme is going to look like.. Keep it classy

I also picked up a new steering wheel.. Only gloves are going to touch this thing
Time to install the catch can since the motor is back in..
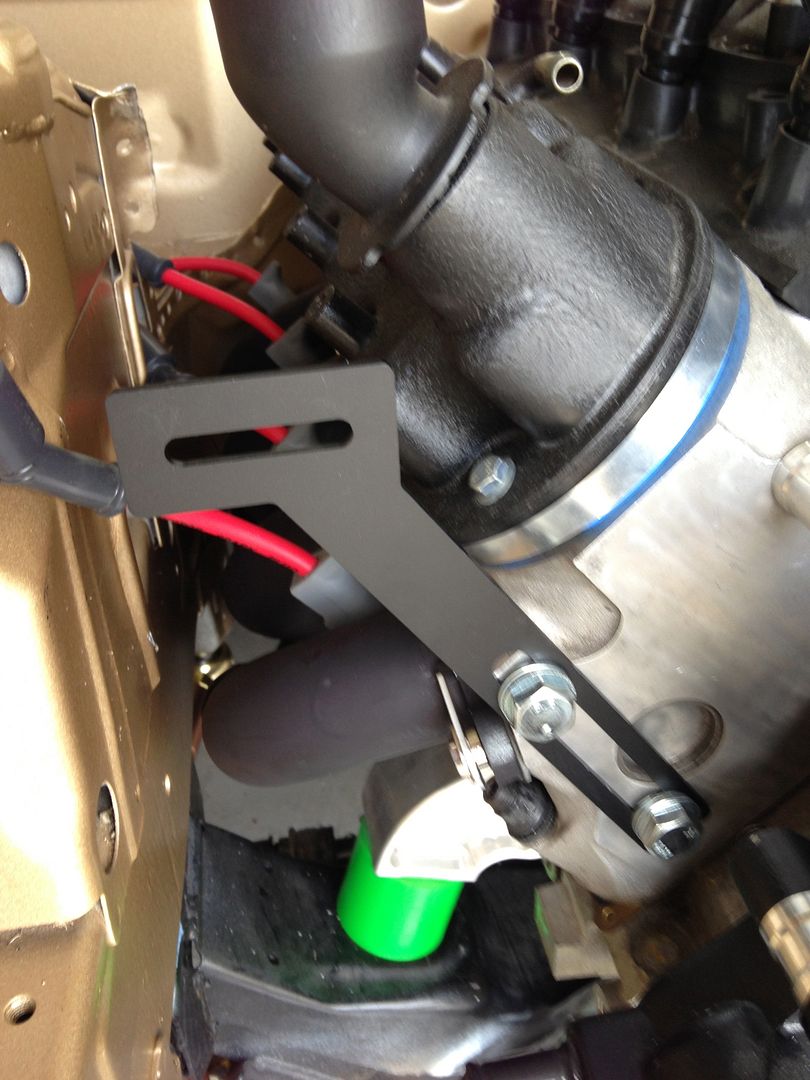
Bracket installed
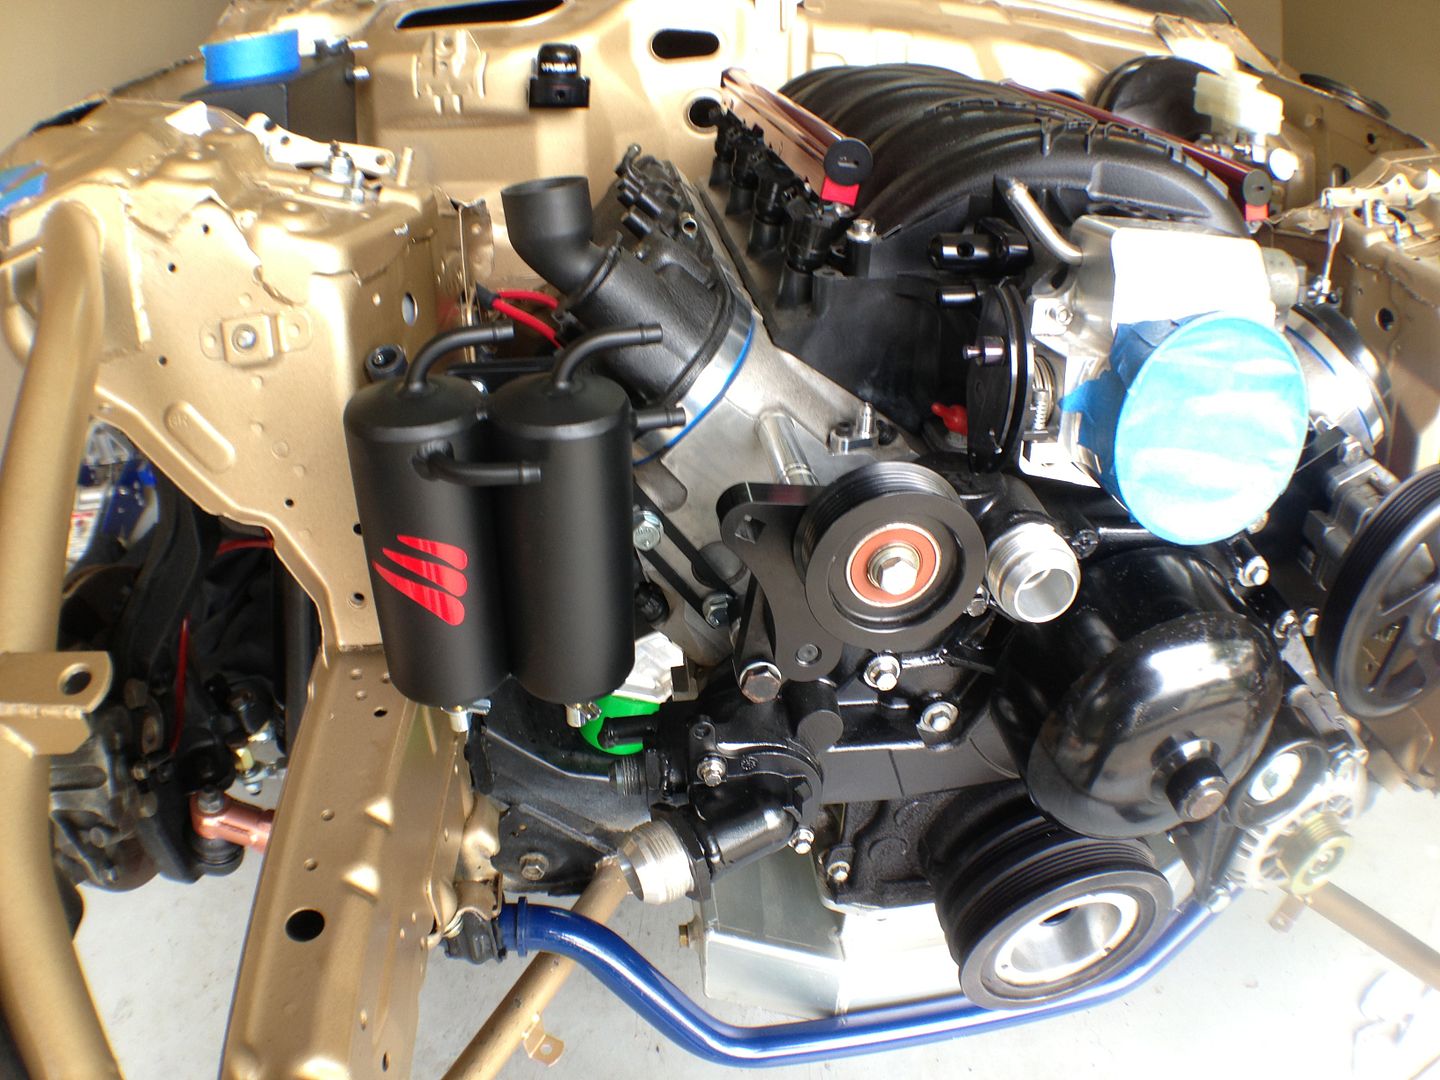
nice and clean..

This is how I will route the catch can
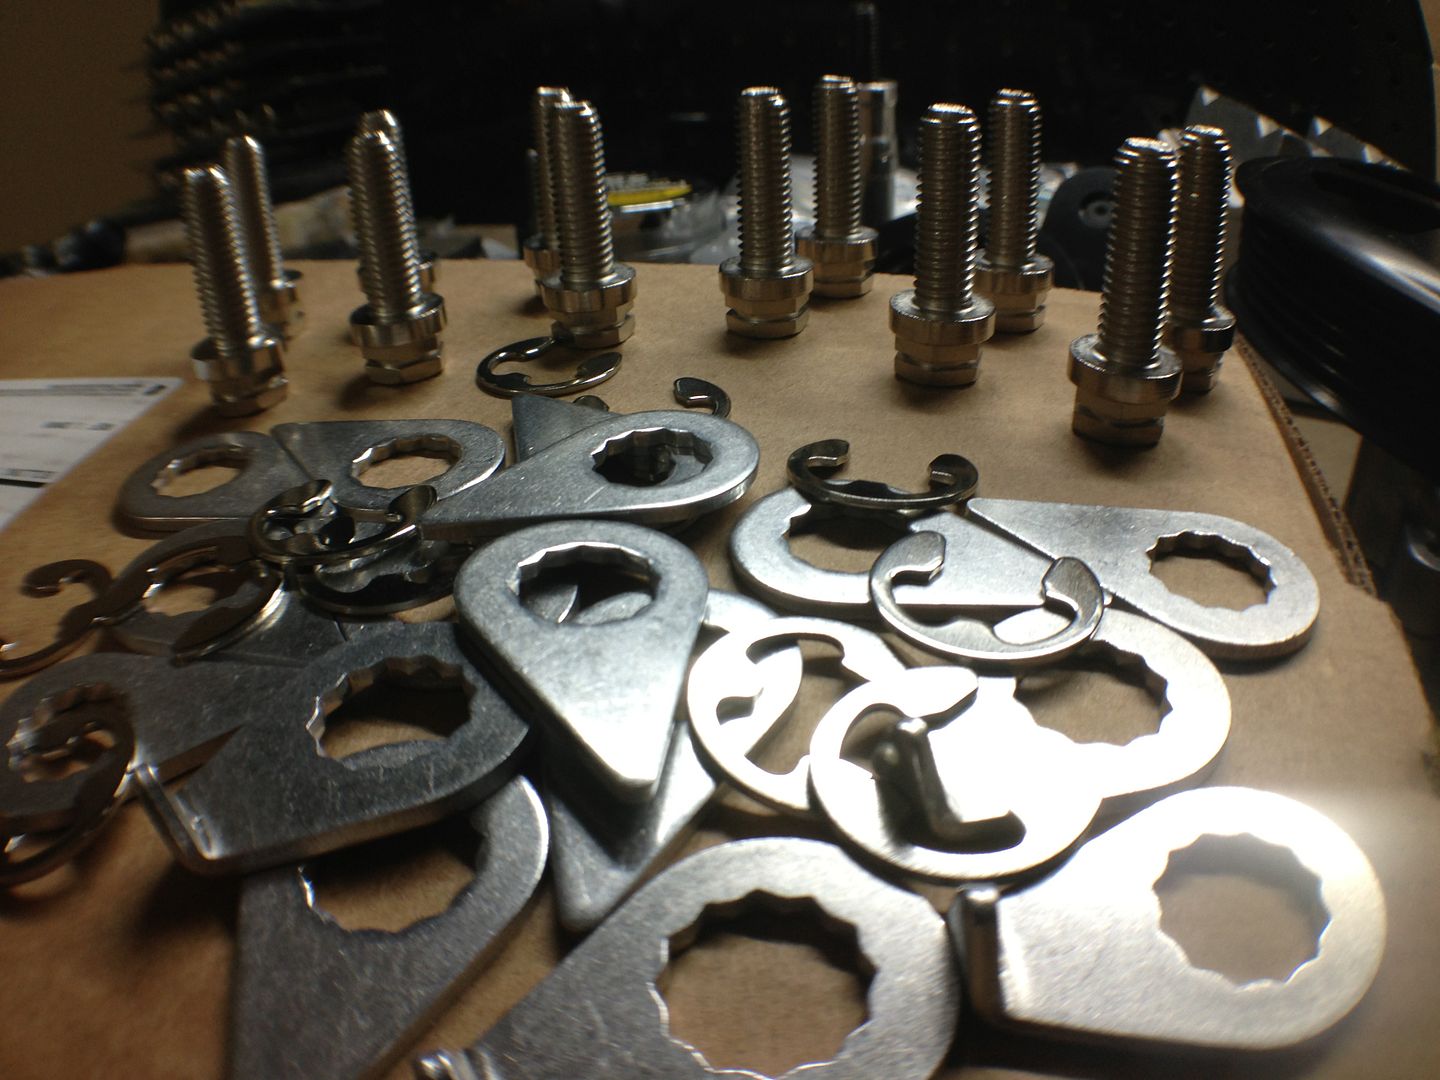
I picked up these sick locking bolts for my headers so they will not leak on me.

Now here is a pic of them installed BUT… this one I took a pick of had to be fixed,, as you can see it would not be doing any thing if it was not at the 11 position. But I liked this pick so posting it…..lol

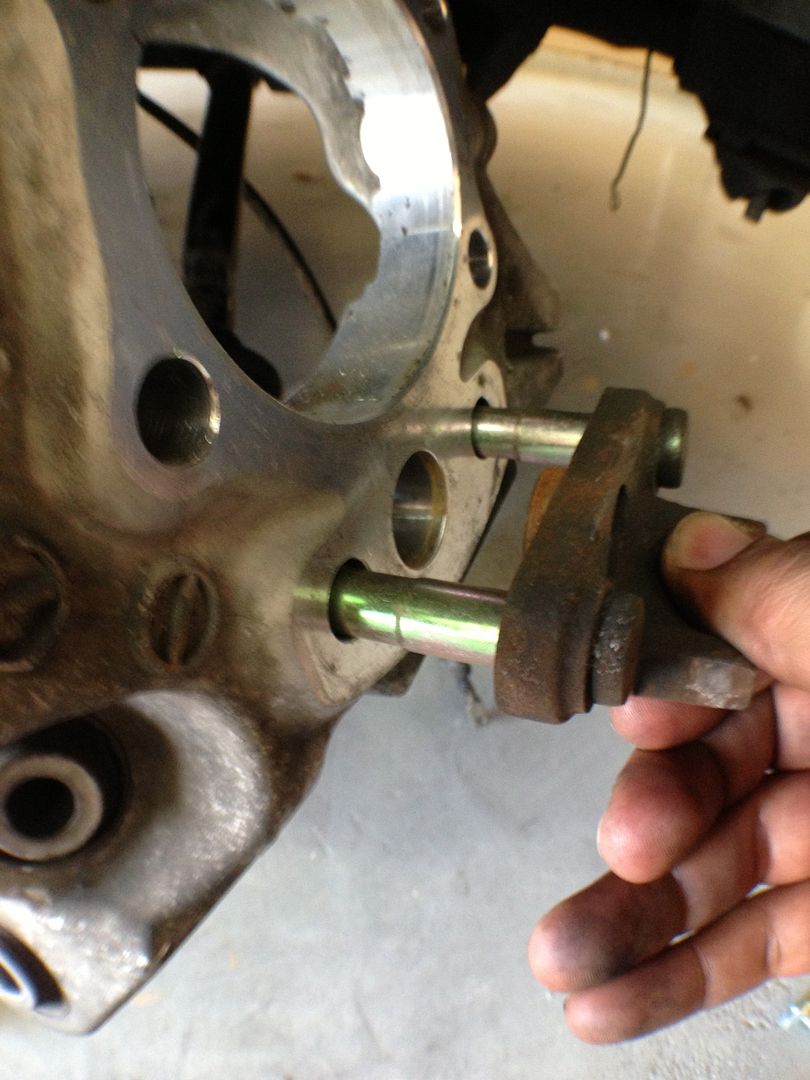
While I was waiting on hoses and fittings. George sent me the kit we have been working on for the dual caliper setup. This thing is top notch..

Bracket bolts to your hub and actually pushes your wheel out another 4mm. So def have to take note of that when getting my 18s for drifting.

Everything is included


So these are going to go into production soon but George sent out a small batch to some people for testing. Once that is all said and done he will start selling them like he does the S13/S14 brackets on zilvia
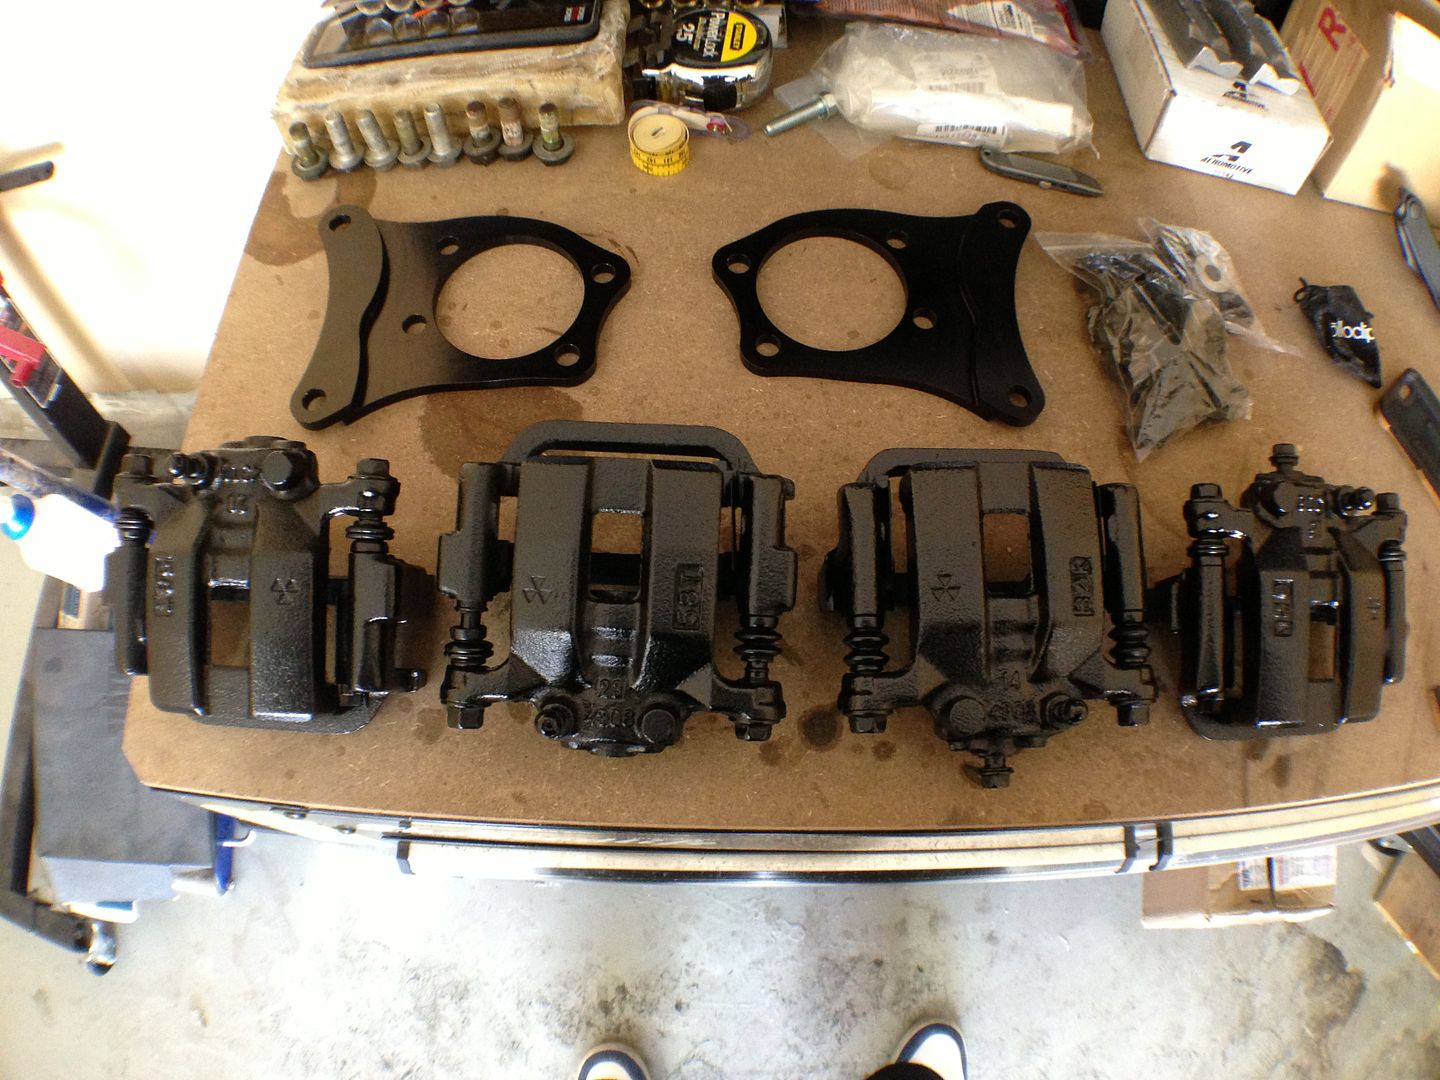
So for now I will only be using the OEM iron calipers.. Still bouncing around which calipers I want to run.
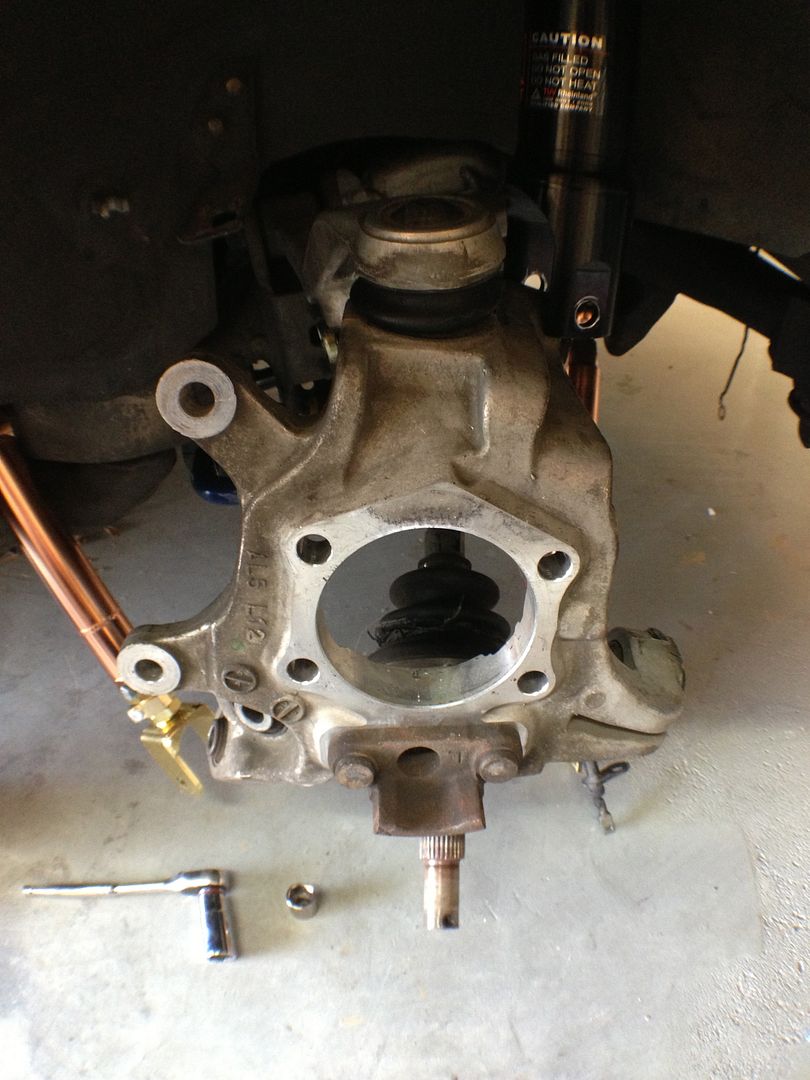
Hub removed
Sorry to say but you will loose the OEM e-brake with this setup. But he is working on another kit to keep it. But for me BecauseRaceCar…lol
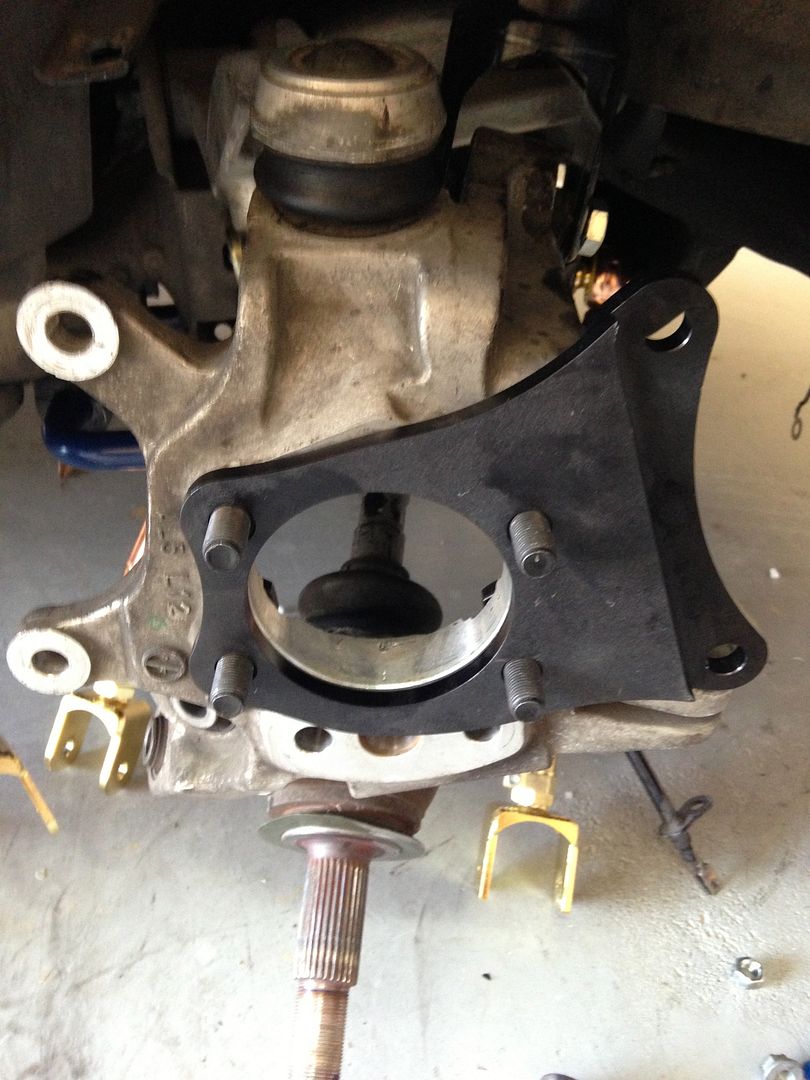
install bracket
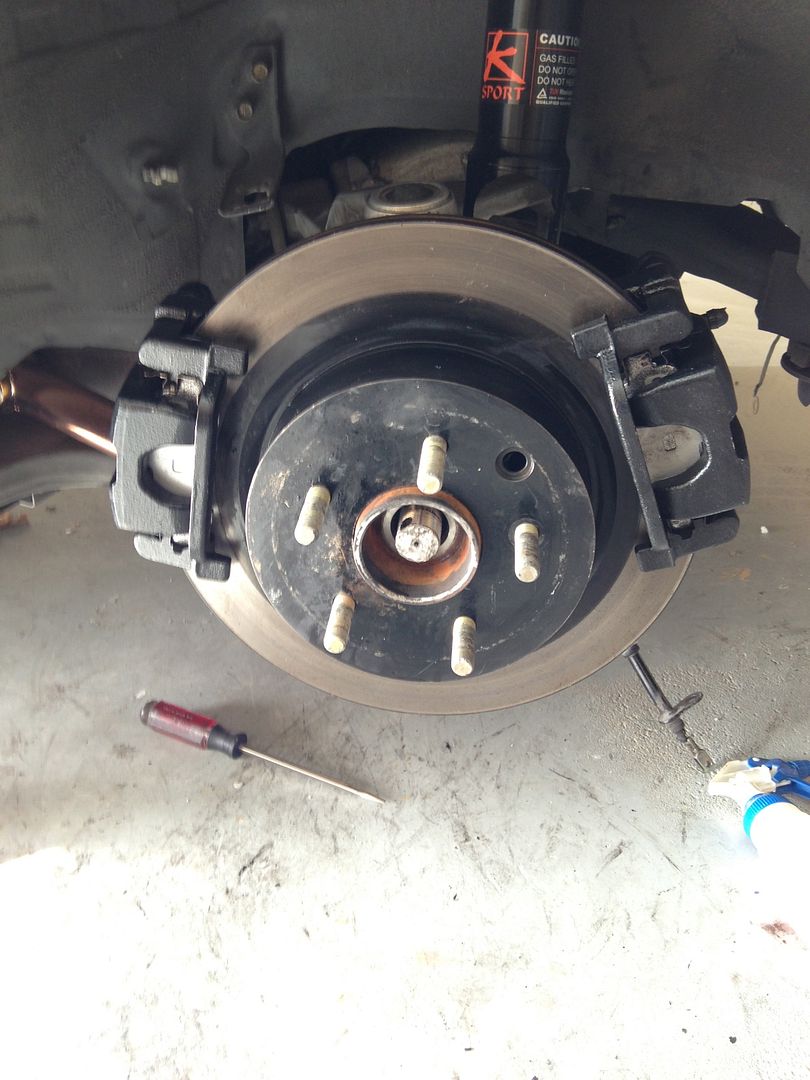
BAM installed and ready to rock..

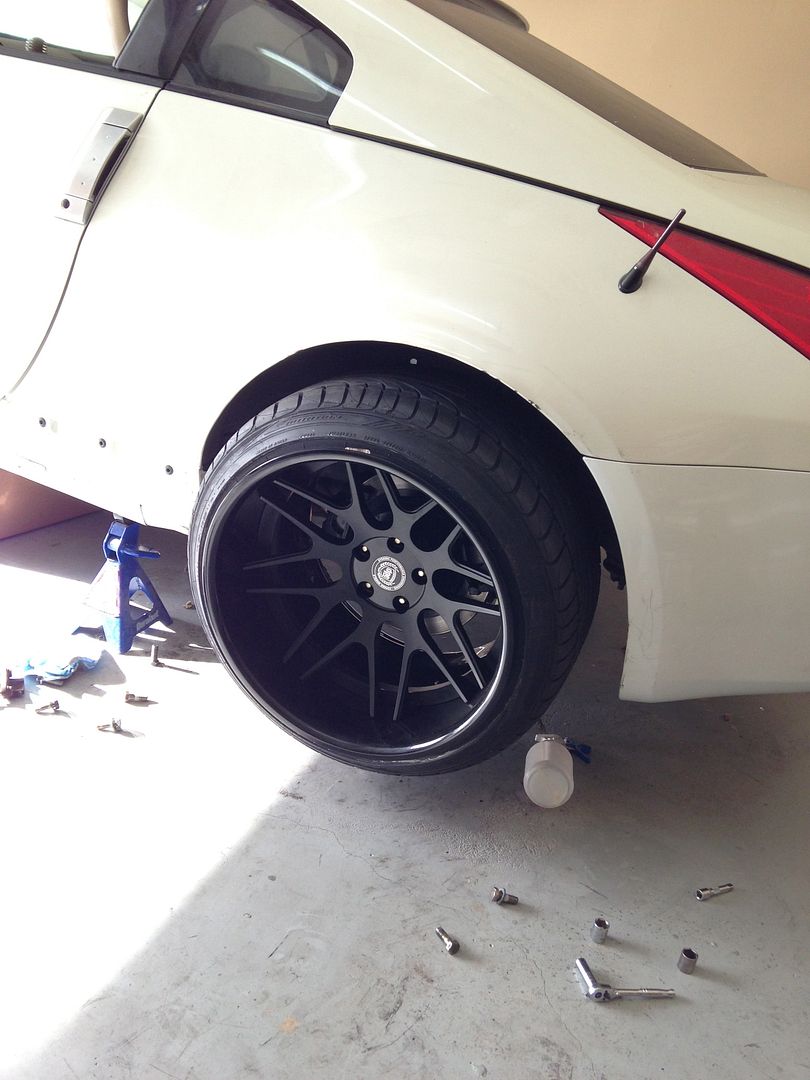
So while I was still waiting for some parts.. Lets mount some tires
Wheel specs are 19×11 0 19×13-20.. Now these are not my drifting wheels just marketing wheels.. So might be selling them after photo shoot.

Feel sorry for him..lol

11s were easy

Cheetah time

POW!!! mounting 275/35 on the 13s

11 stretched on 245/35

13s looking damn good

Perfect stretch

Back home and looking good
test fit. Over fenders are replacing the OEM ones so it will sit nicely..

Another view
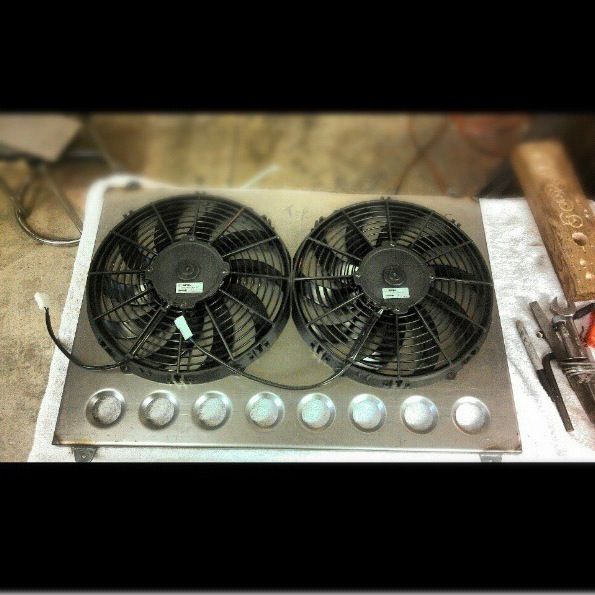
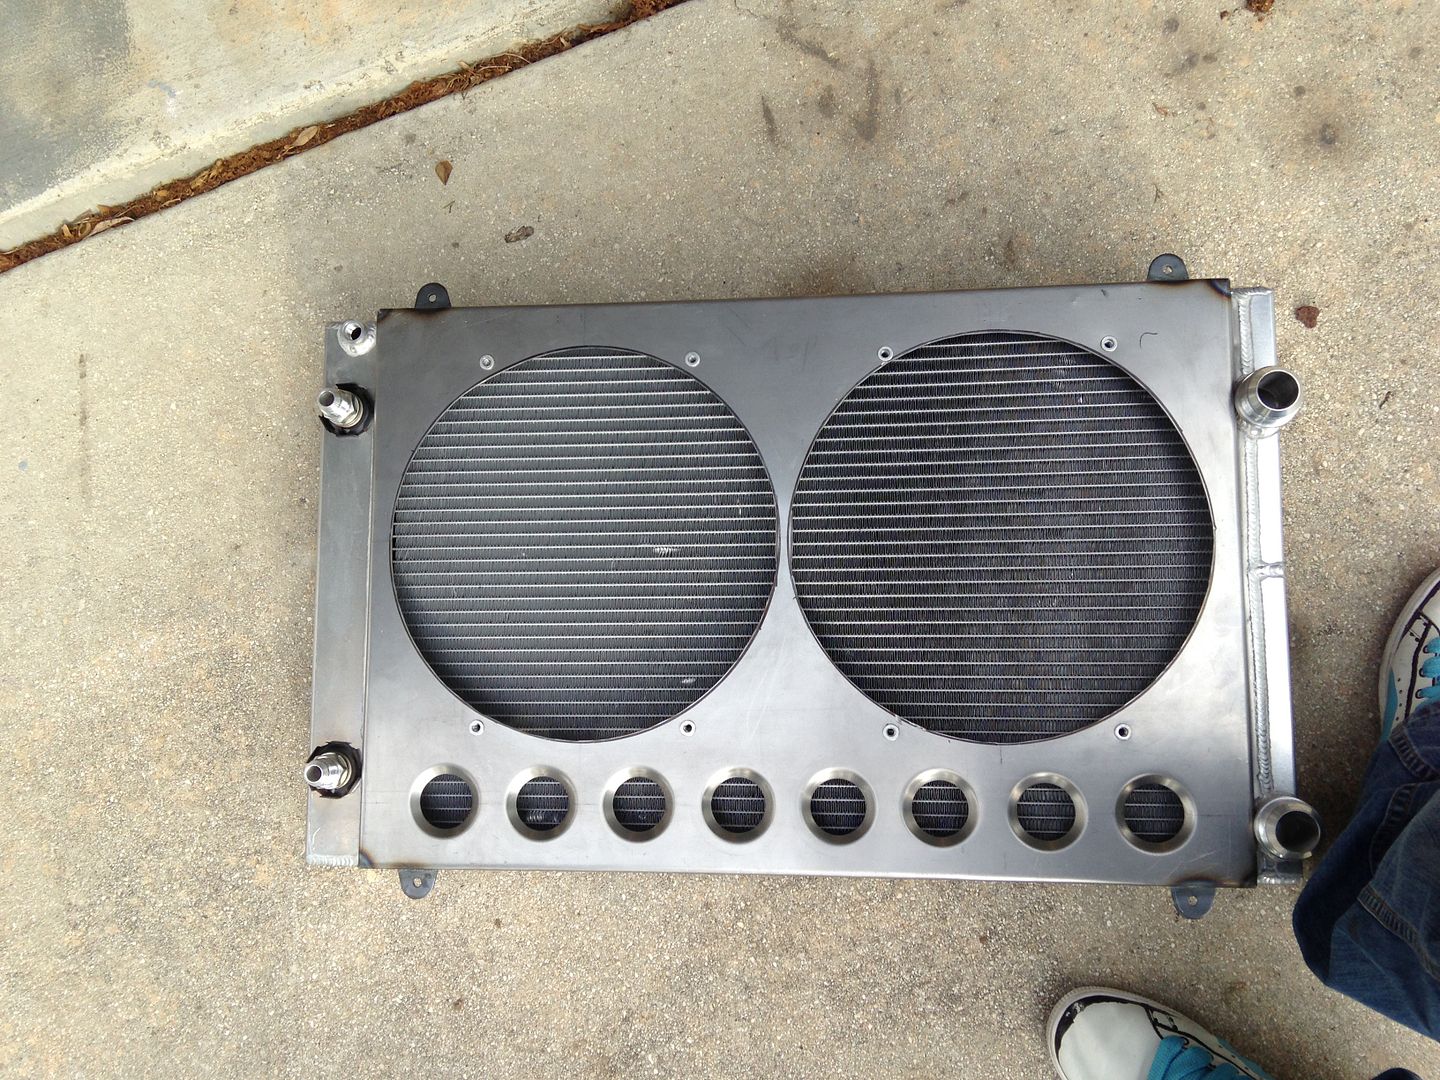
Got my Fan shroud from Blake (the one with the sick FC build) thanks buddy..
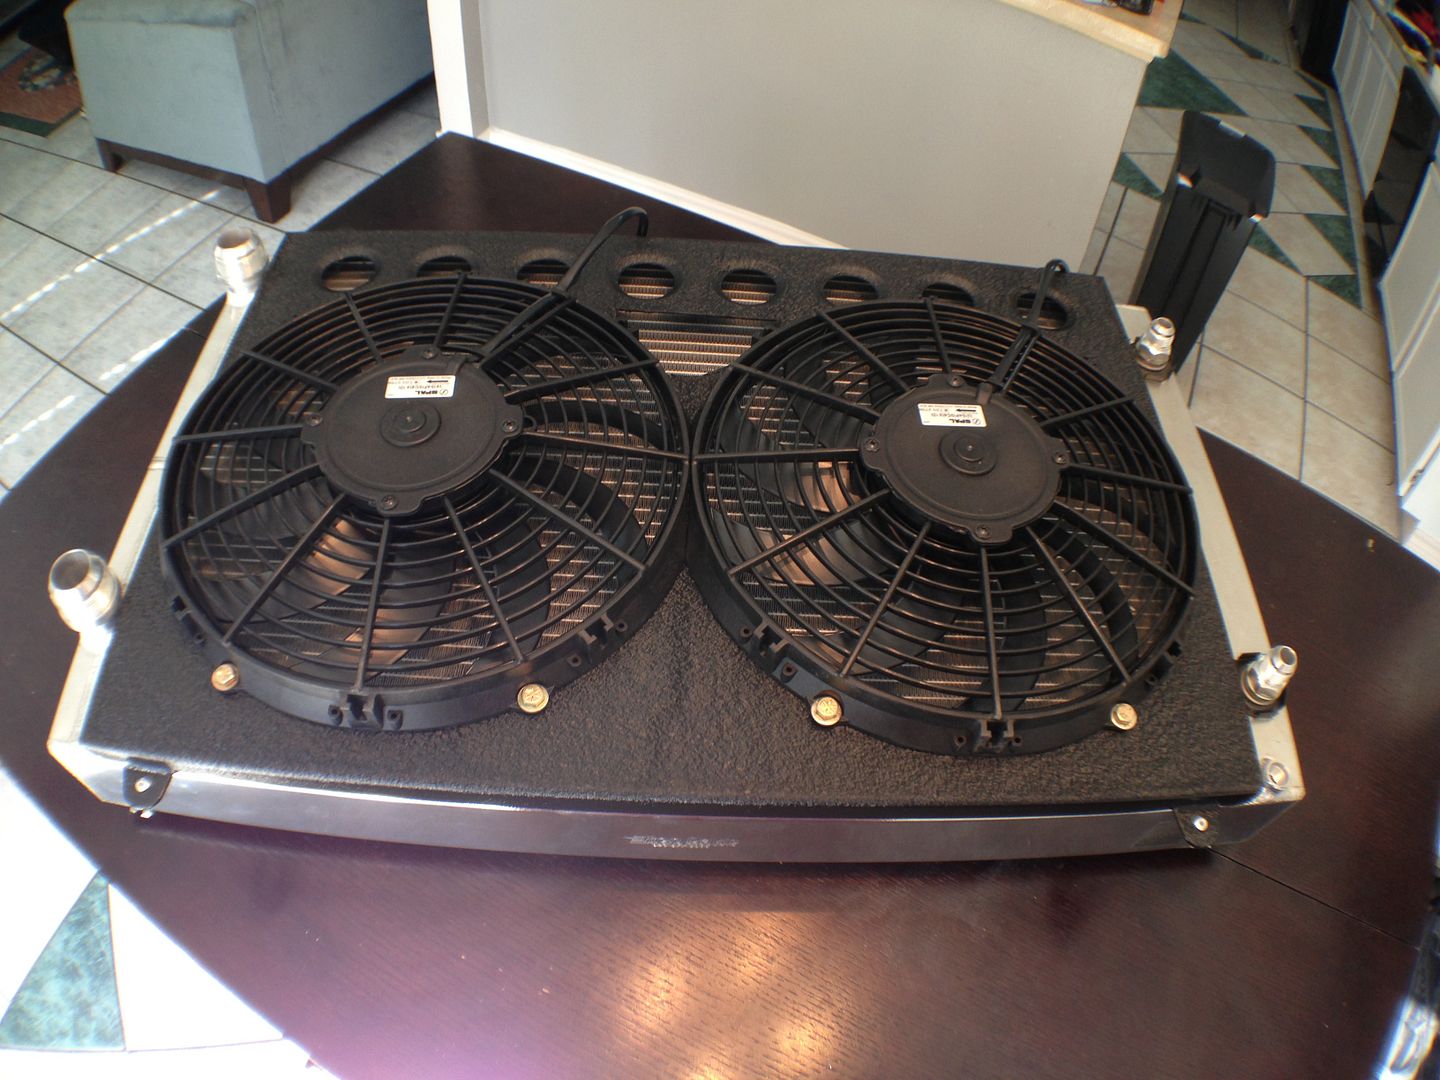
Painted it crinkle black and mounted my fans
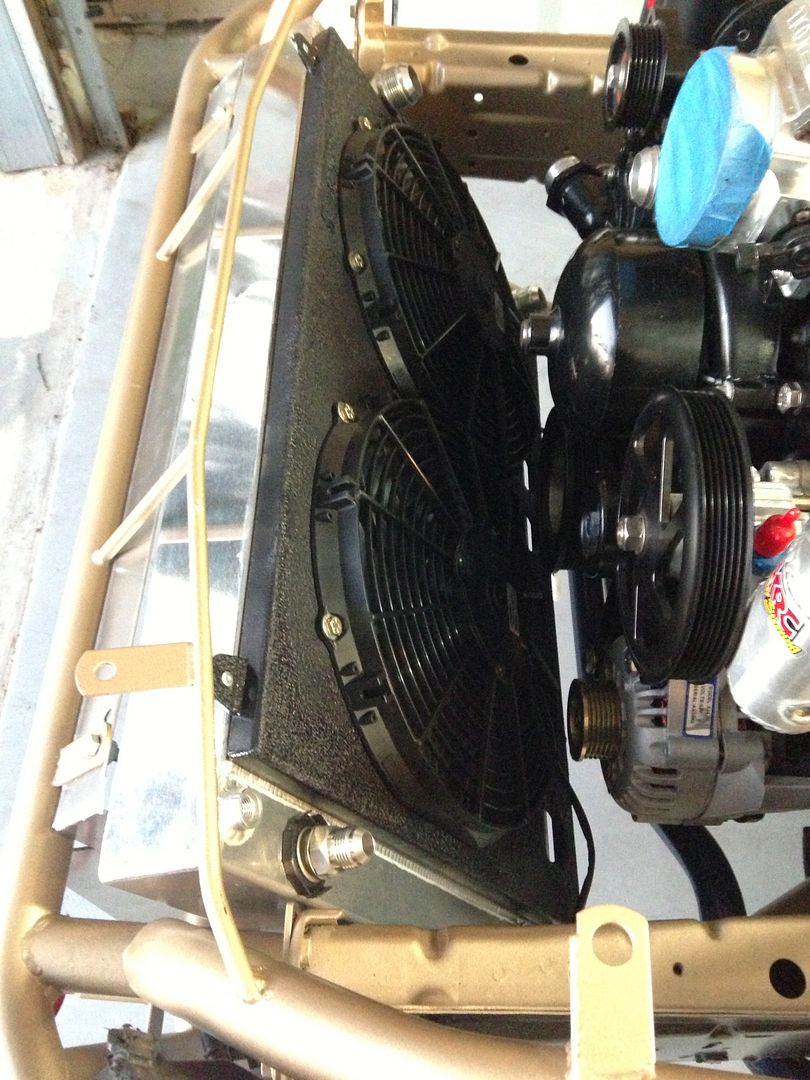
Mounted up
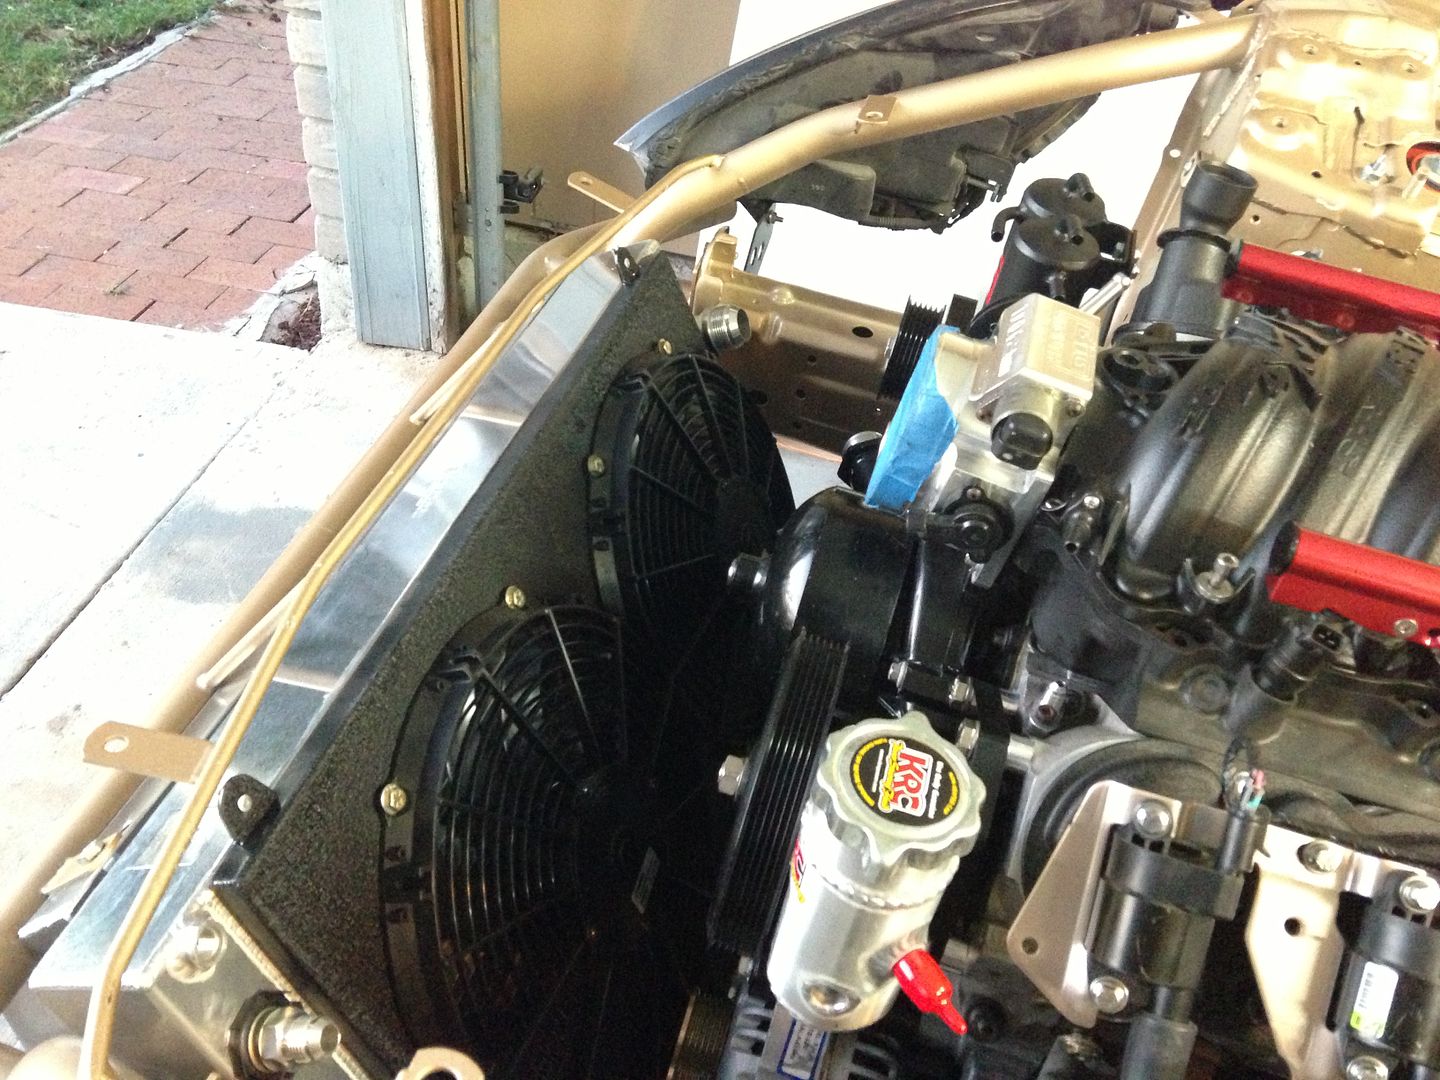
Looking good..

Picked up some tools for the AN fest we are about to get in to..
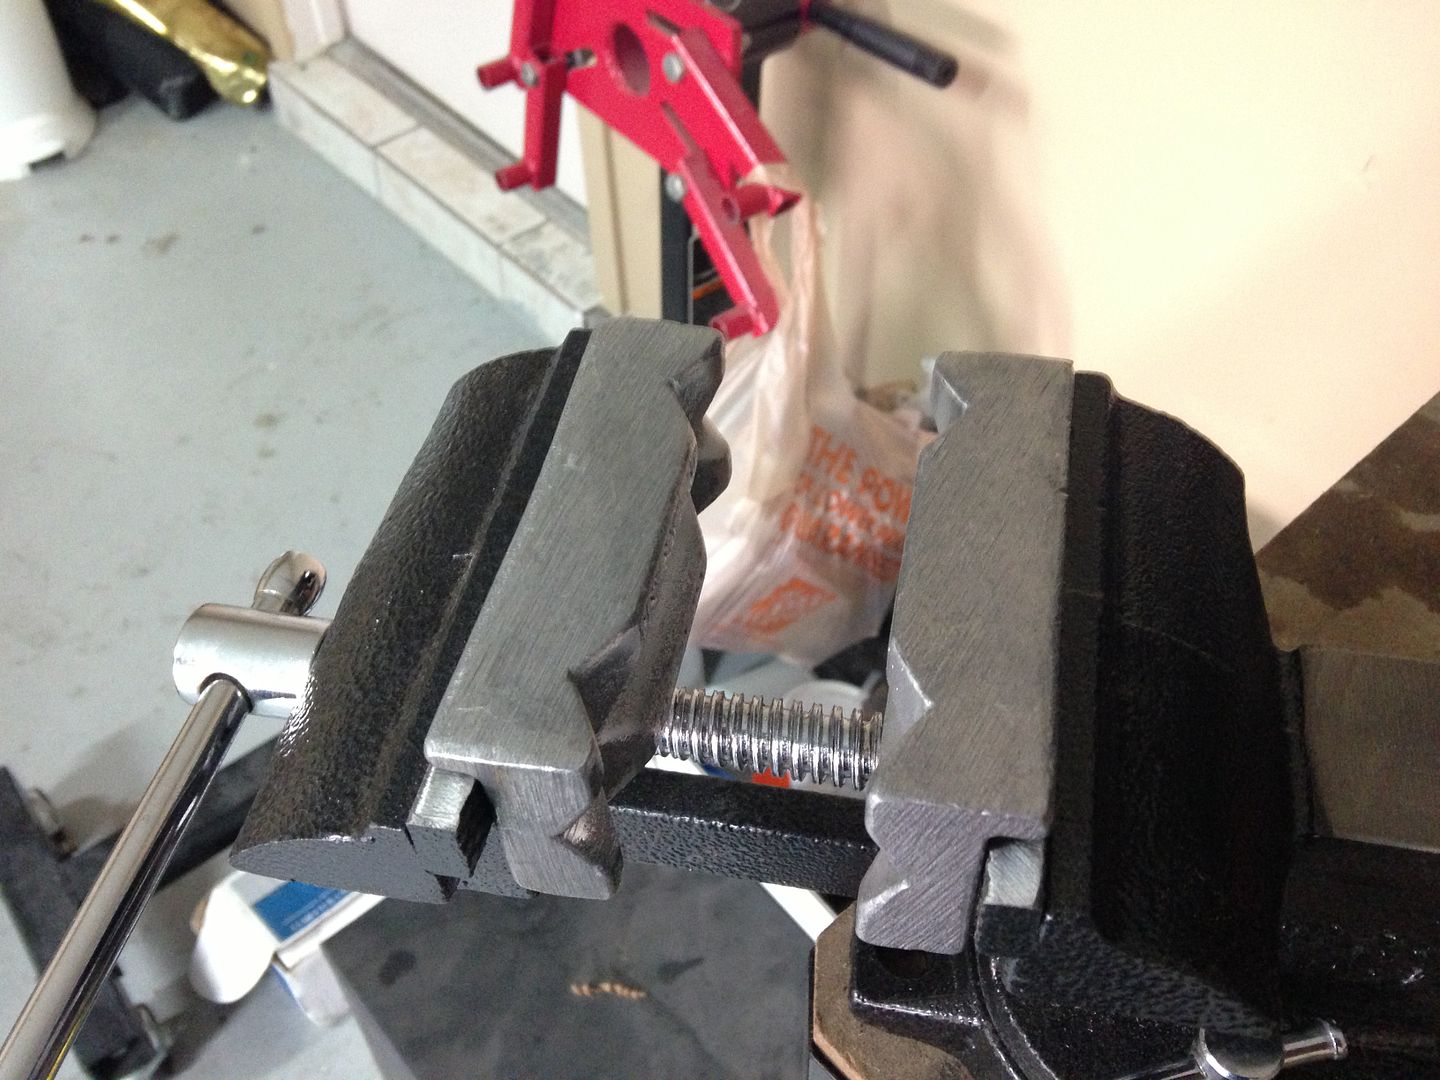
Also picked up this to make install easier
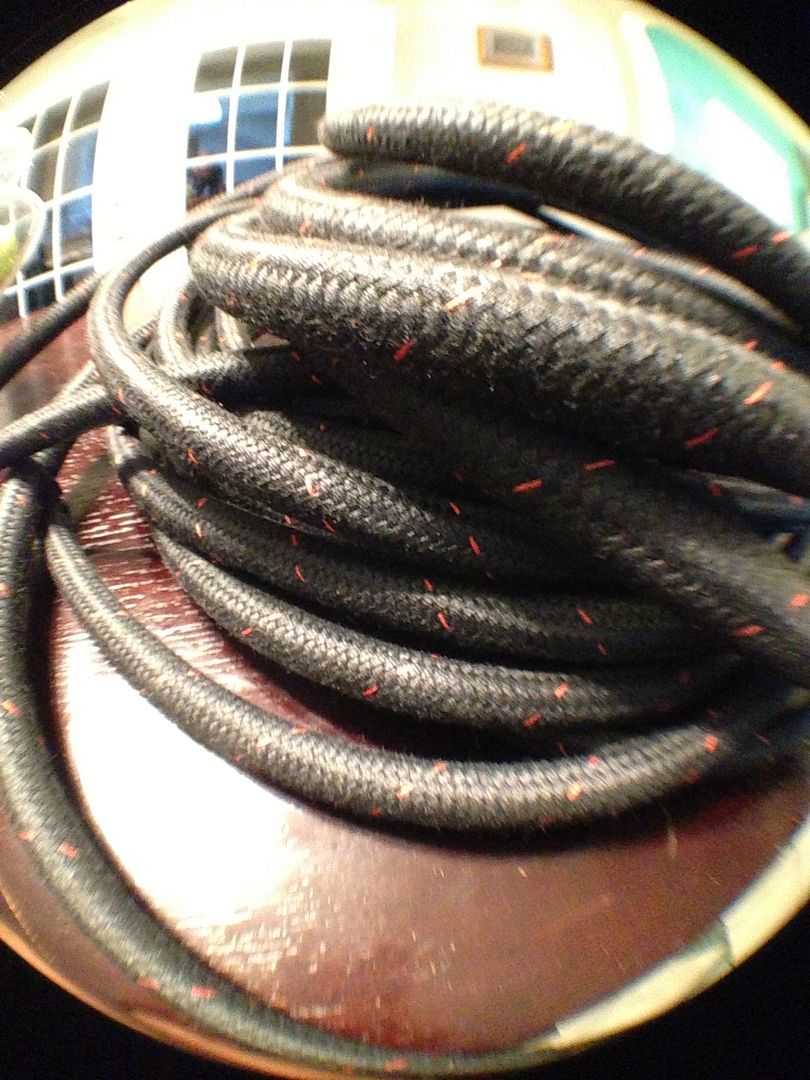
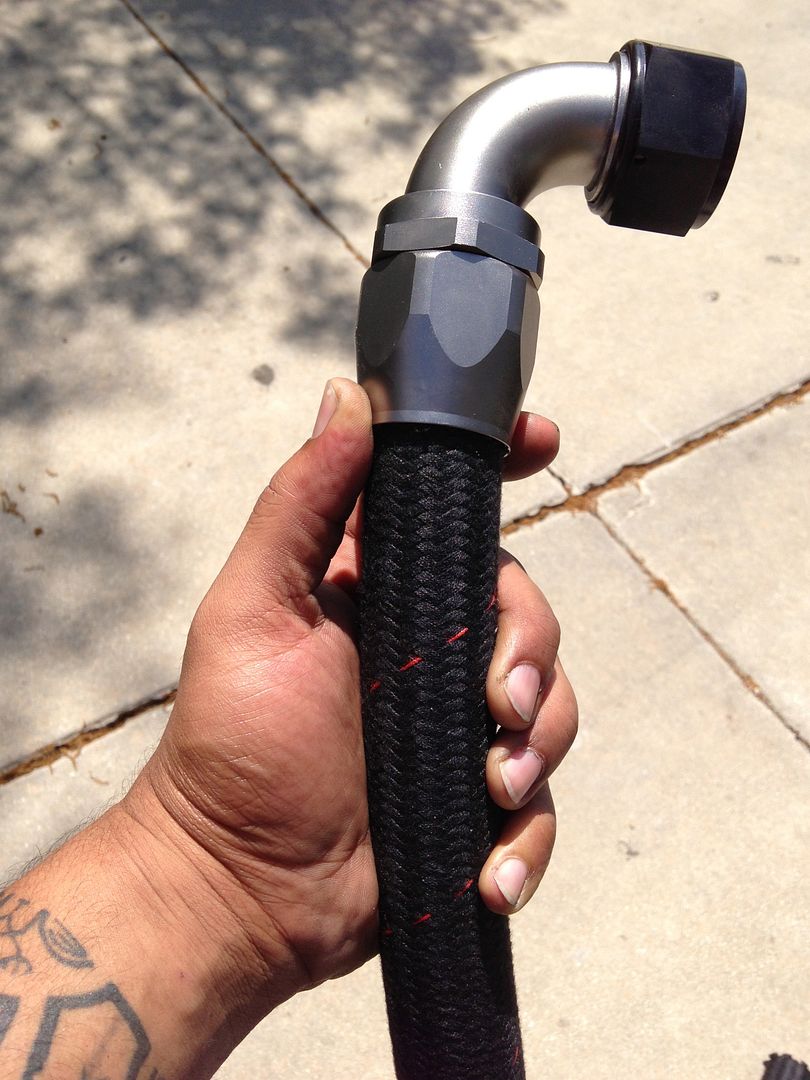
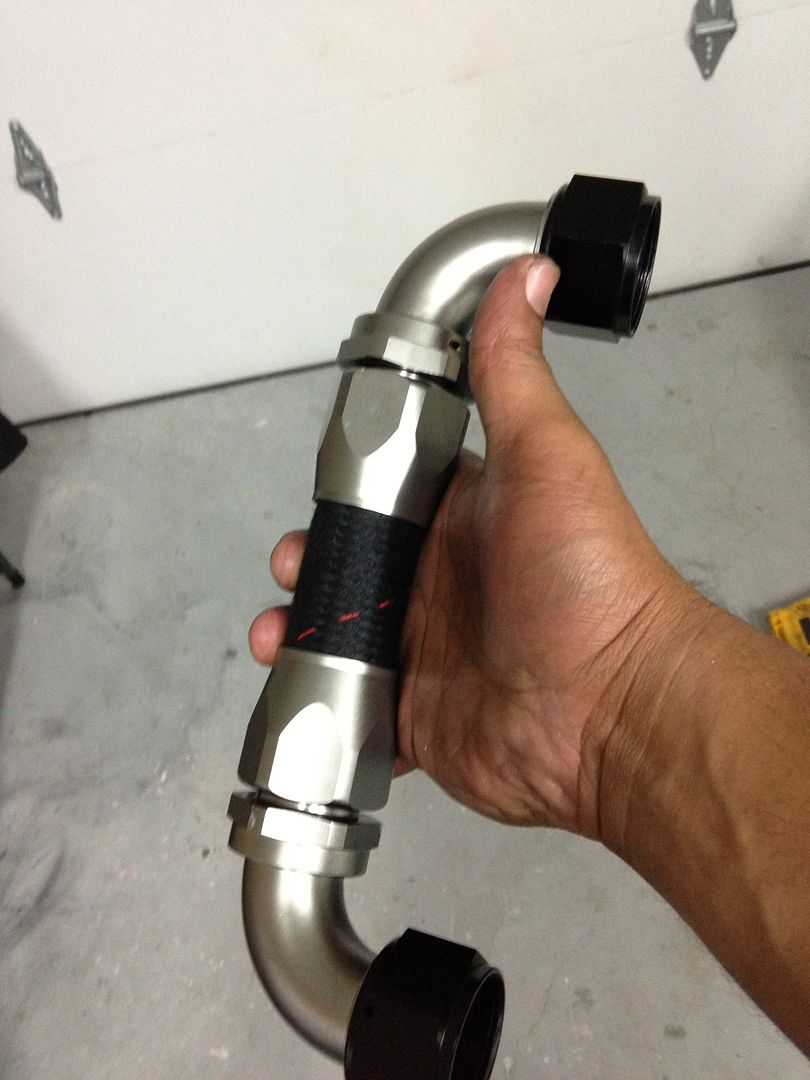
Got hoses?

fittings laid out and all labeled so I know what goes where.. Lets do this
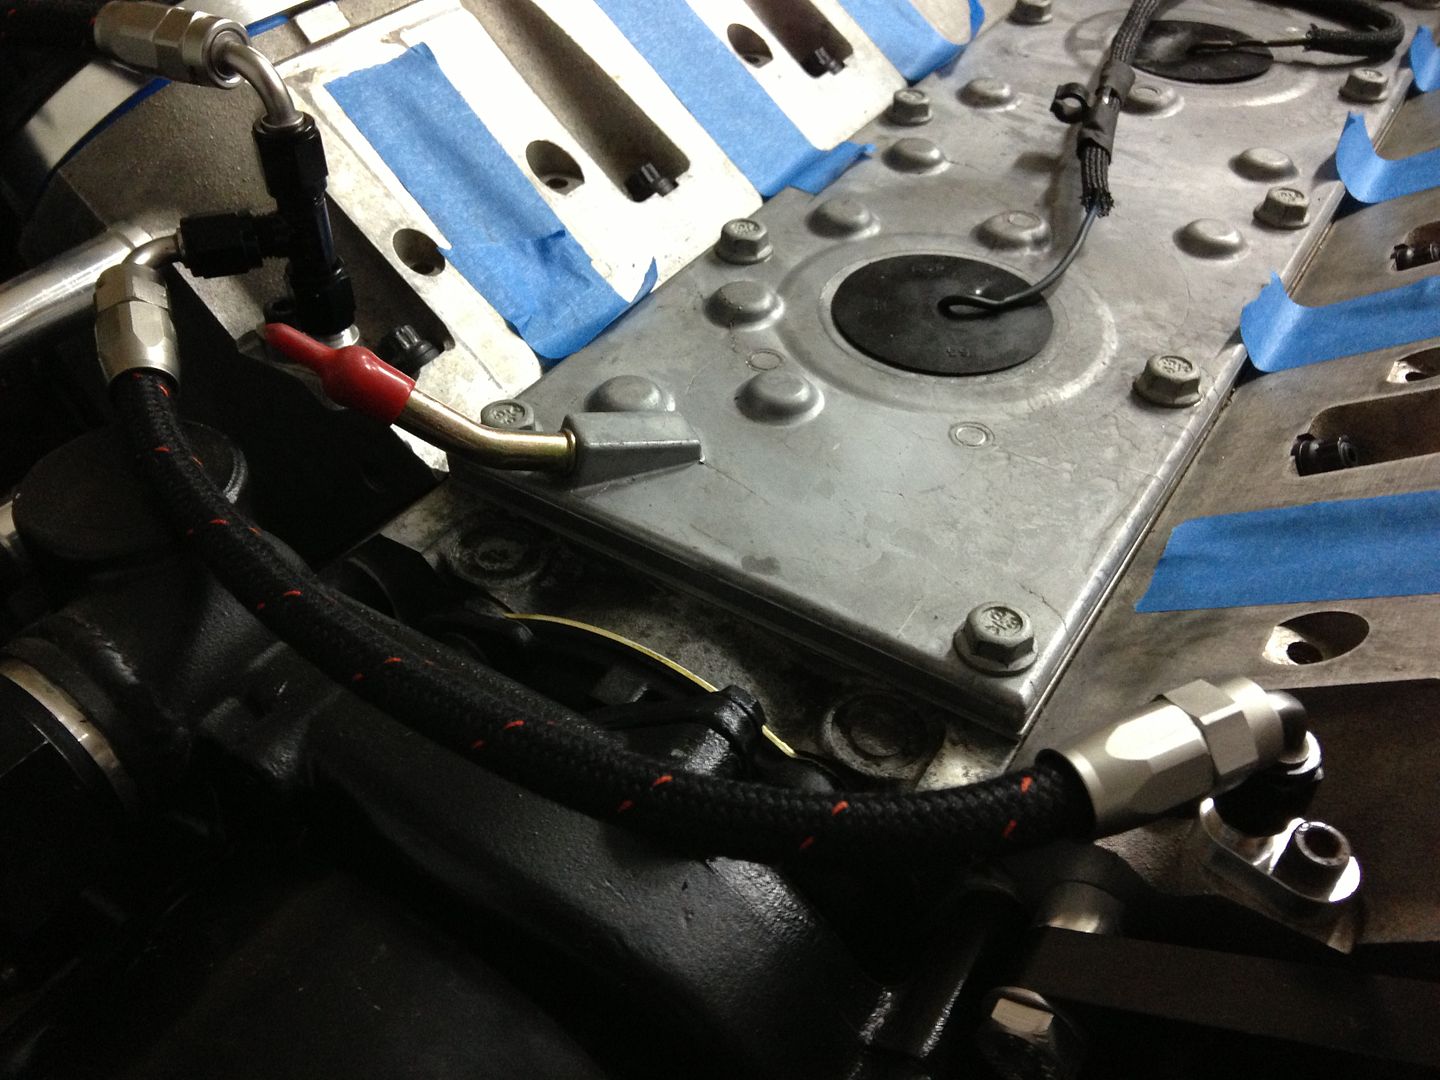
Install begins..
Good thing I have these
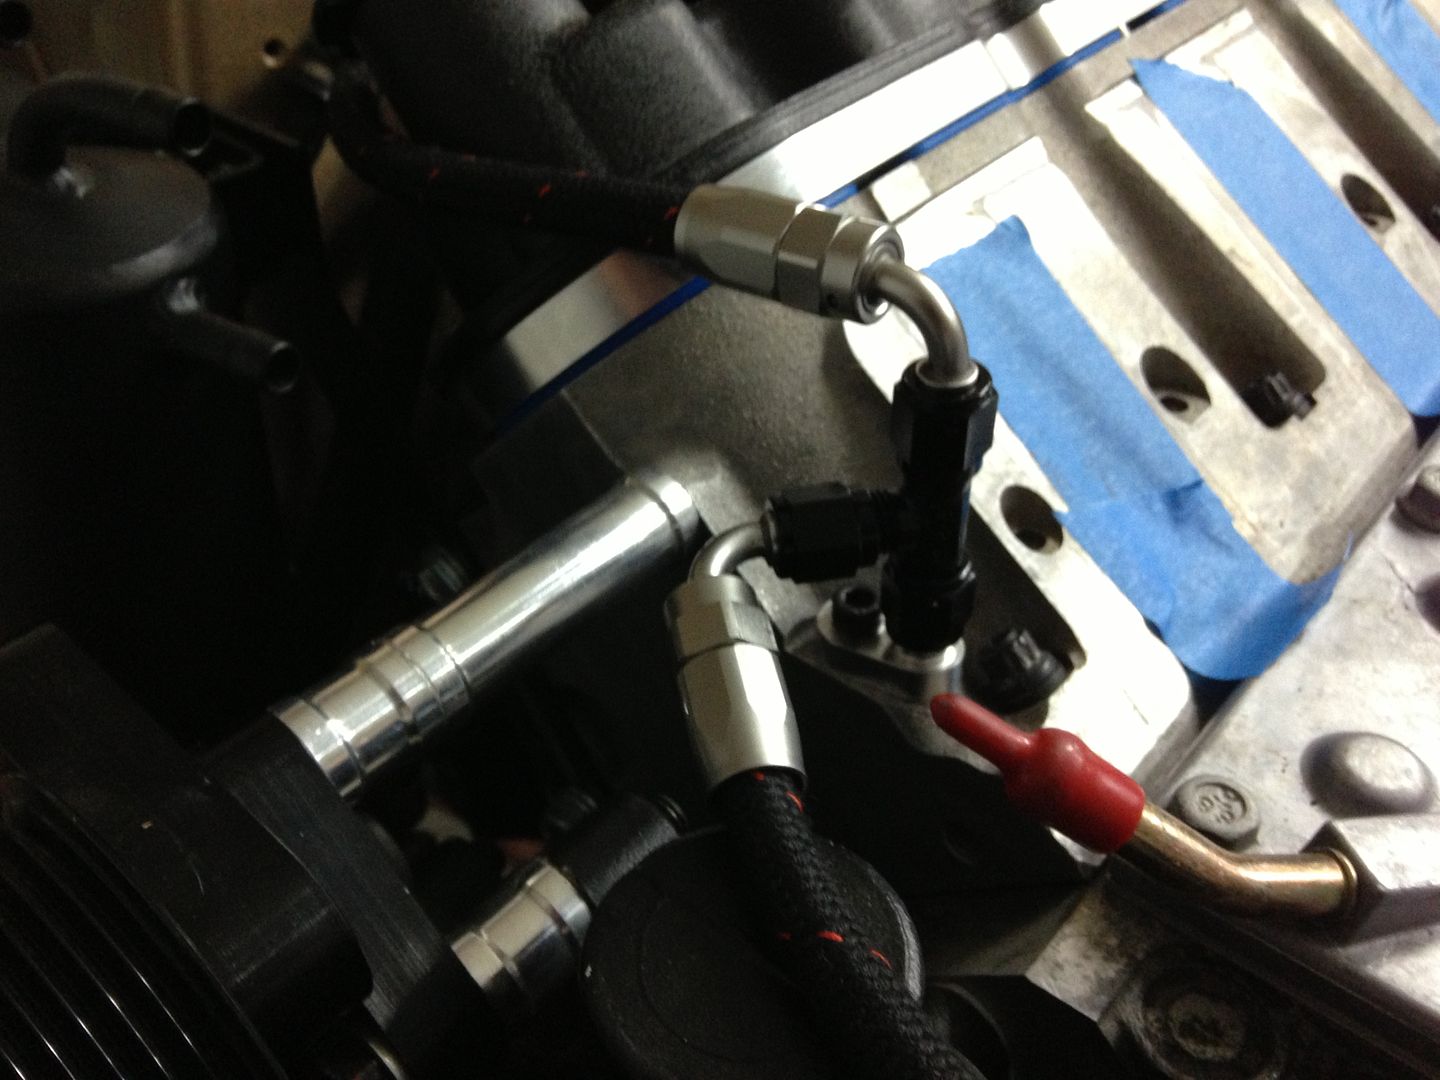
Looking good.. Now lets run fuel lines
I ran them were the old fuel lines went. But thinking about putting a plate over them so nothing hits them.. Thought?
Fuel setup complete
Bottom Radiator hose
My front coolant lines
They Tee off right here and head to the coolant tank

The driver rear coolant line
Passenger coolant line and some of the fuel lines

Oh yeah all hooked up
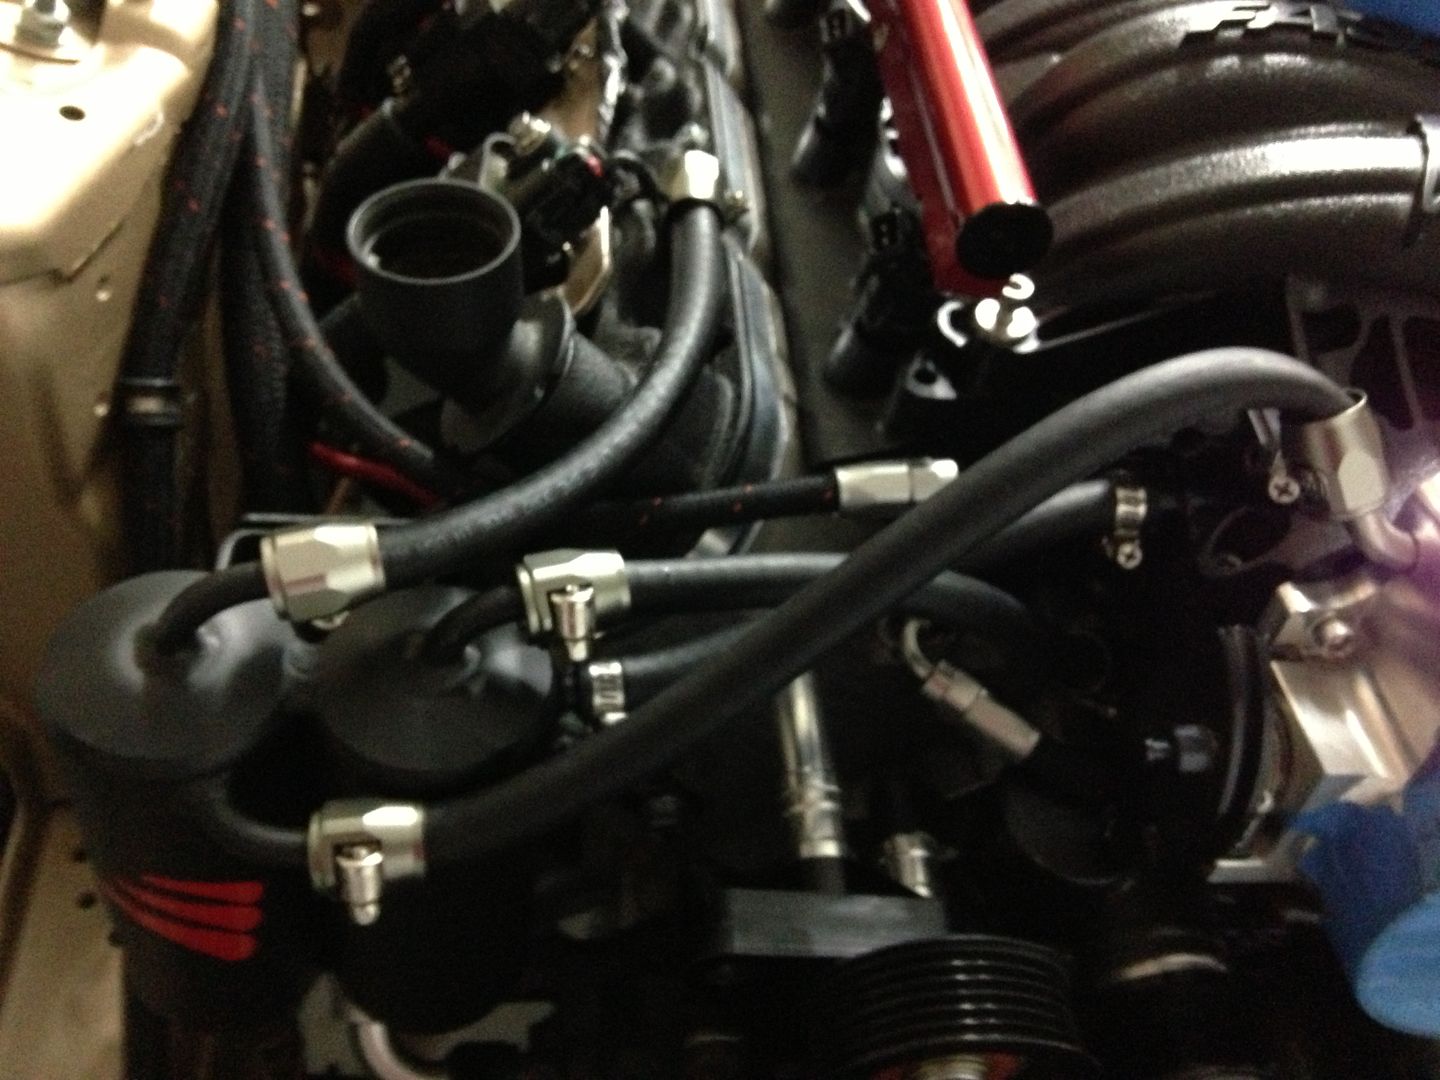
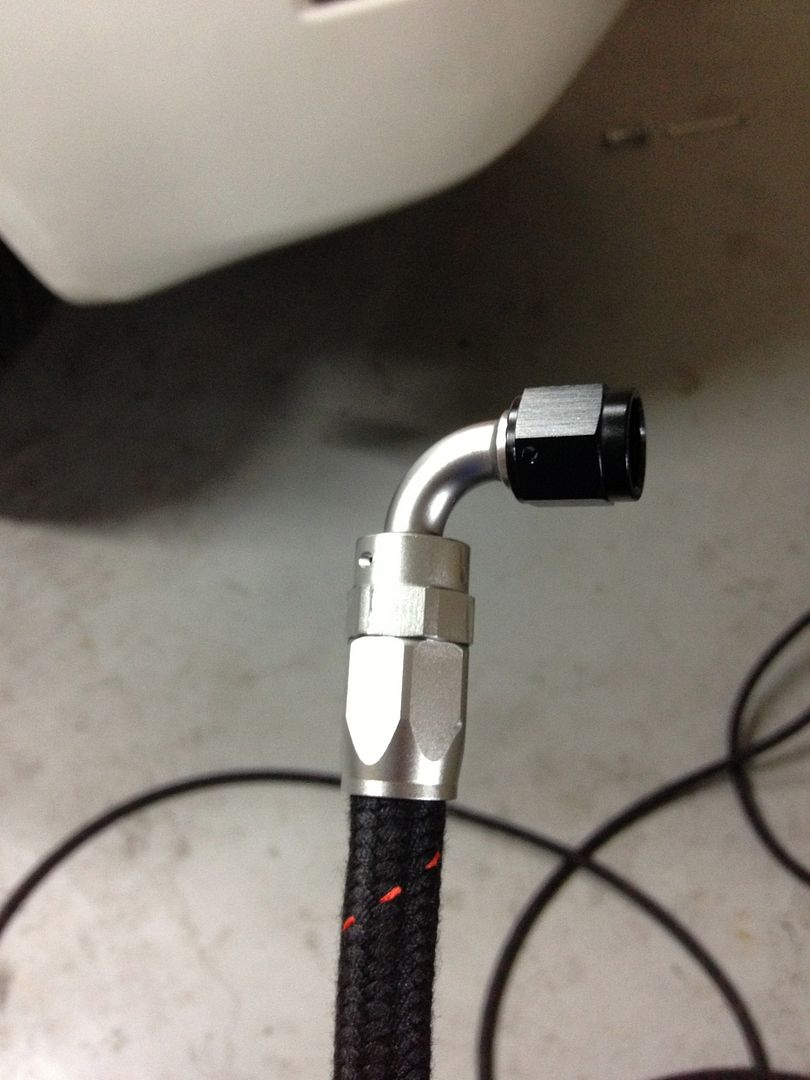
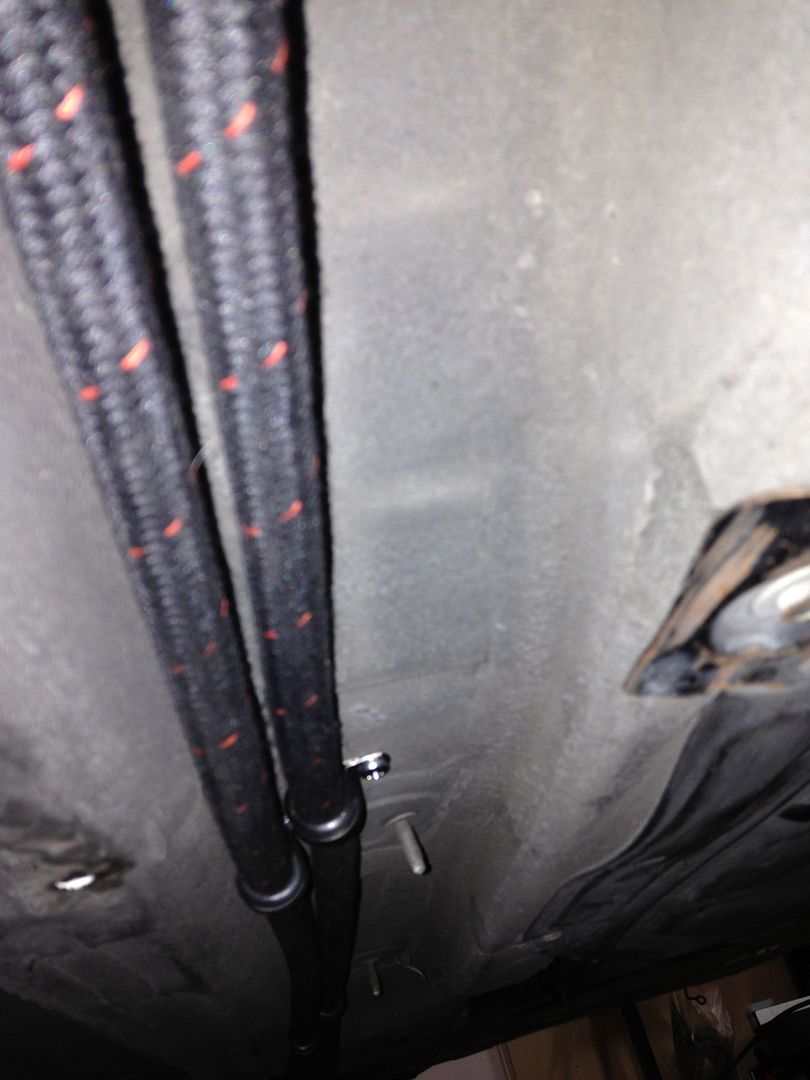
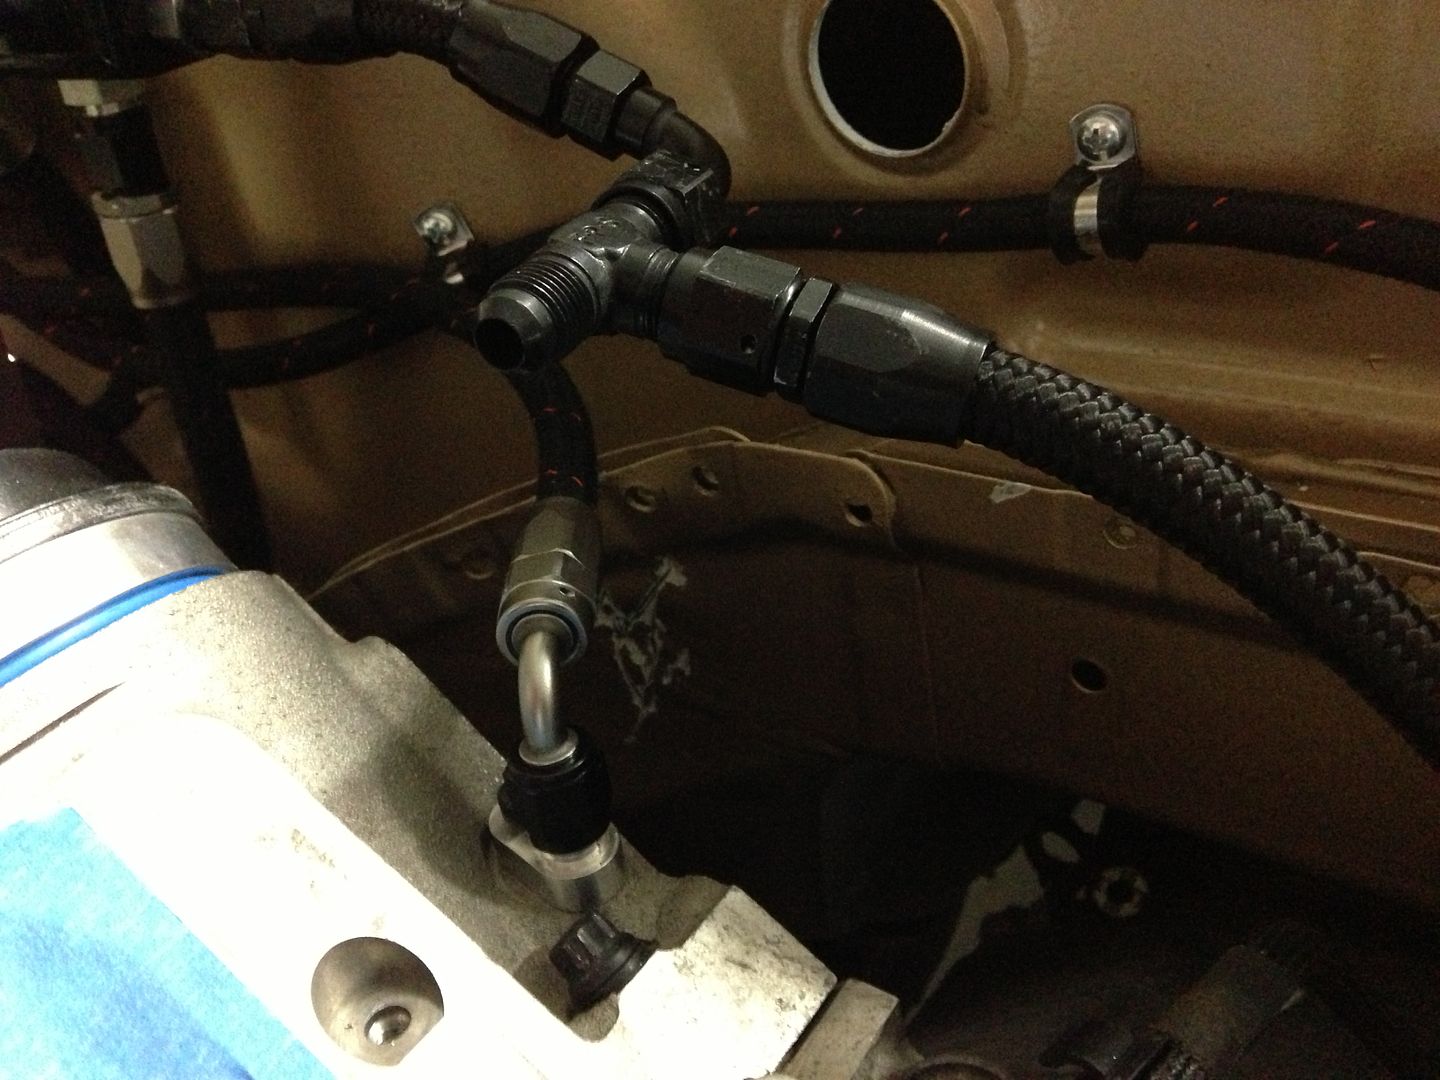
My Dual Catch can lines ran
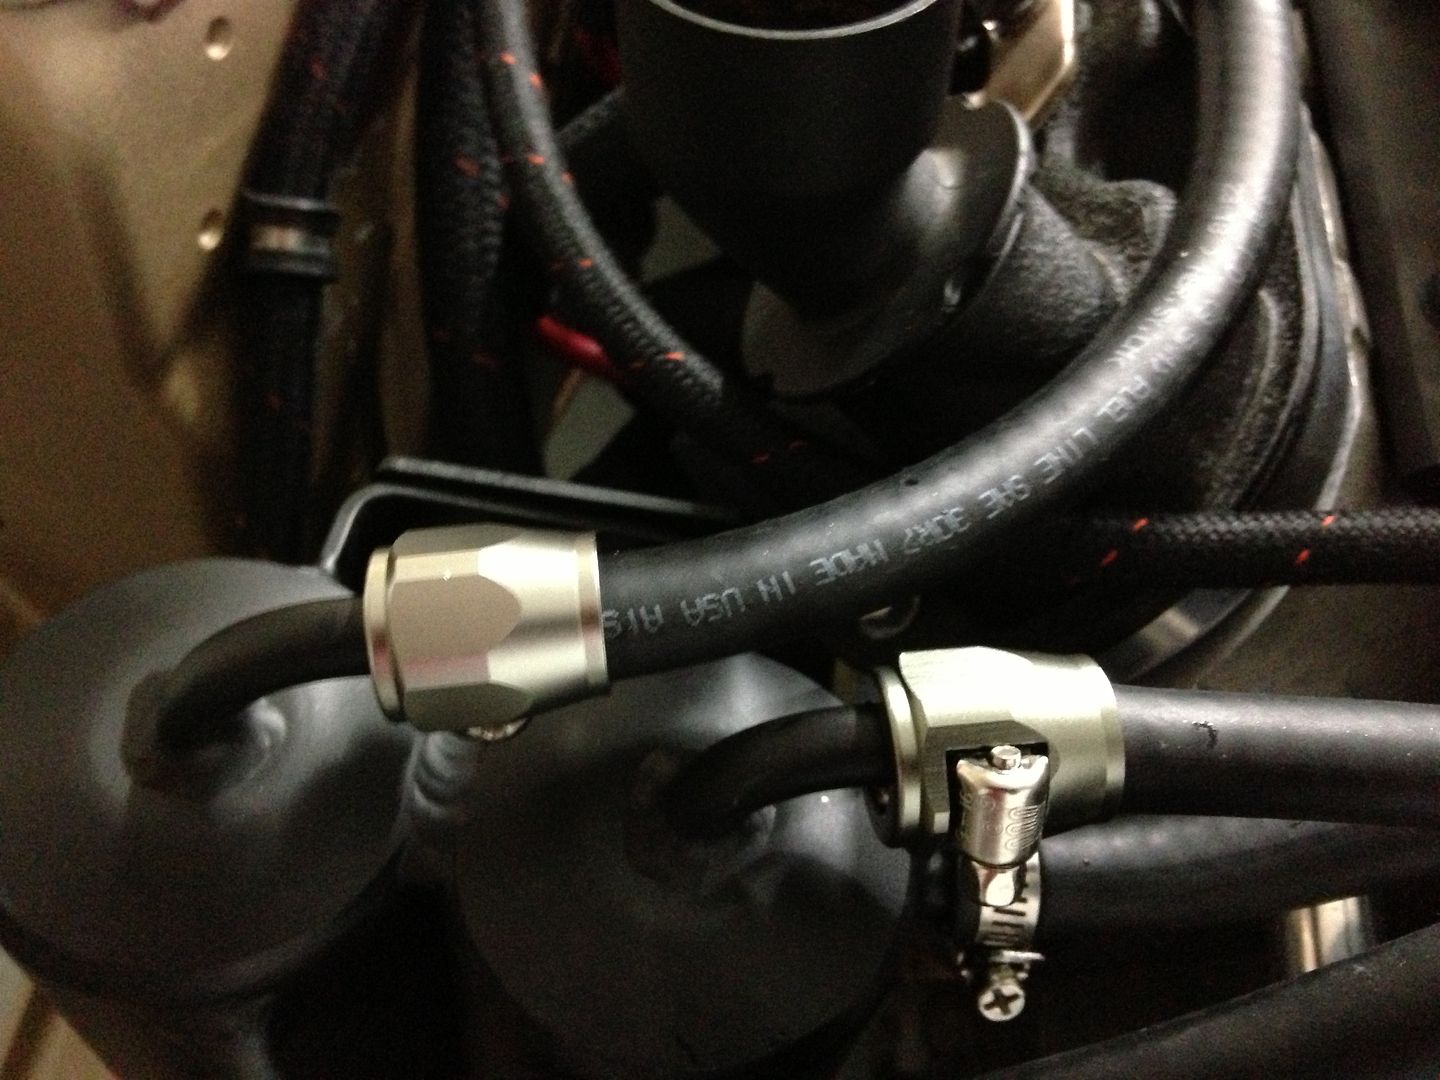
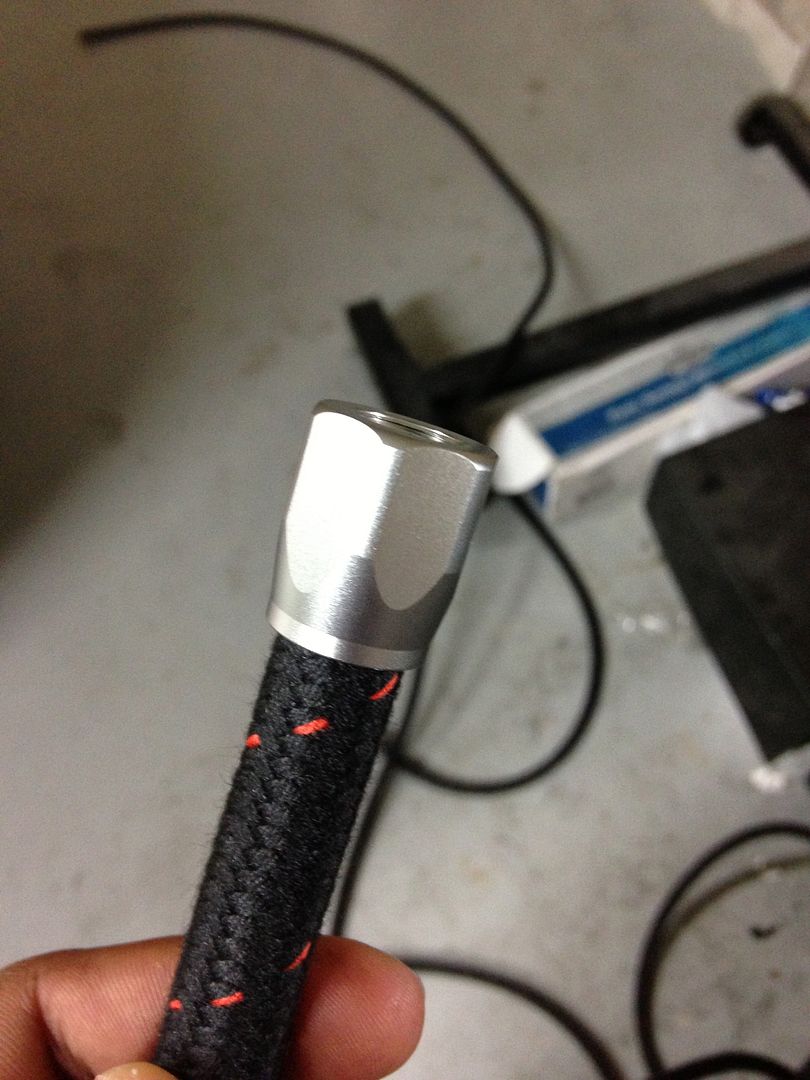
Found these sick fittings that match my AN ones perfectly

Another pic of the lines ran to the expansion tank
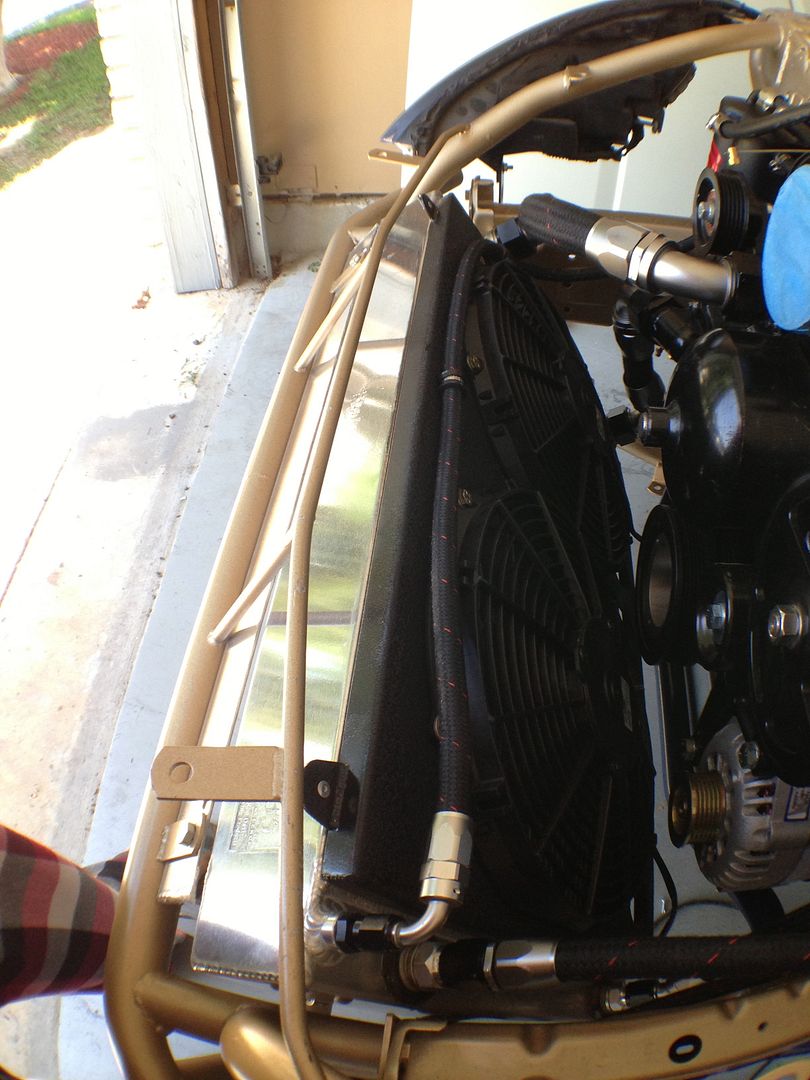
Line ran from the Radiator to the Coolant tank
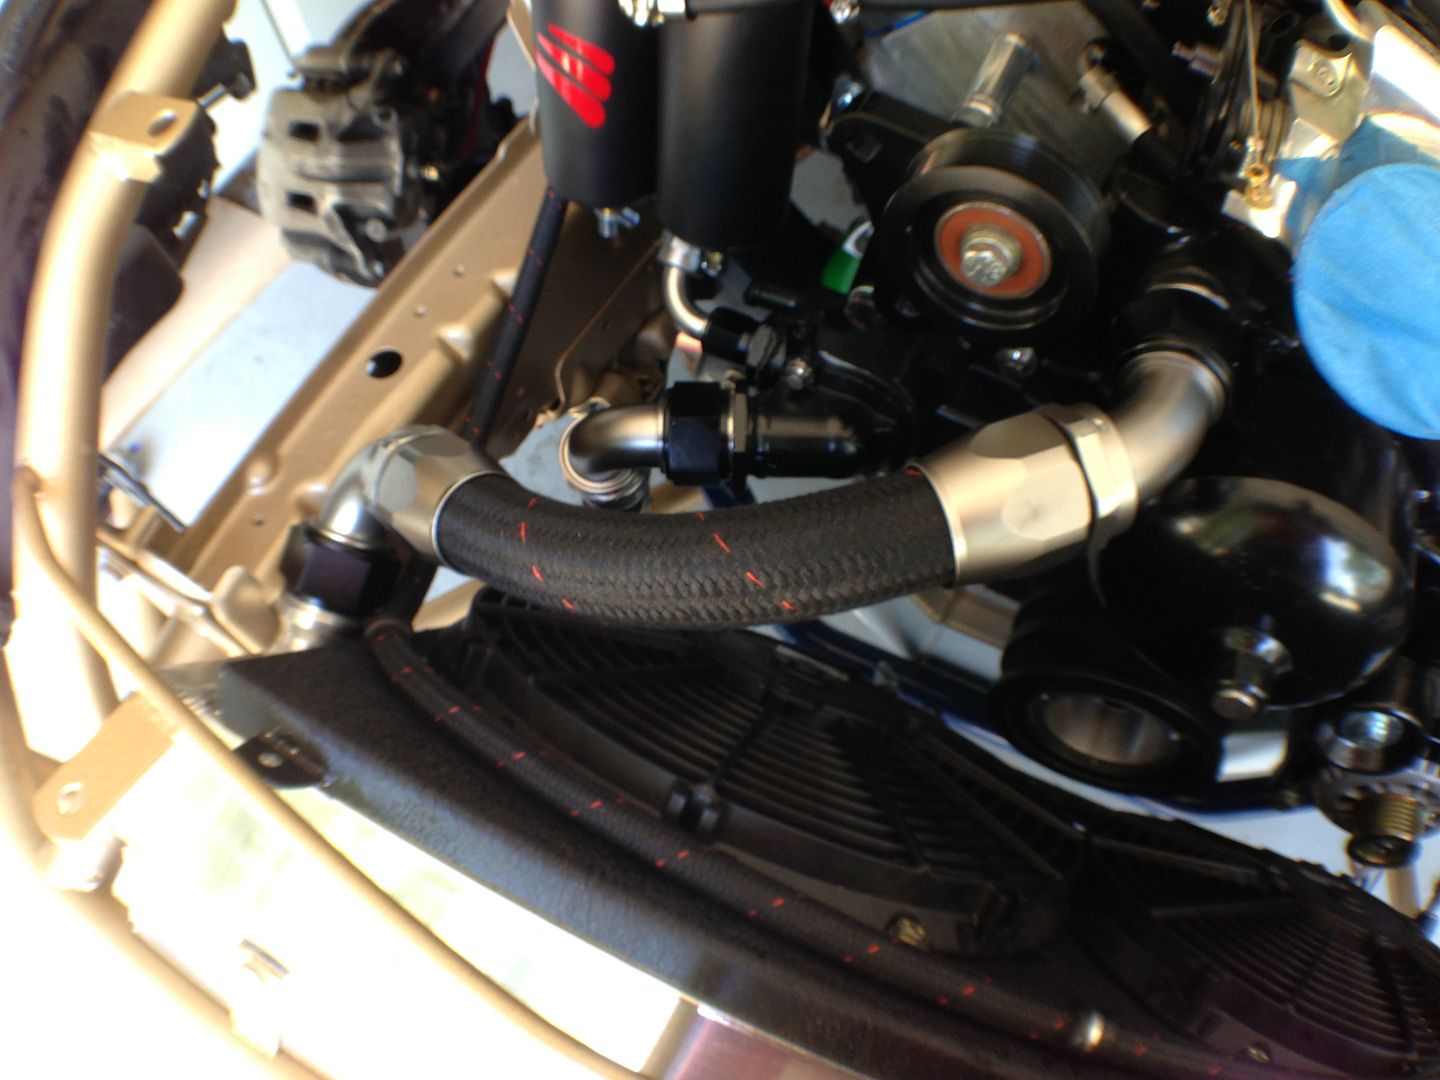
Big Ass Radiator lines
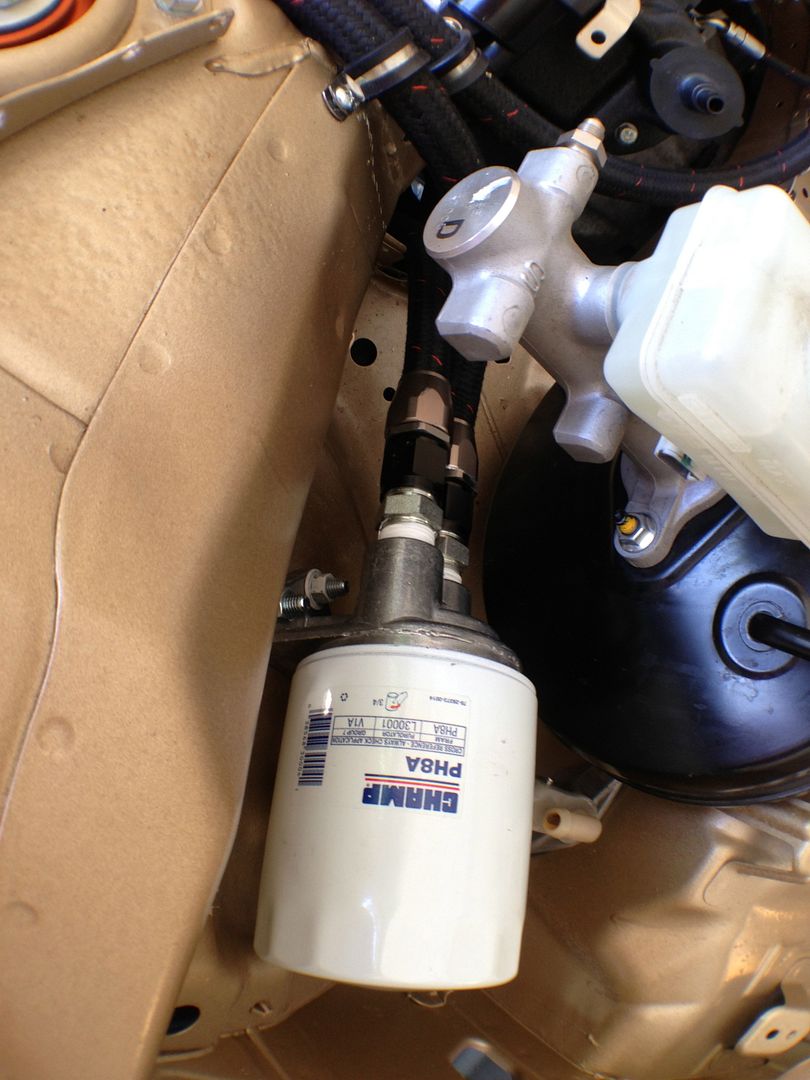
Mounted my oil filter in the back near the brakes.. Clean and out of the way
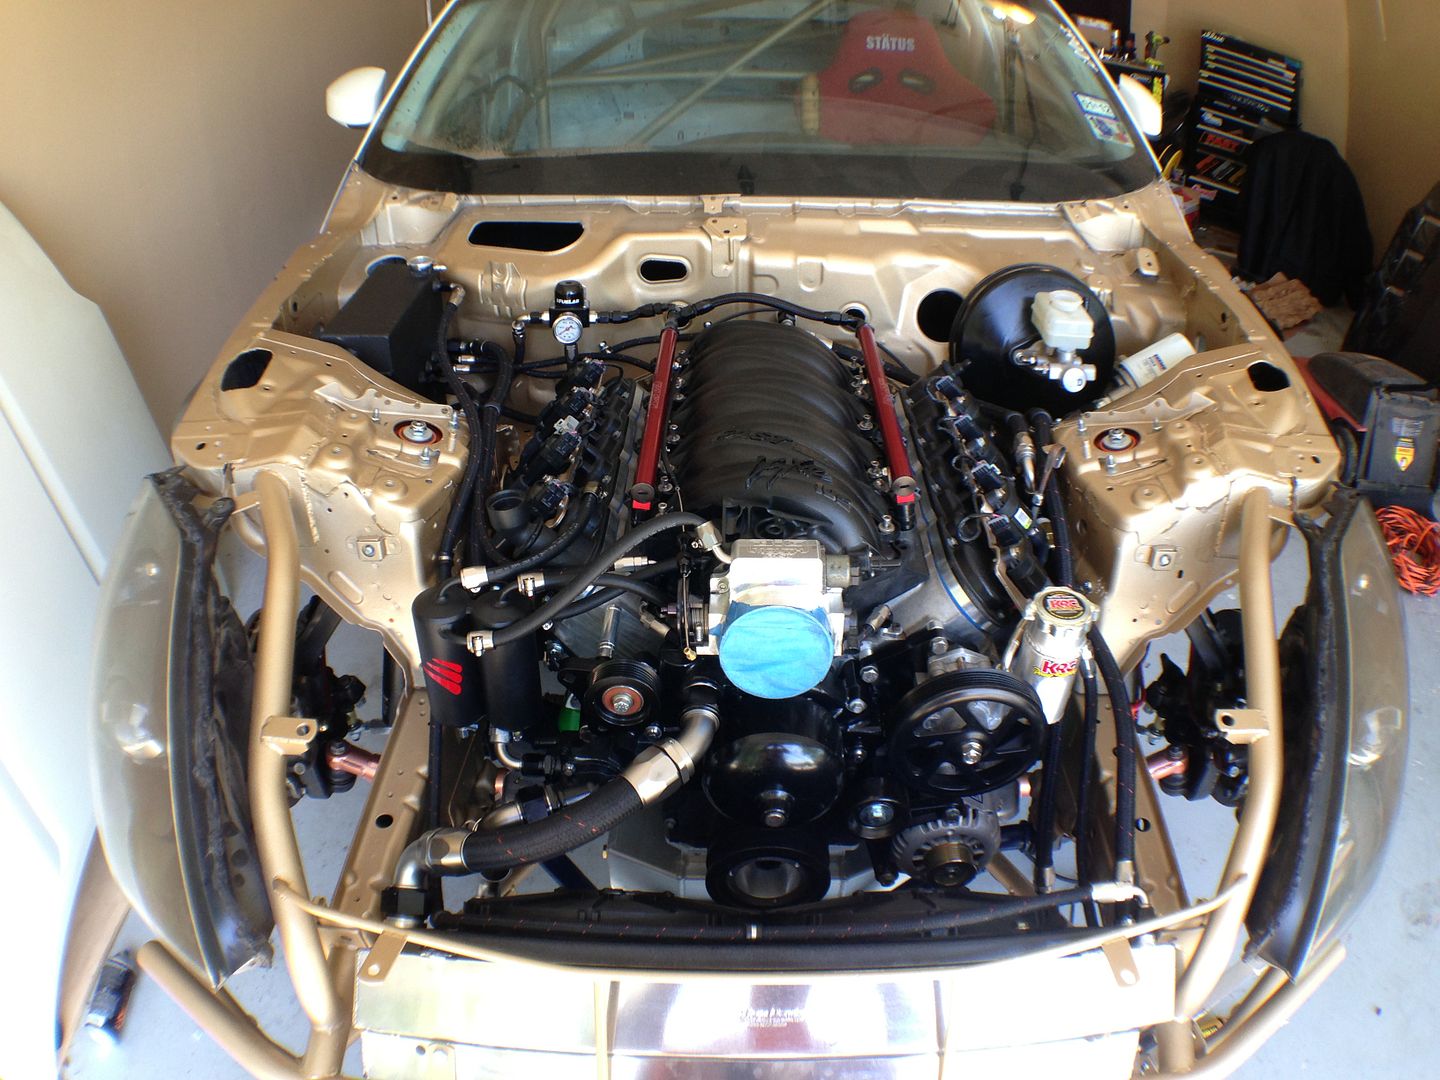
A full pic off everything ran.. Looking good I must say

All of it is coming together

I also mounted up my Status Racing seat to check the fit.. Looks good

This view is so sick.. Next is to install my Carbon Fiber door panels and floor boards… Should look sick when done

God I can’t wait to rip on you.. oh yes

I also got some goods for out side the car..

Love this hood. went with the 07 cause I love that hump. I will color match this hood and leave the vents CF..

I also have this Coming in the mail TS diffuser and some new side skirts..
Okay for the people that wanted the new price update..
T56 transmission (got a deal): $1500
11″ Monster Clutch kit: $900
Slave Cylinder: $90
ARP flywheel bolts: $21
ARP Pressure plate bolts: $17
Saiko Michi Catch Can: $160
GTO Shift level: $30
Aeromotive 340 fuel pump: $180
CJM Fuel pump outlet fitting: $50
CJM Return Fuel corection kit: $75
Fuelab FPR: $145
NRG steering wheel: $140
Locking Header bolts: $45
SPAL Fans $112
Custom Fan shroud: $250
Hoses
-20AN: $35
-10AN: $144
-6AN: $198
-4AN: $50
Fittings
-20AN 90 degrees: $144
-20AN 45 degrees: $48
-10AN ST: $27
-10AN 90 degrees: $130
-10AN 45 degrees: $57
-6AN 90 degrees: $135
-4AN ST: $10
-4AN 90 degrees: $60
-4AN 45 degrees: $11
OTHERS: $300
Status Racing Seats (around) $1,520
Seibon TS Hood: $670
New TS diffuser and Sidskirts $800
Custom dash for switch panel $500
Total: $8,554.00
Total on Build: $30,021.13
Now I will go cry myself to sleep…Damn!!!
So that is it for now.. I should be getting some stuff in the mail and the next phase is exhaust so should be heading out that way in a couple of weeks..
- Final Fab Work: Exhaust & Intake - 29/07/2013
- 350zLS1 Build Getting Close - 12/05/2013
- It’s All About the Little Things - 02/11/2012
SICK! The misson continues. Truley blessed to be a witness to beauty. POW POW POW!
yo, whats up. sick as fuck my dude. call it mckie dee’s cause im lovin it. but i did want to mention that oil filter is gonna have oil in it come time for the oil change. im just saying because it looked like you had it at and angle, but i think horizontal would work better. thats my two cents, the choice is yours.