Okay boys and girls it is finally update time… Again so sorry for the lack of update but things got crazy over here and took me for ever to paint the interior of my car. Now that the paint is done, hopefully things will move a little faster.
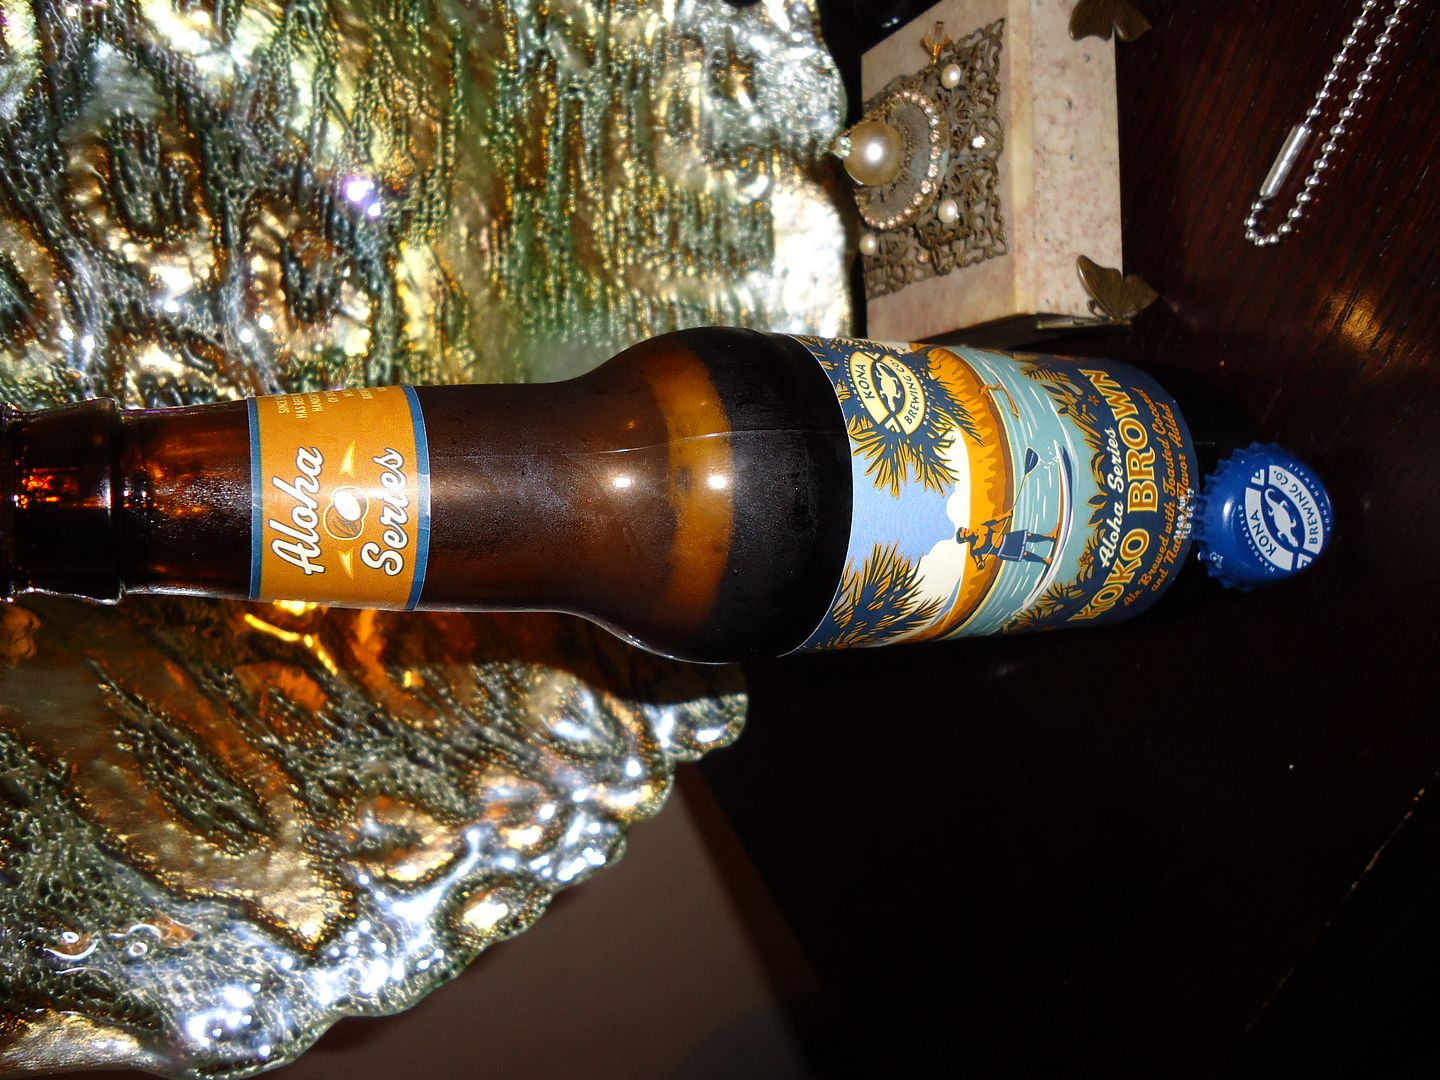
Okay lets start this off with some good summer time beer.. Kona Brewing Aloha Series Koko Brown is first up, man do I love this beer the coconut came out strong on this thing and it tasted so good. Felt like I should have been at the beach..
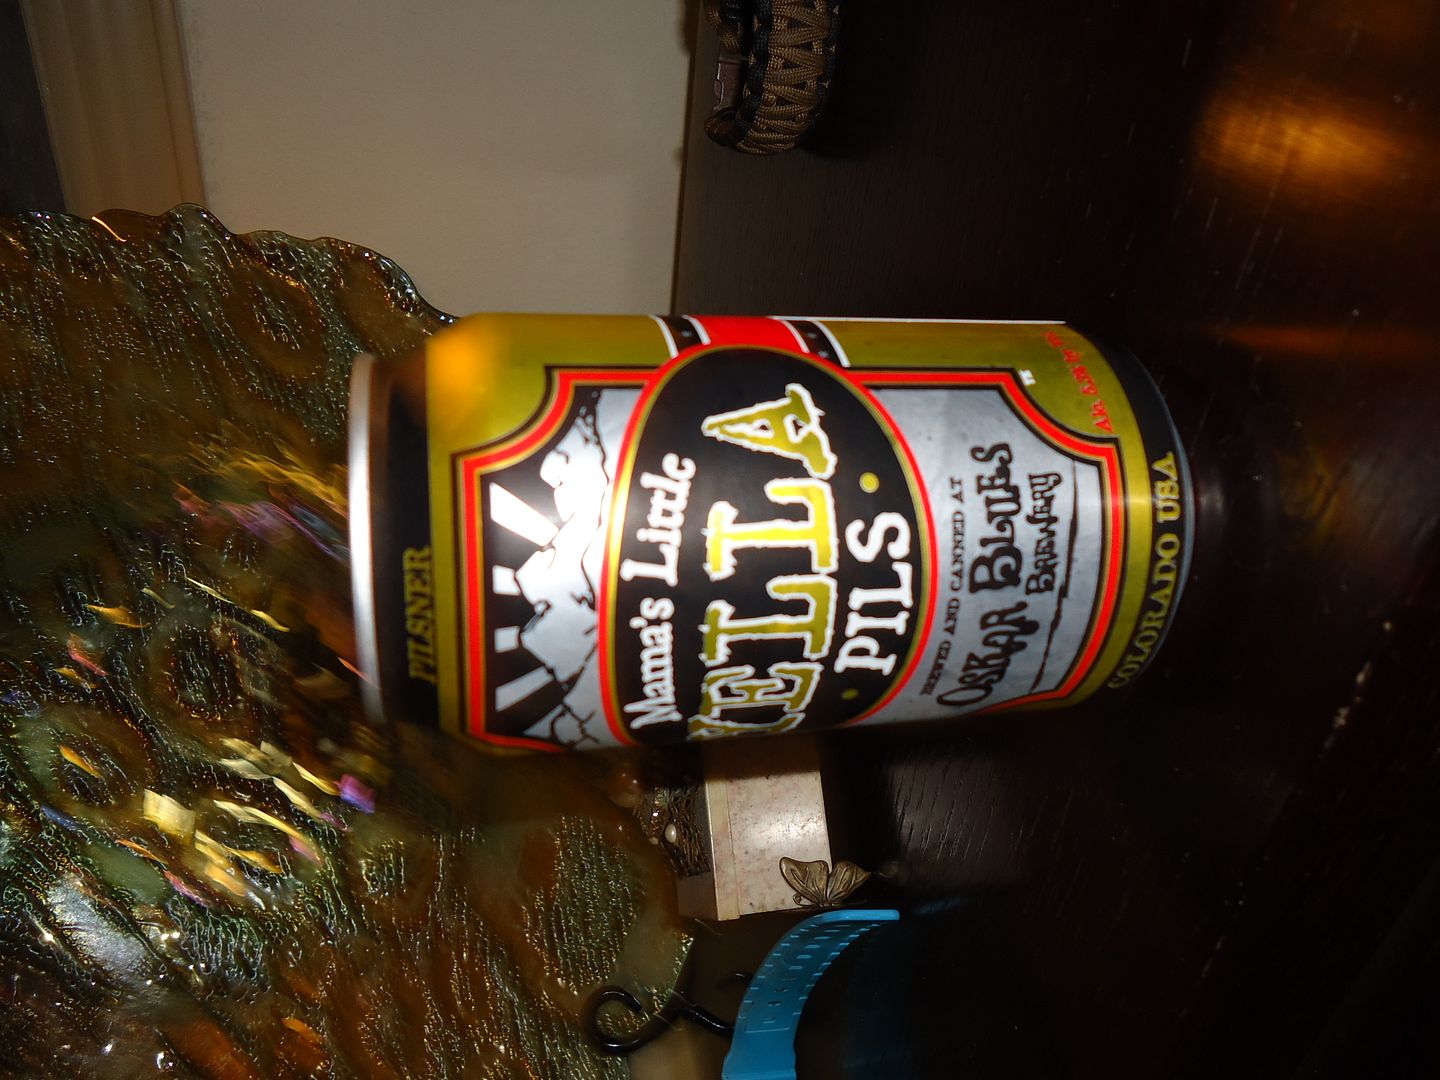
next we have Oskar Blues’ Mama’s Little Yella Pills. Now I picked this up because of the name, never had it before but I must say it was very tasty. Its built with 100% pale malt, German specialty malts, and Saaz hops. While it’s rich with Czeched-out flavor, its gentle hopping (35 IBUs) and low ABV (just 5.3%).. So a really good beer.
Okay before I jump into the paint pics let me show you some of my pick ups I bought..
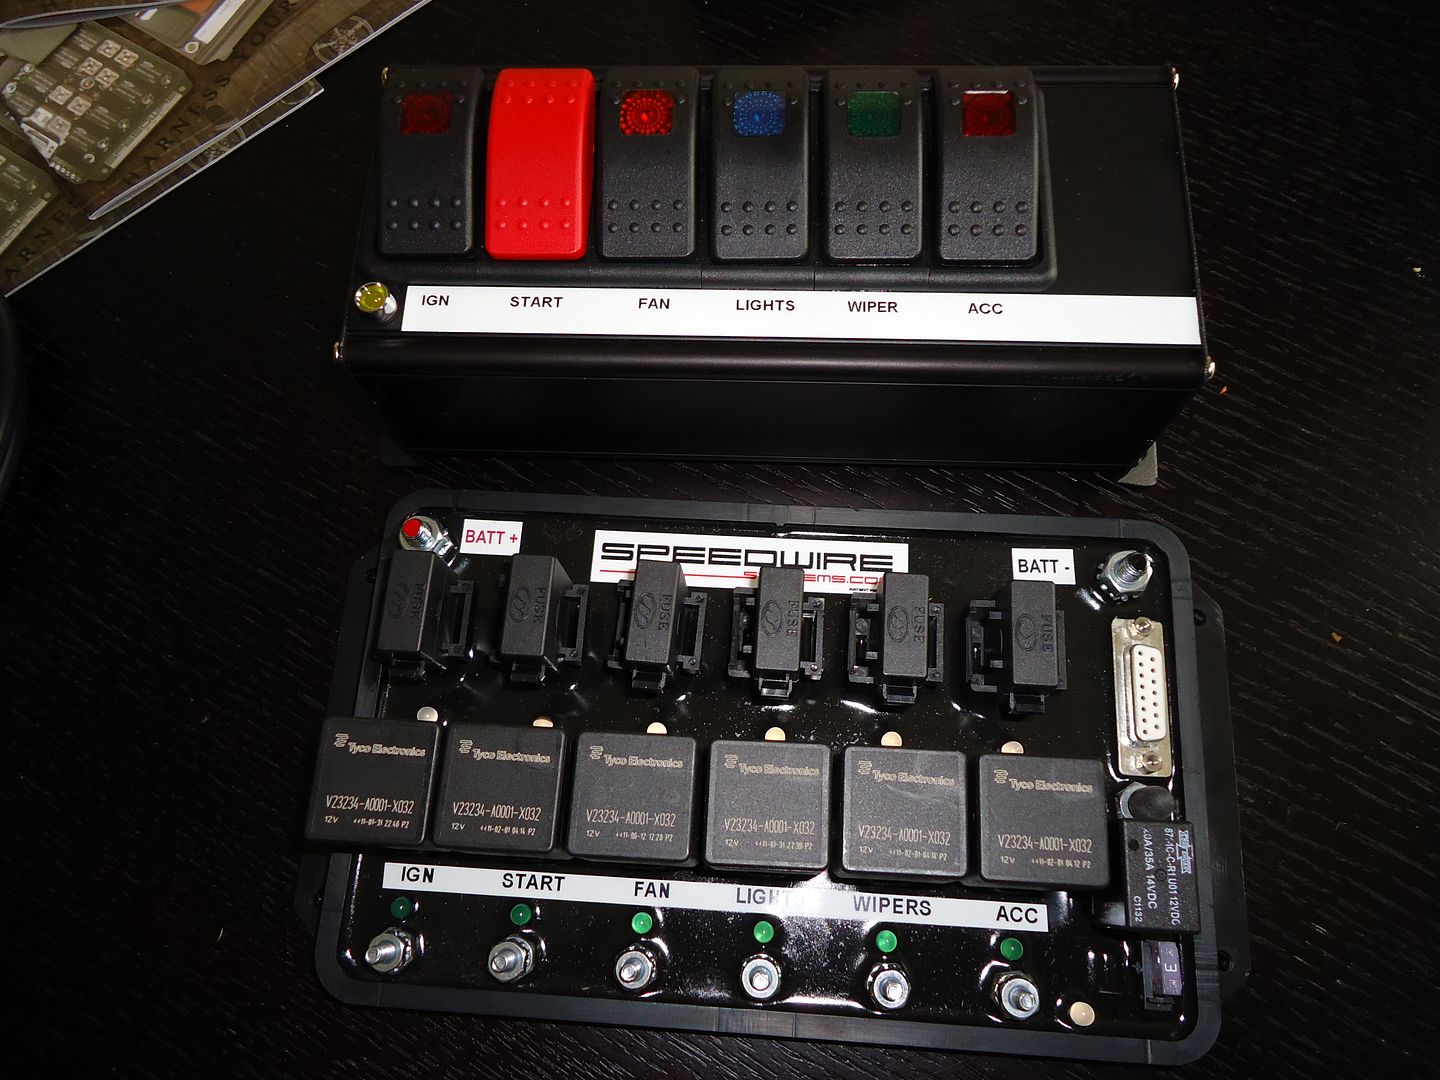
SpeedWire Systems really take pride in there work and try to work with every customer.
You can check out a full write up on the SpeedWire Systems HERE..
SpeedWire 6 relay Panel w/Controller” $765.00

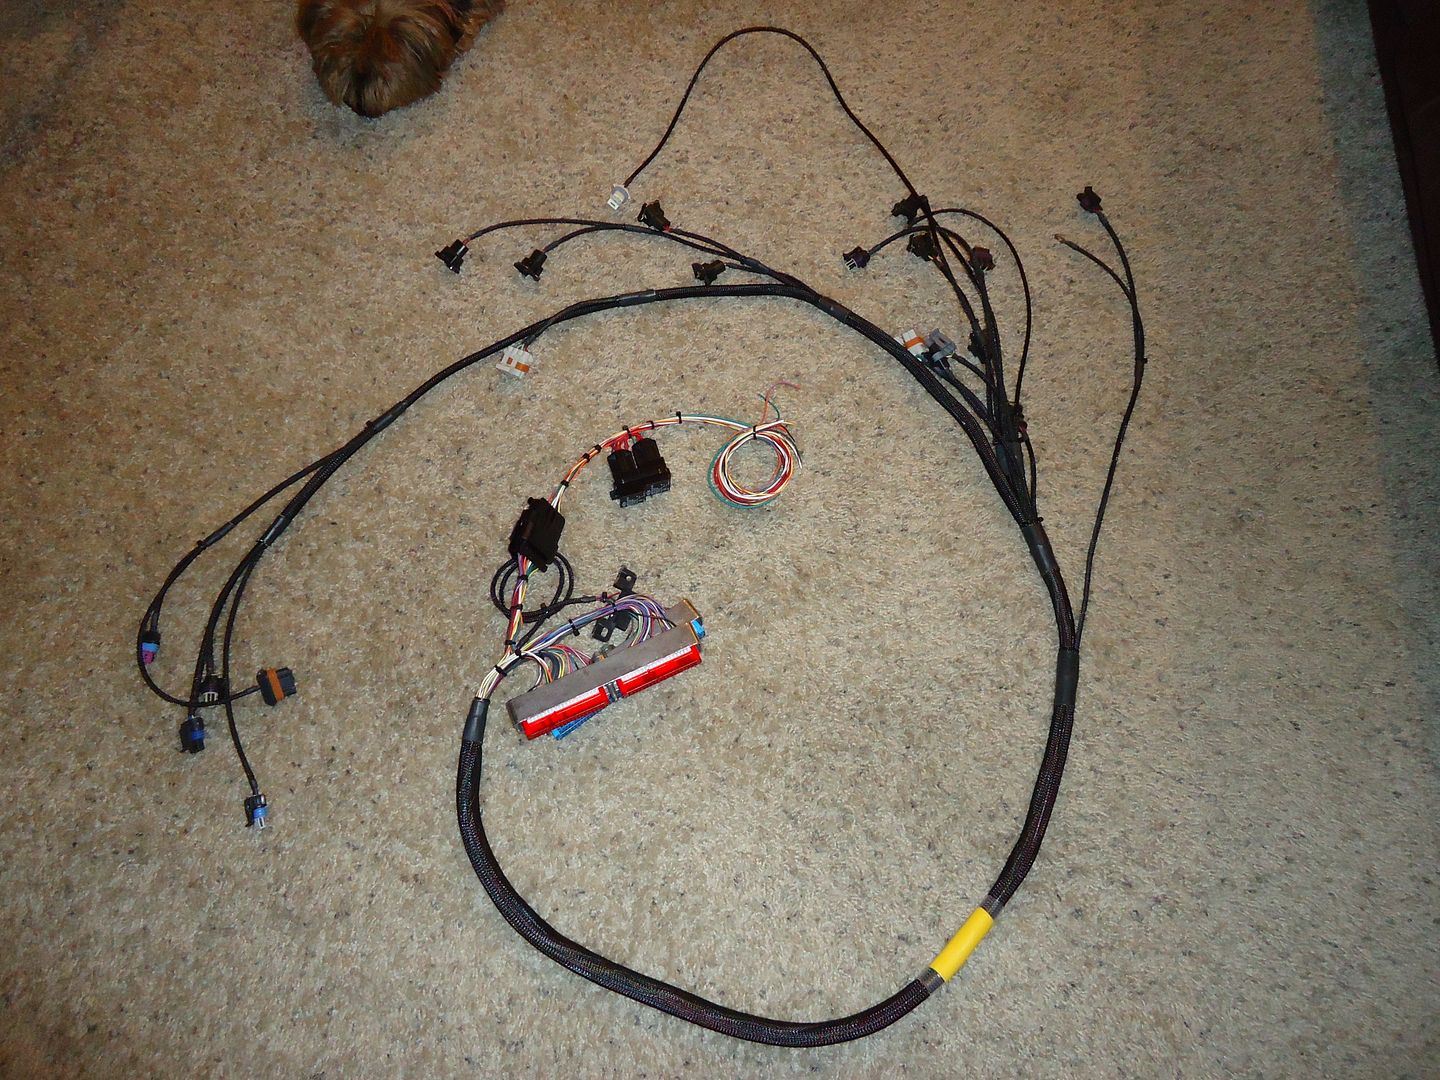
Next I would like to welcome ChaseBays to the build, there was no other company out there I wanted building my harness then them..
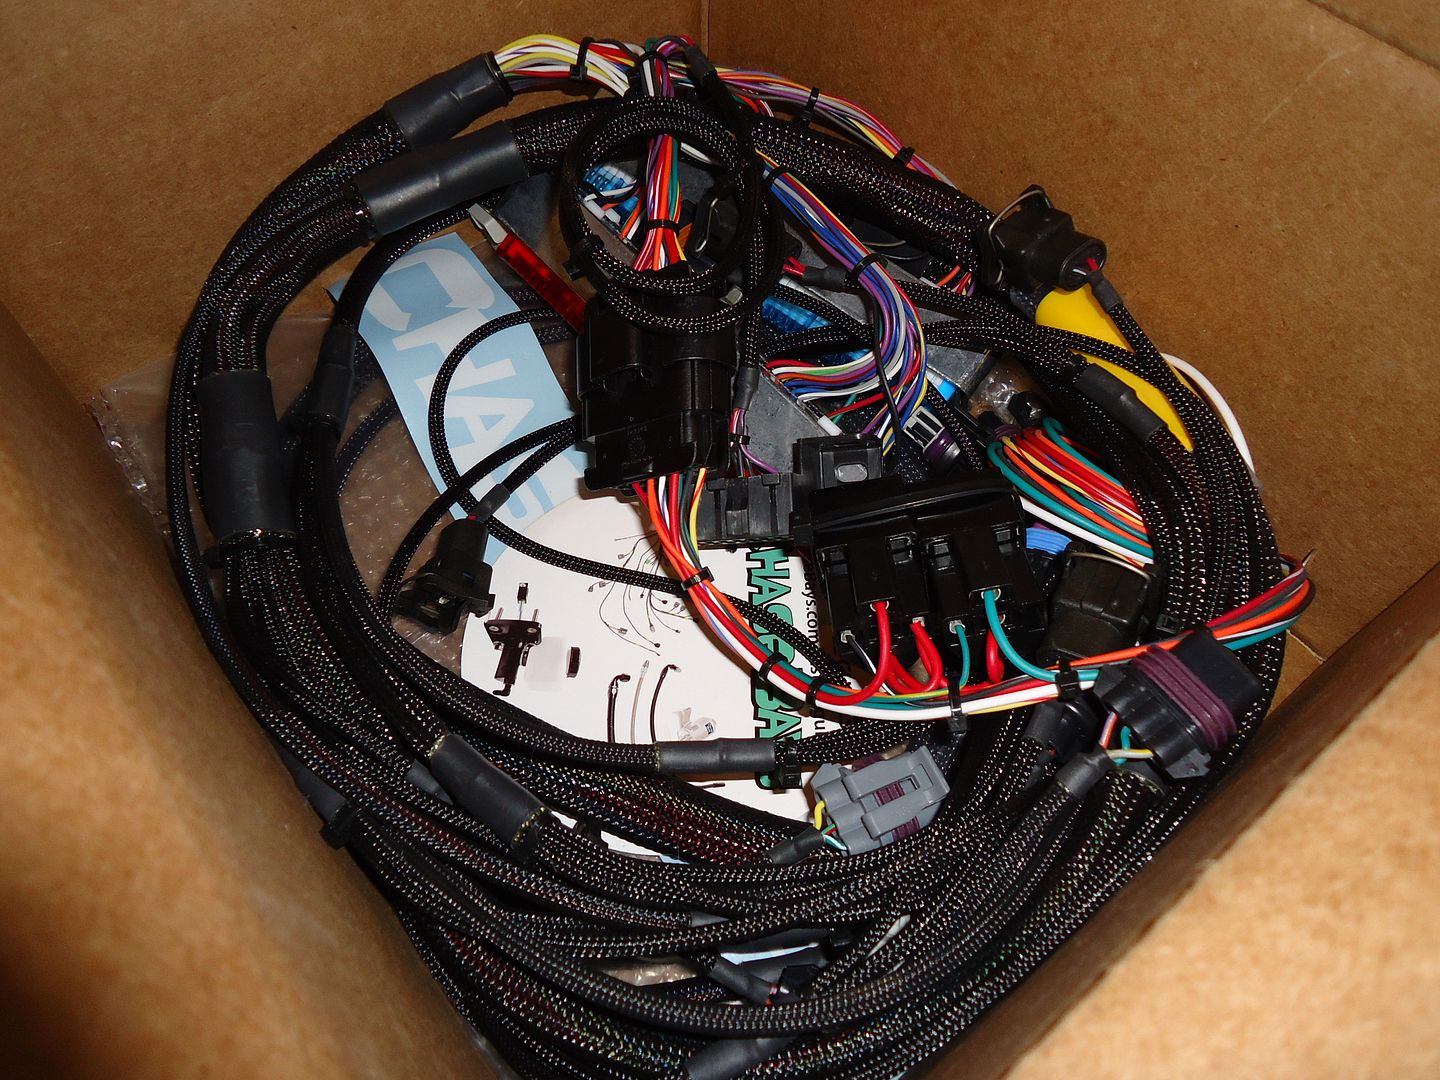
I saw the box and was like, “That’s it”.. Coming from removing the VQ35 harness which weighed a easy 40lbs…lol to this.. minds got blown…
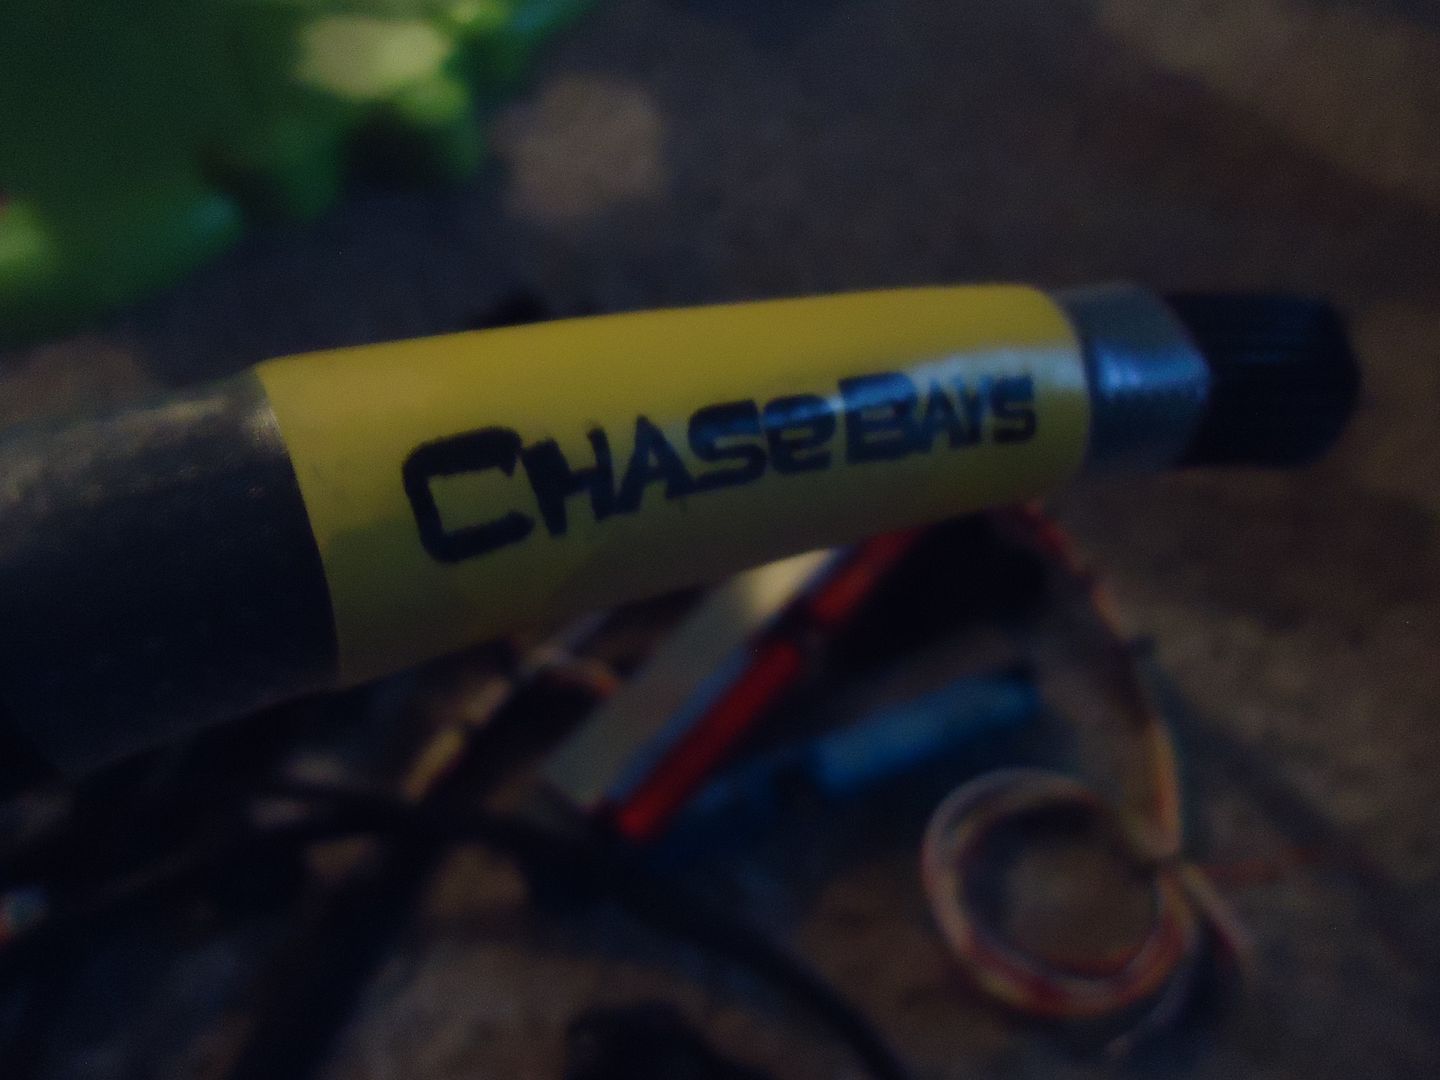
Stamp of approval.
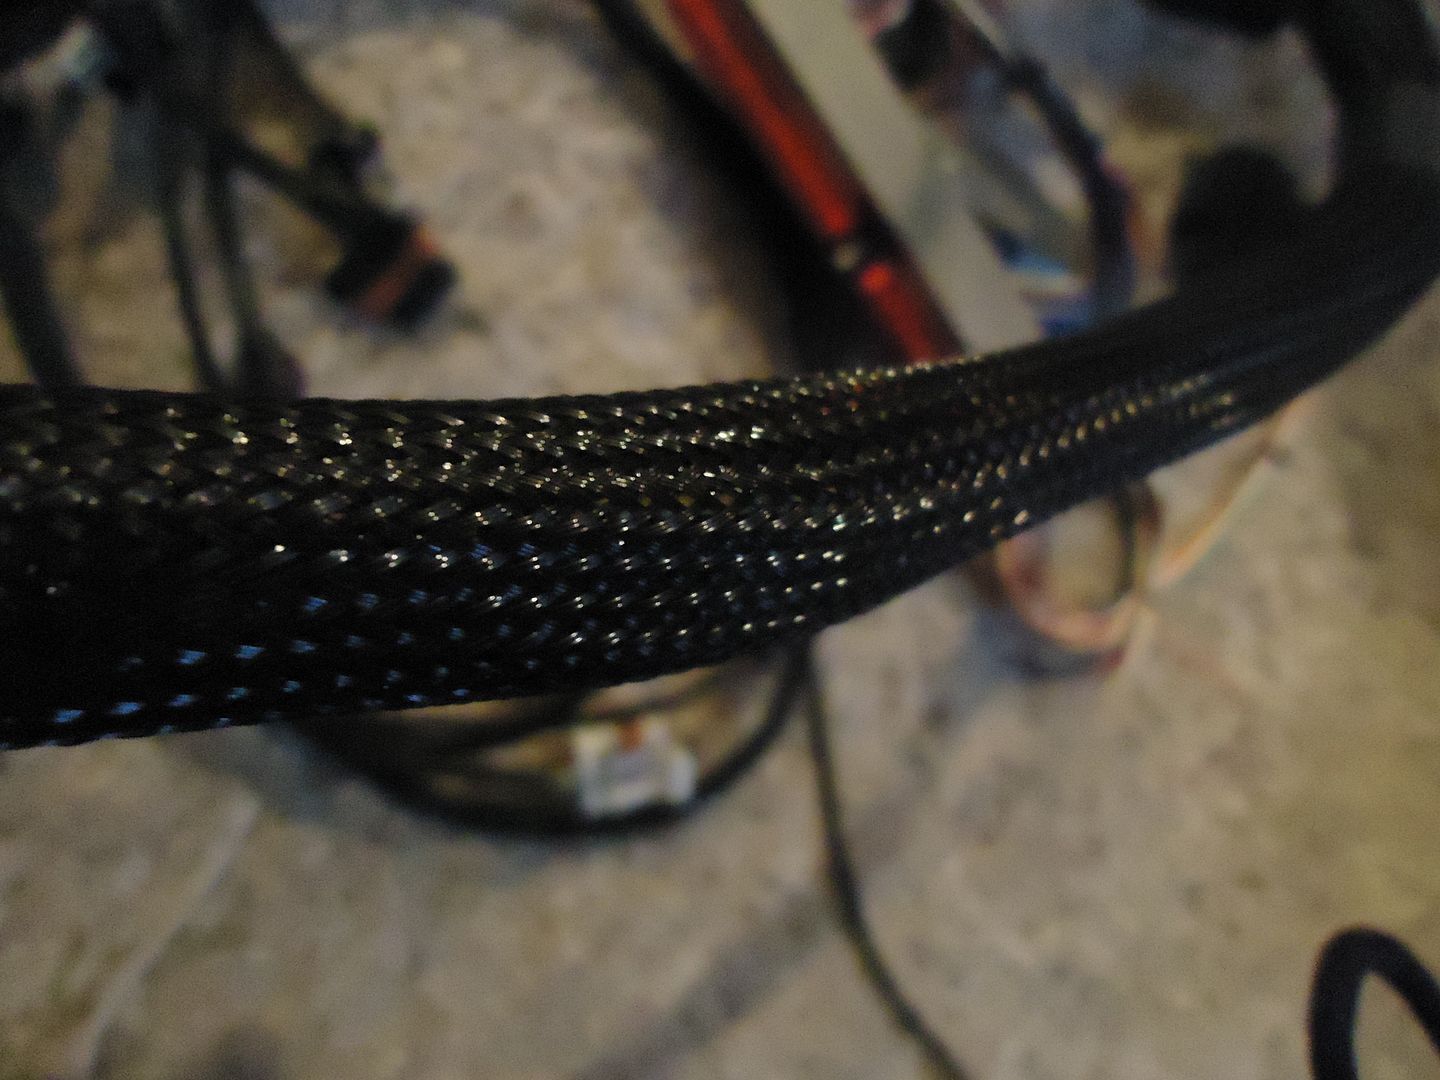
Loomed with Nylon Sleeving and Adhesive Glue Lined Heat shrink
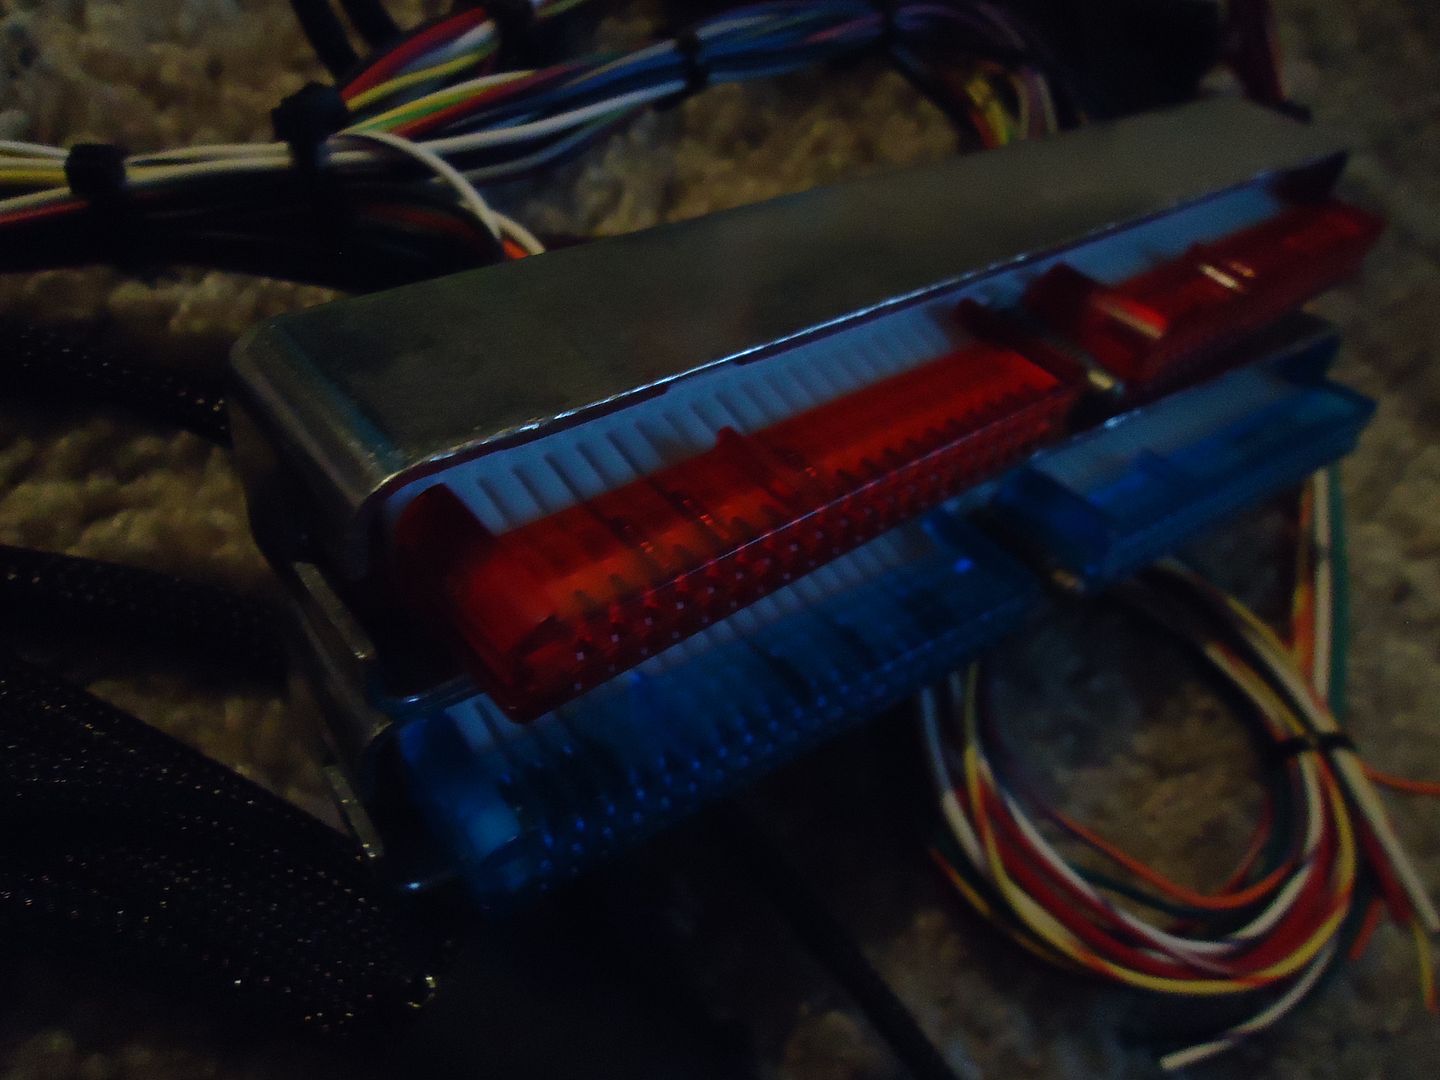
All harness is made to your liking, I had mine setup for Race and wire straight to the GM PCM..
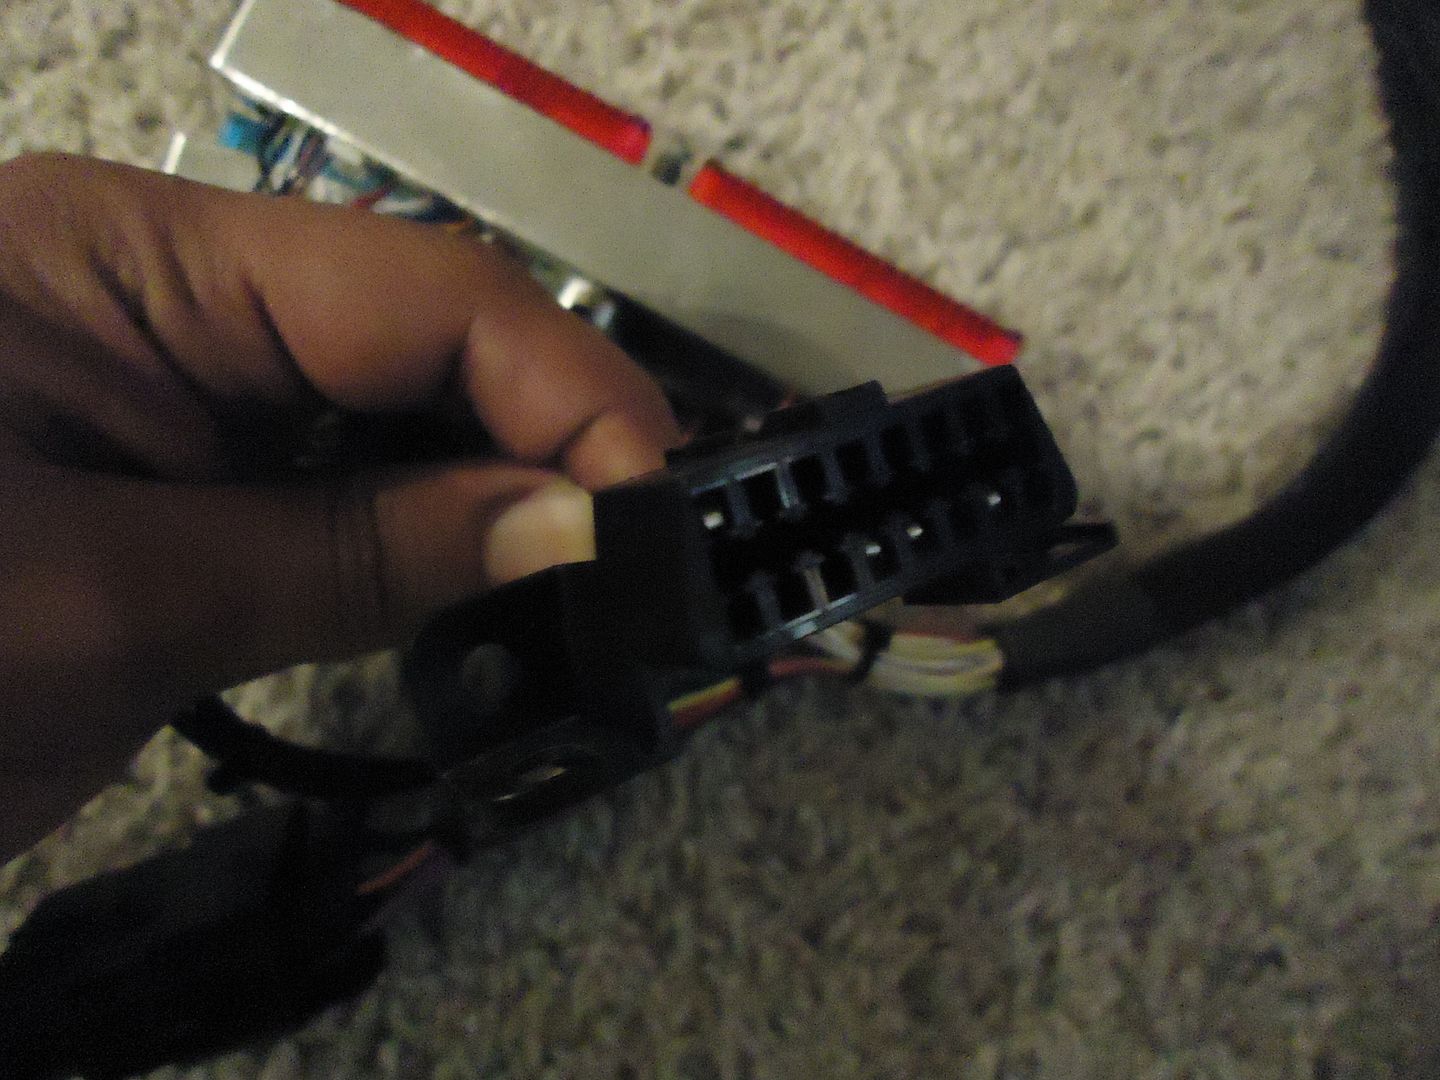
One thing I asked for and I think it comes this way is for the OBD II reader port.. A must have..
Also Made with brand new PLUGS, WIRE, and PINS
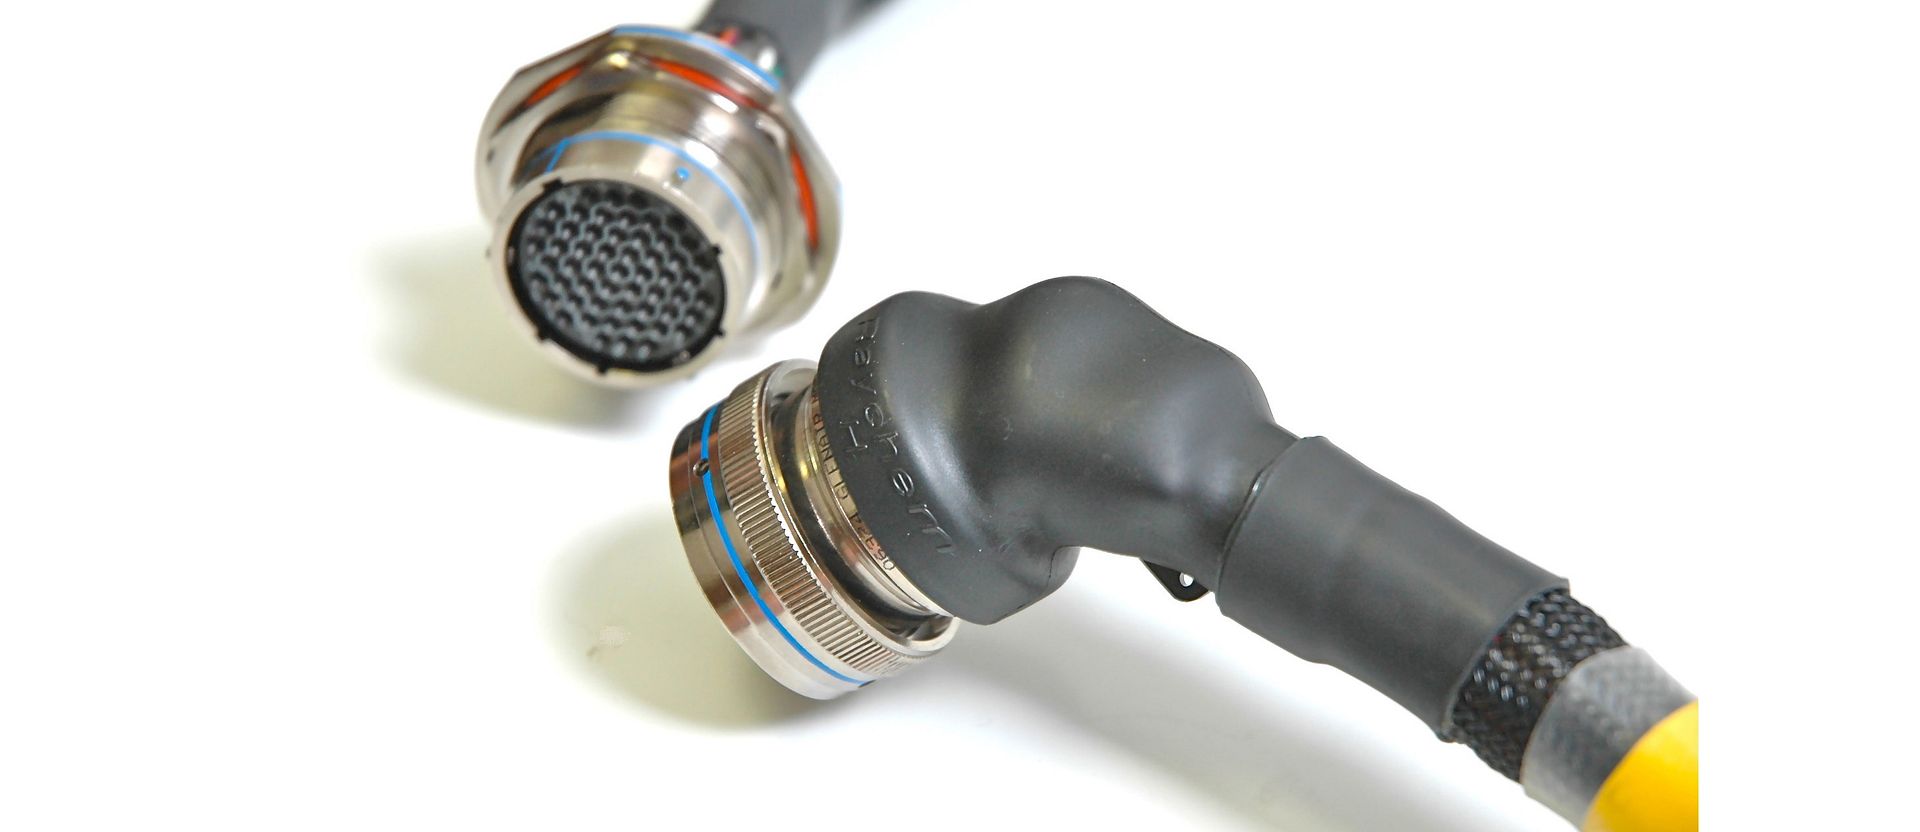
They also do a Optional Mil Spec connector for the firewall, nice for engine removal and what not..
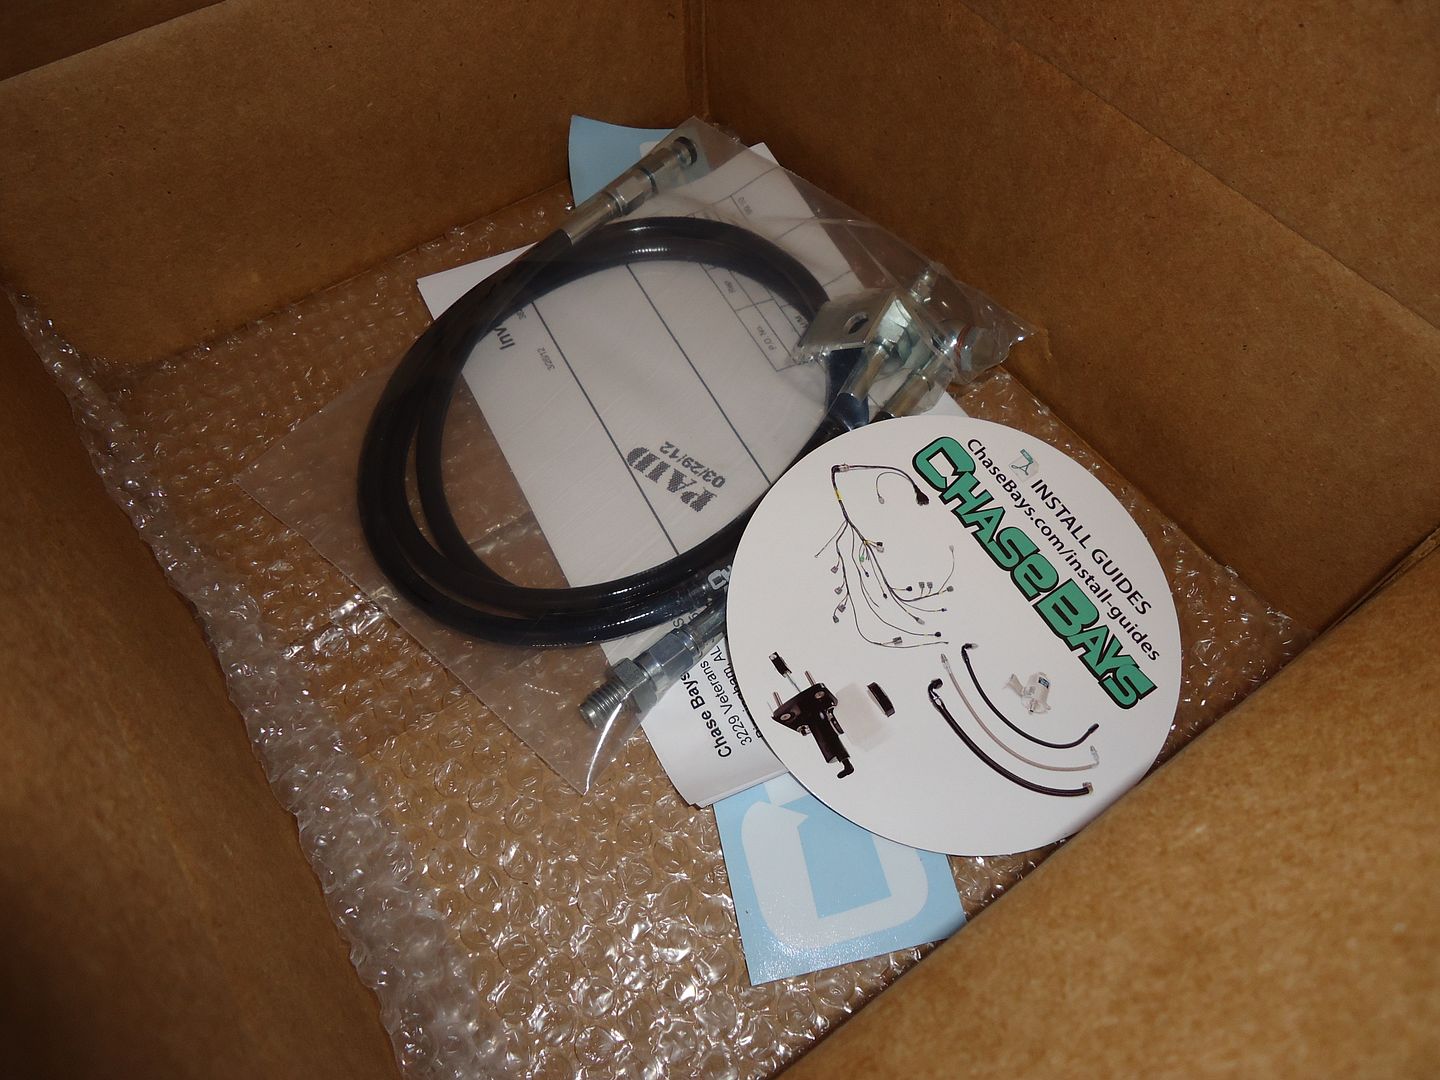
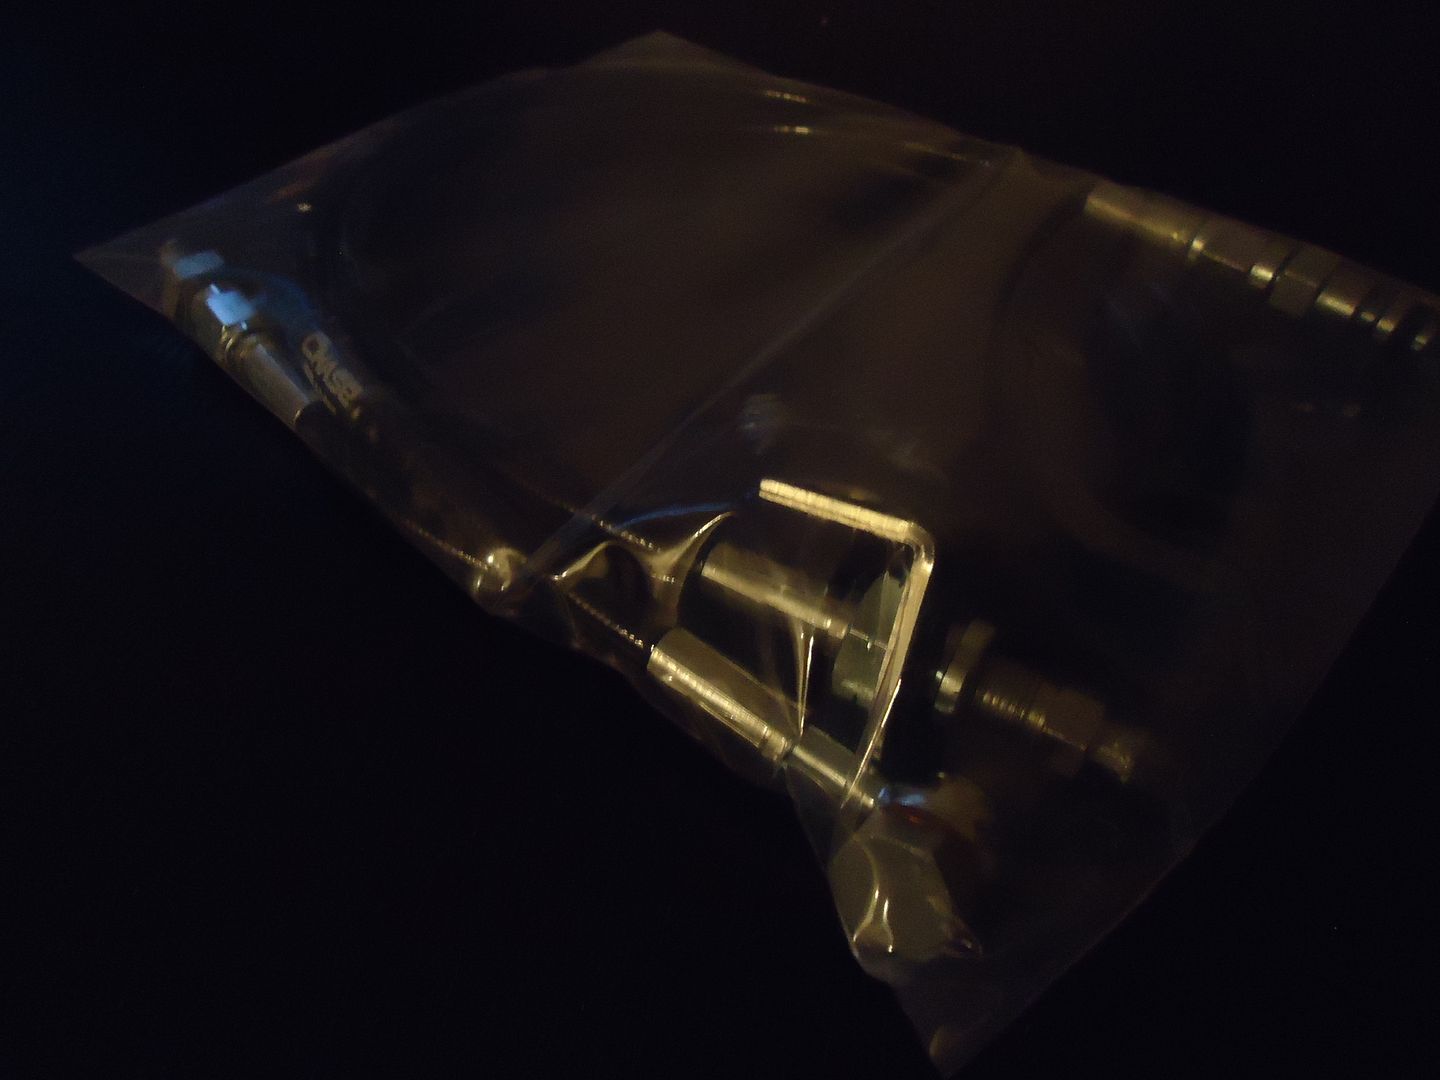
I also picked up their LS1 clutch line..
Packaged and ready to rock..
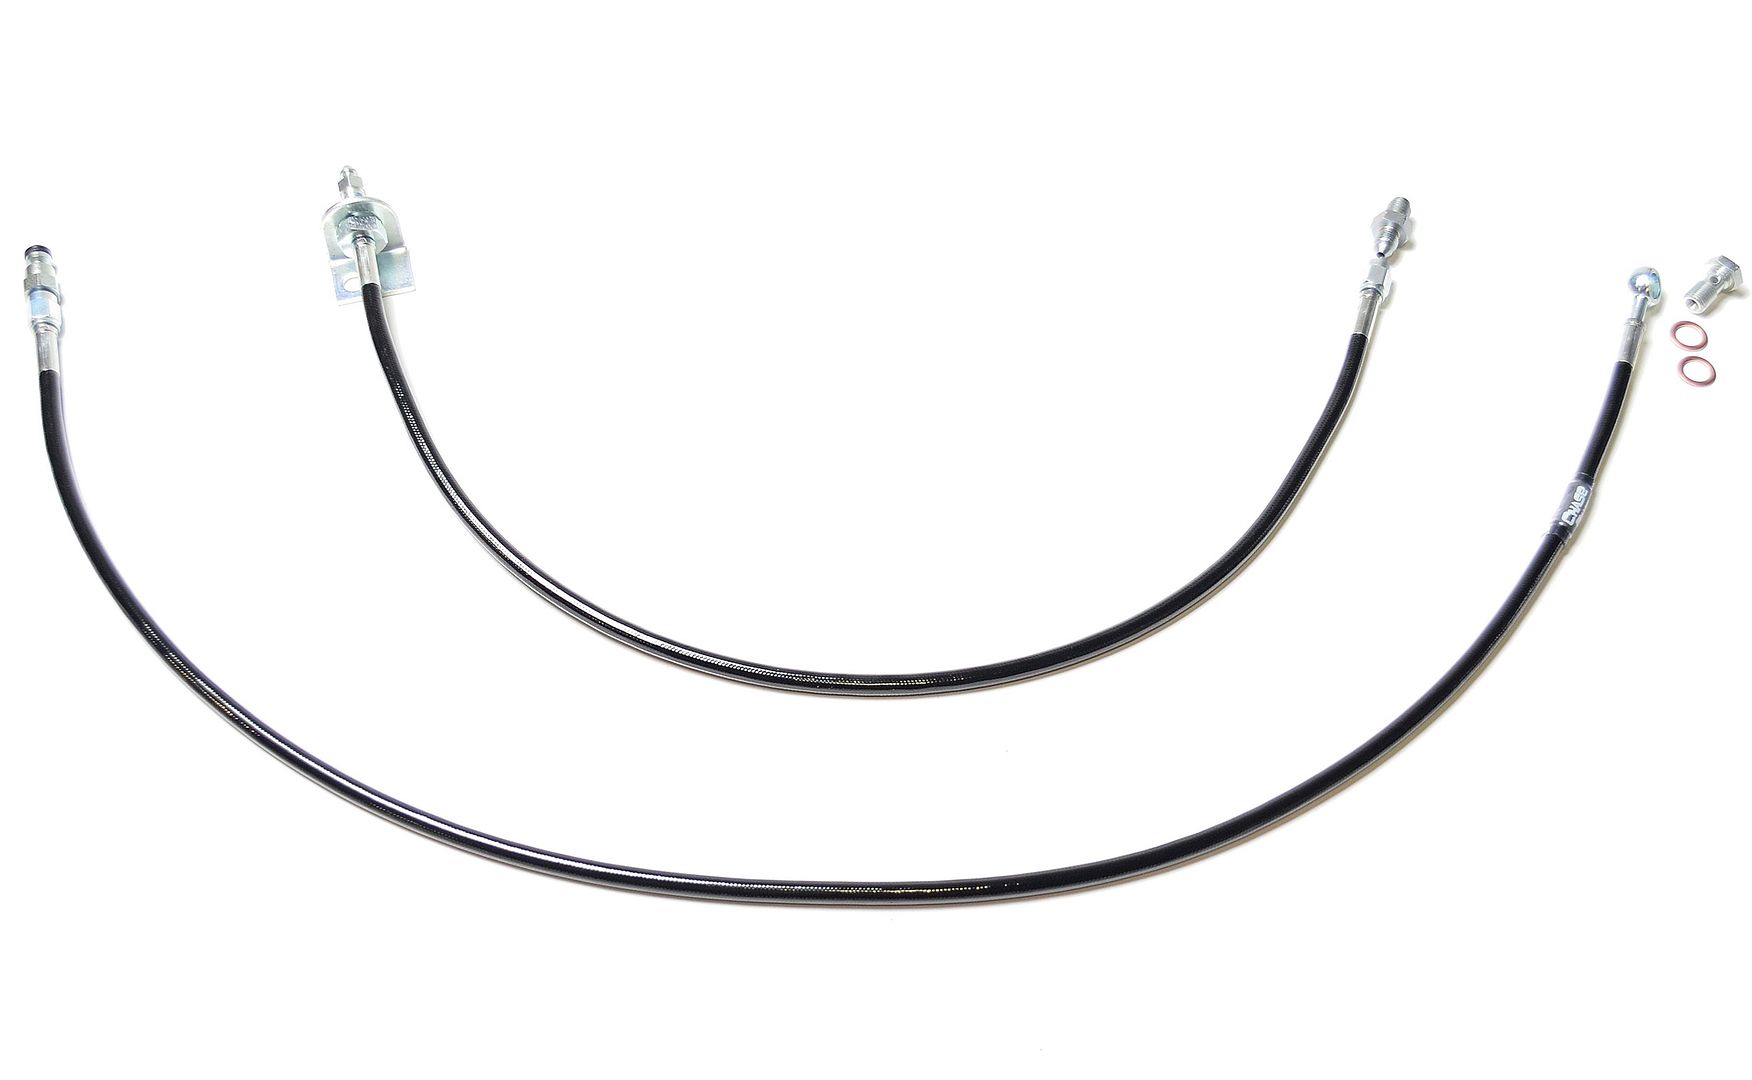
Some better pics from ChaseBays
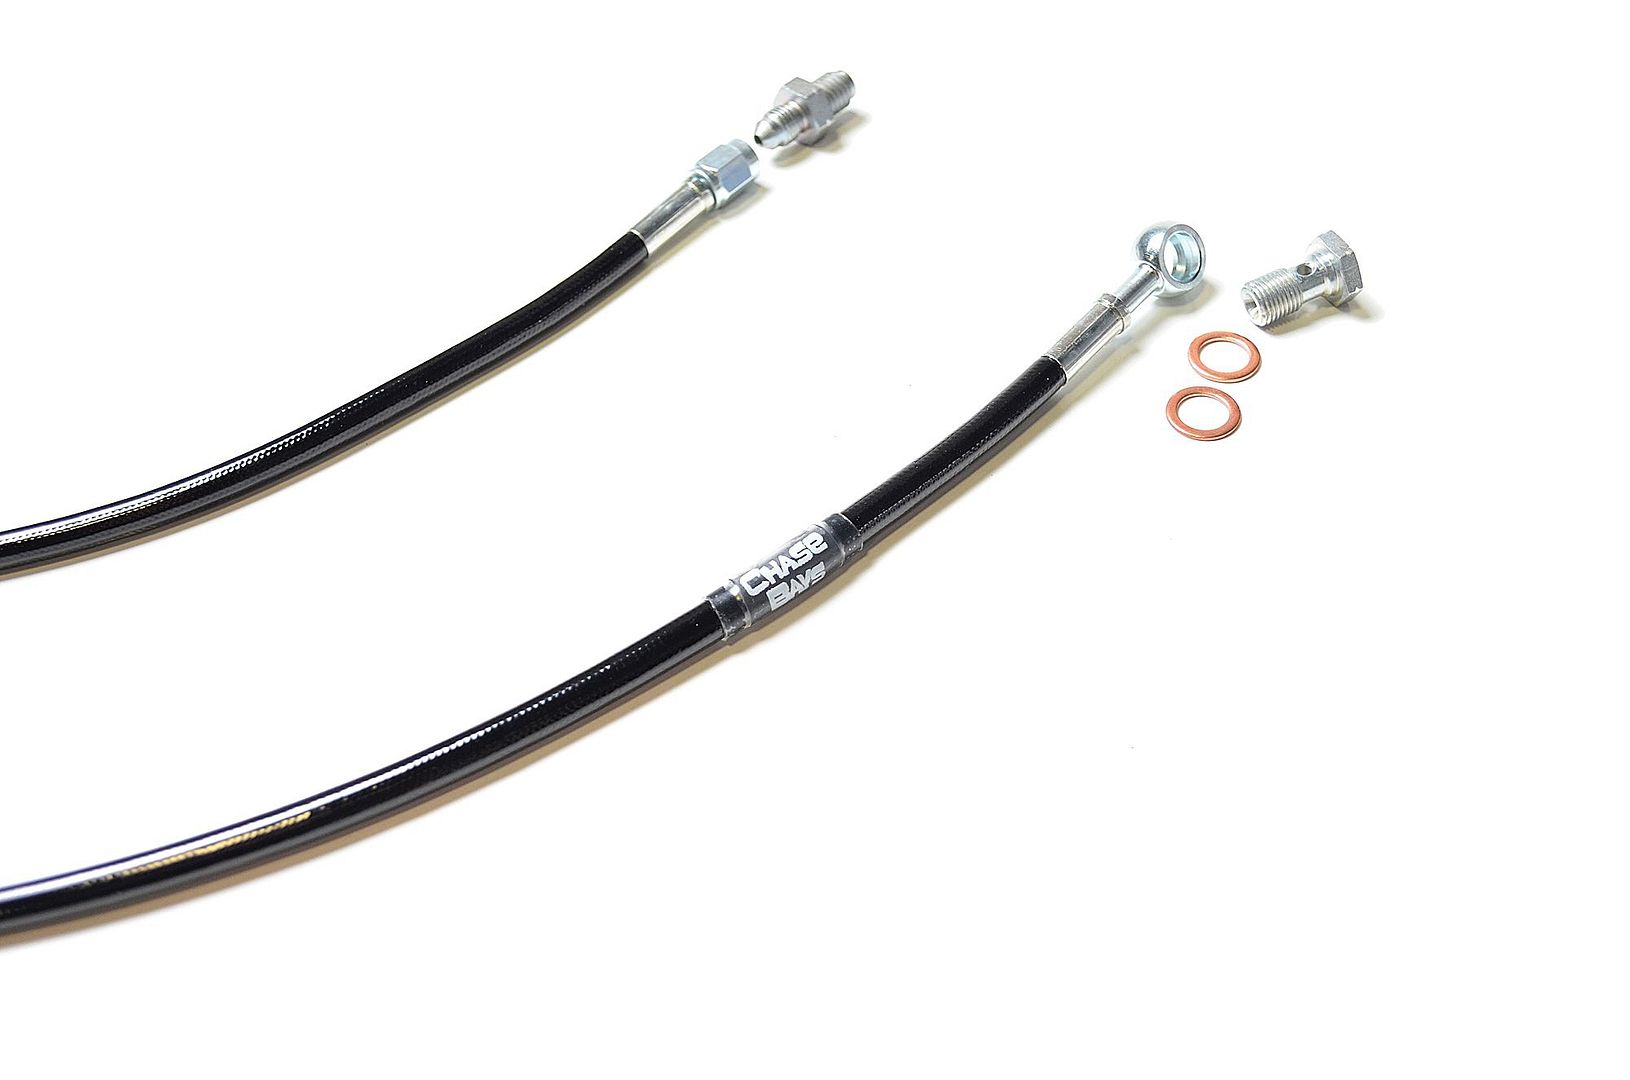
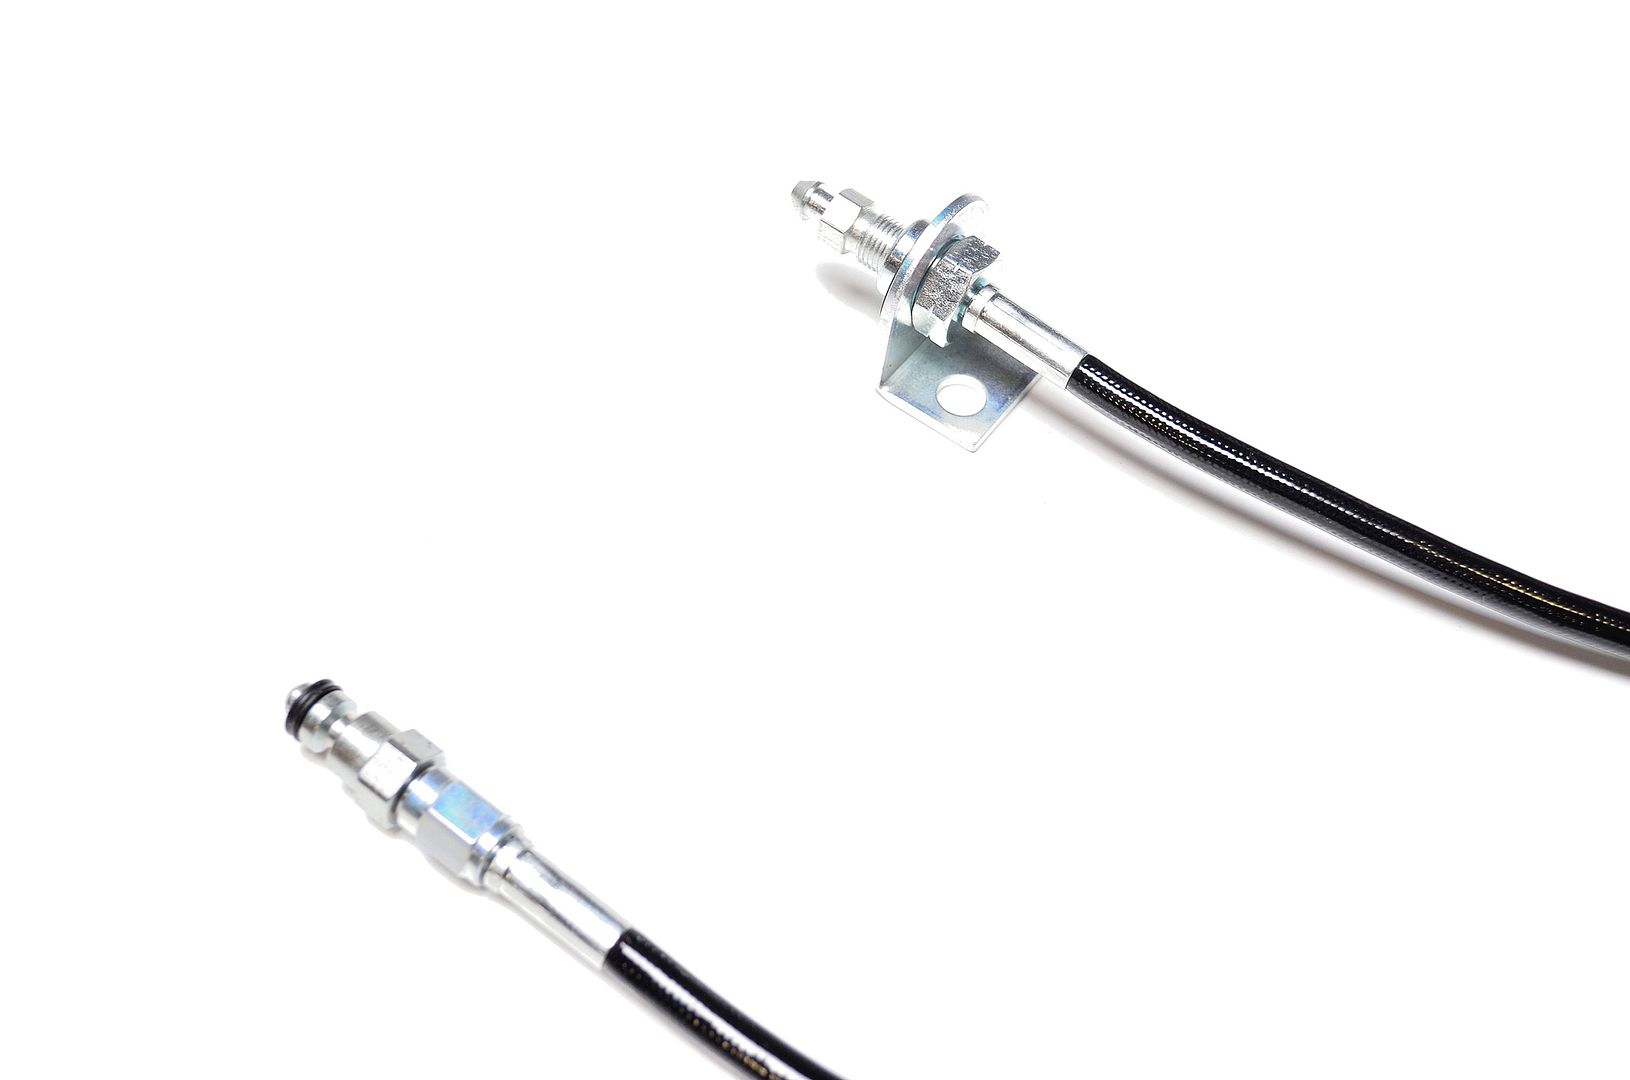
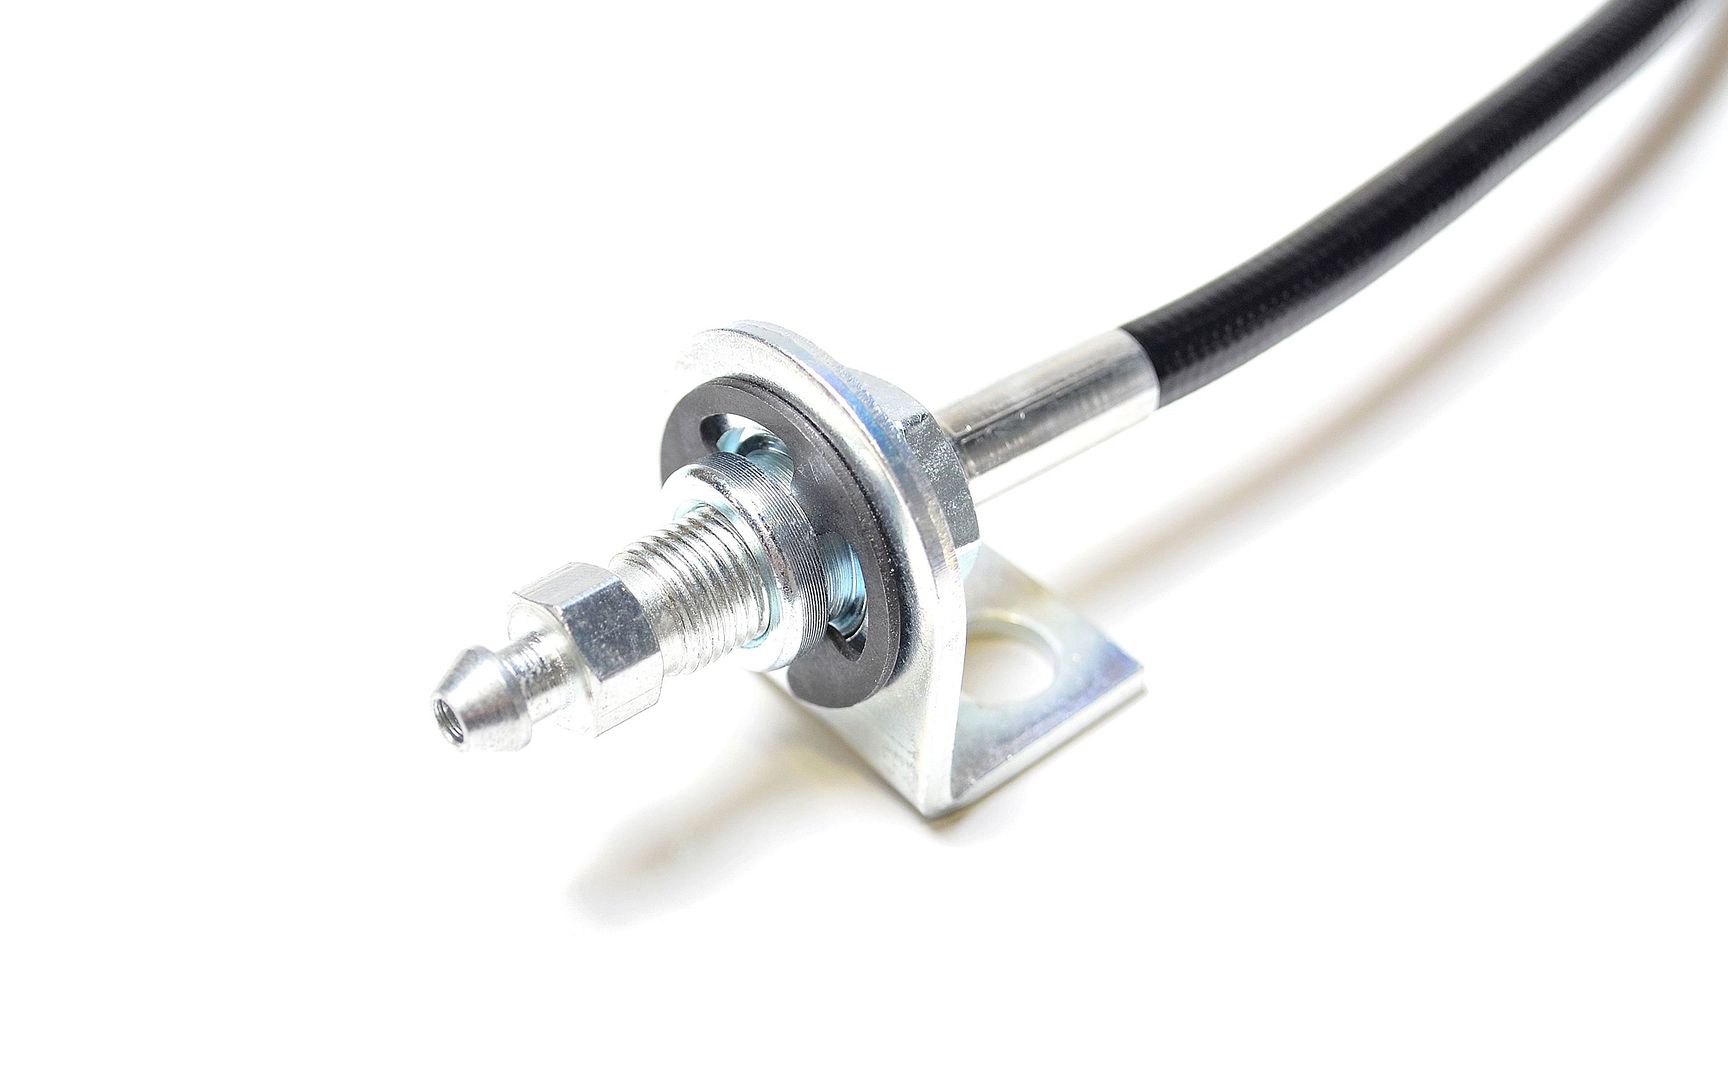
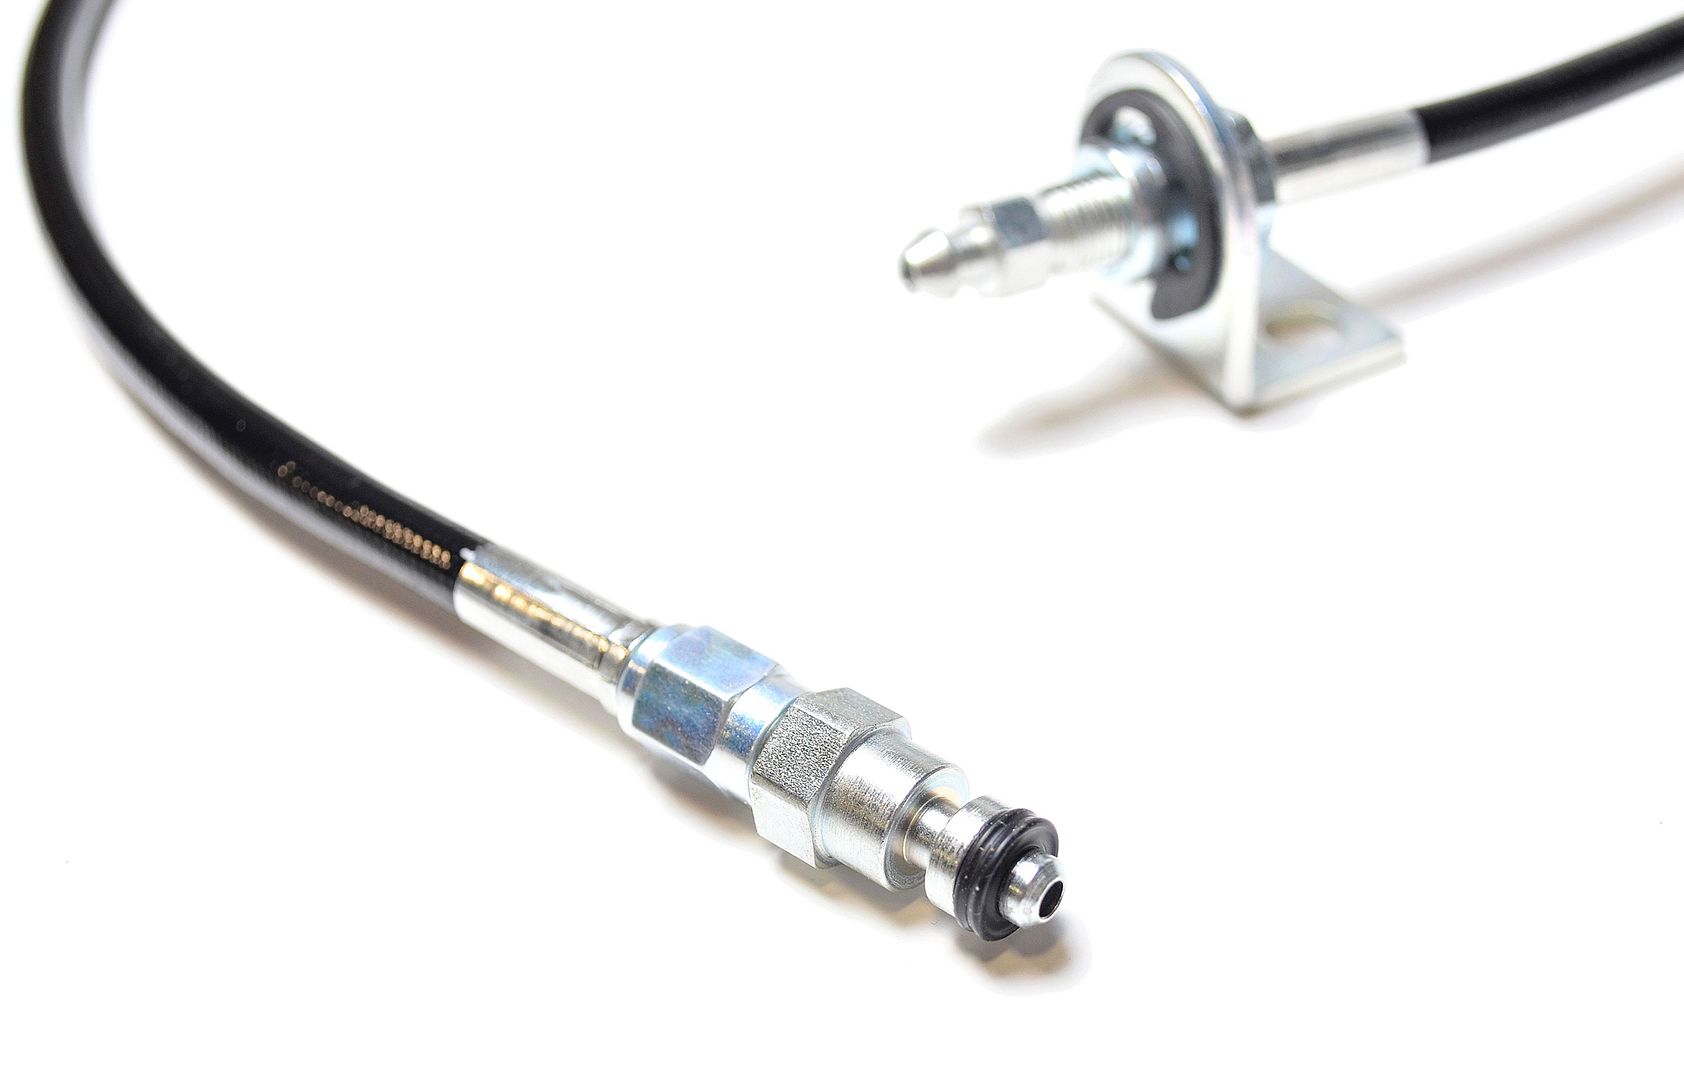
This is a full replacement clutch line and bleeder line. One piece -3AN stainless steel braided teflon coated line from the clutch master cylinder to the slave cylinder in the T56 transmission. The bleeder line is 16″ long with a bracket pre-installed to attach to your transmission for easy bleeding. Eliminate the clutter and weight of the OEM hard line, soft line, and bracket. Our clutch line is great looking, saves weight, improves pedal feel, and improves clutch engagement.
Chase Bays Engine Harness – GM LS1 | LS6: Starting at $599.99
Chase Bays Clutch Line – Nissan 350Z/G35 w/ LS1 T56: $99.99
Next on the list was upgrading my fuel rails, chose to go with the Vengeance Racing Kit. Prb going to change the setup but oh well..
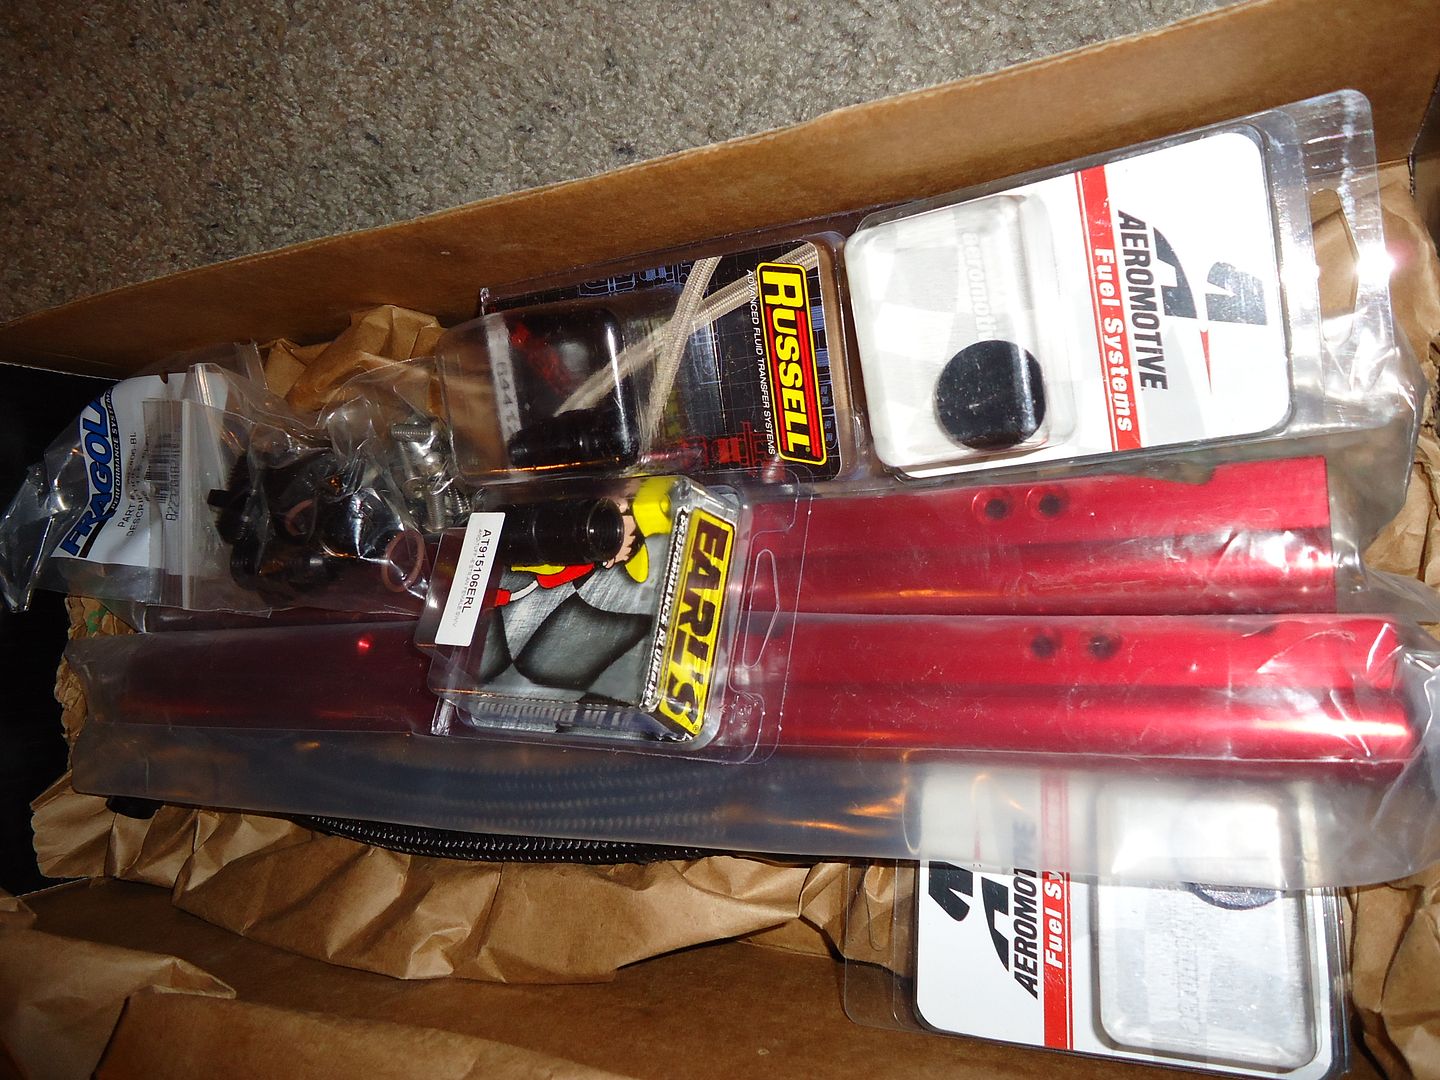
Comes with FAST billet fuel rails and all fittings needed.
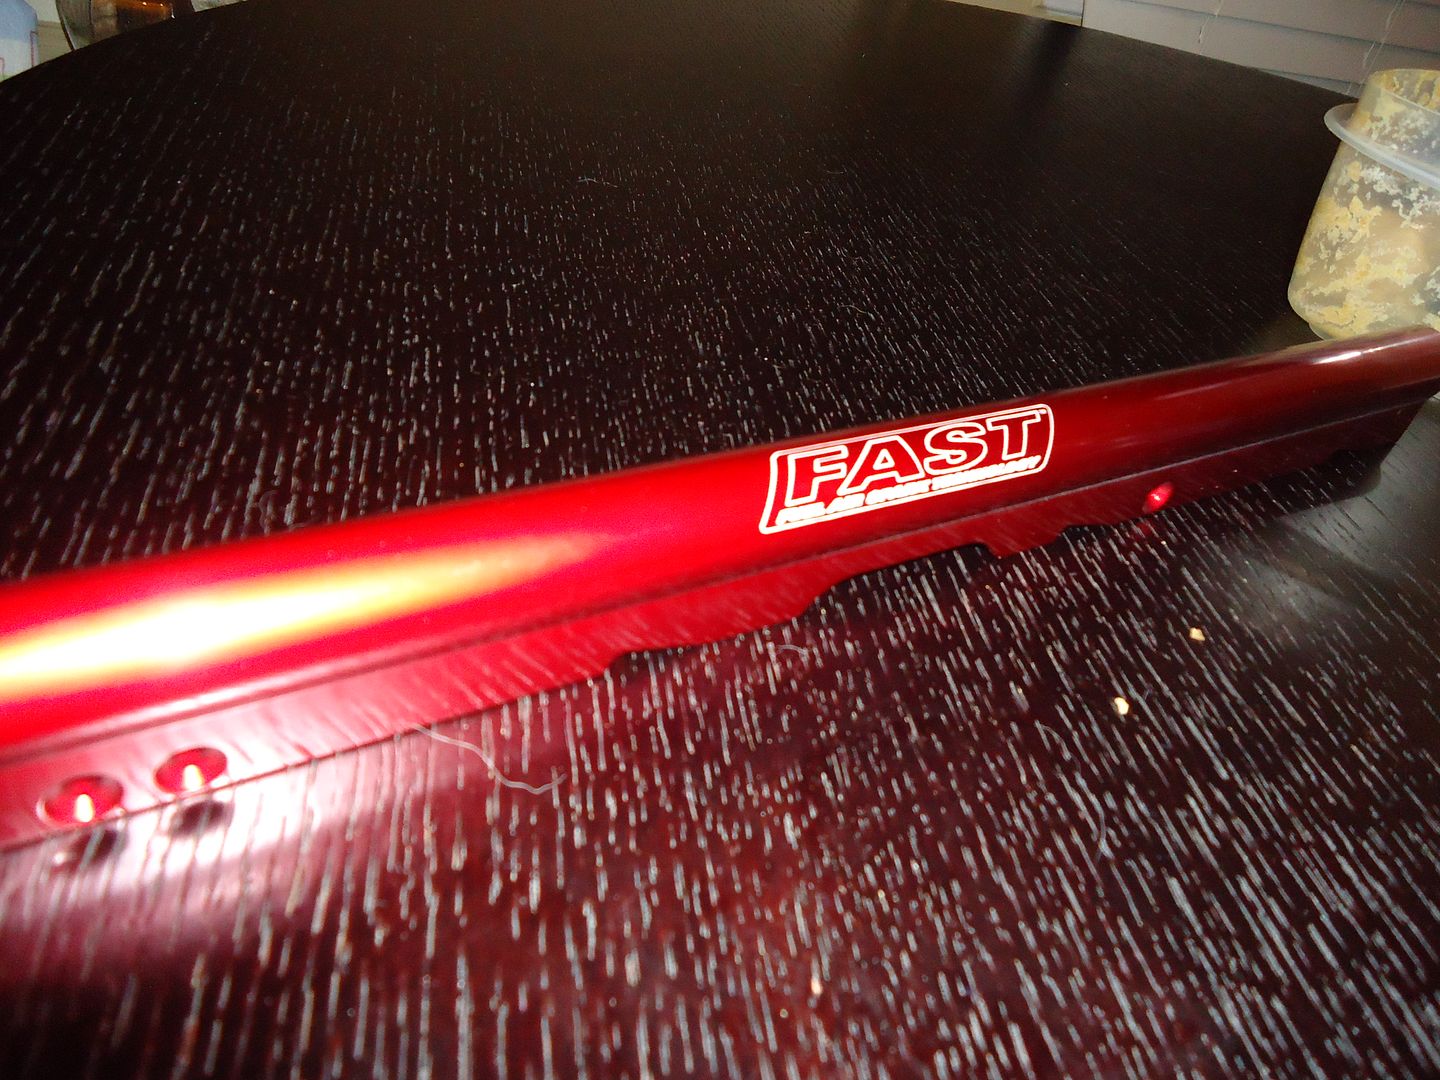
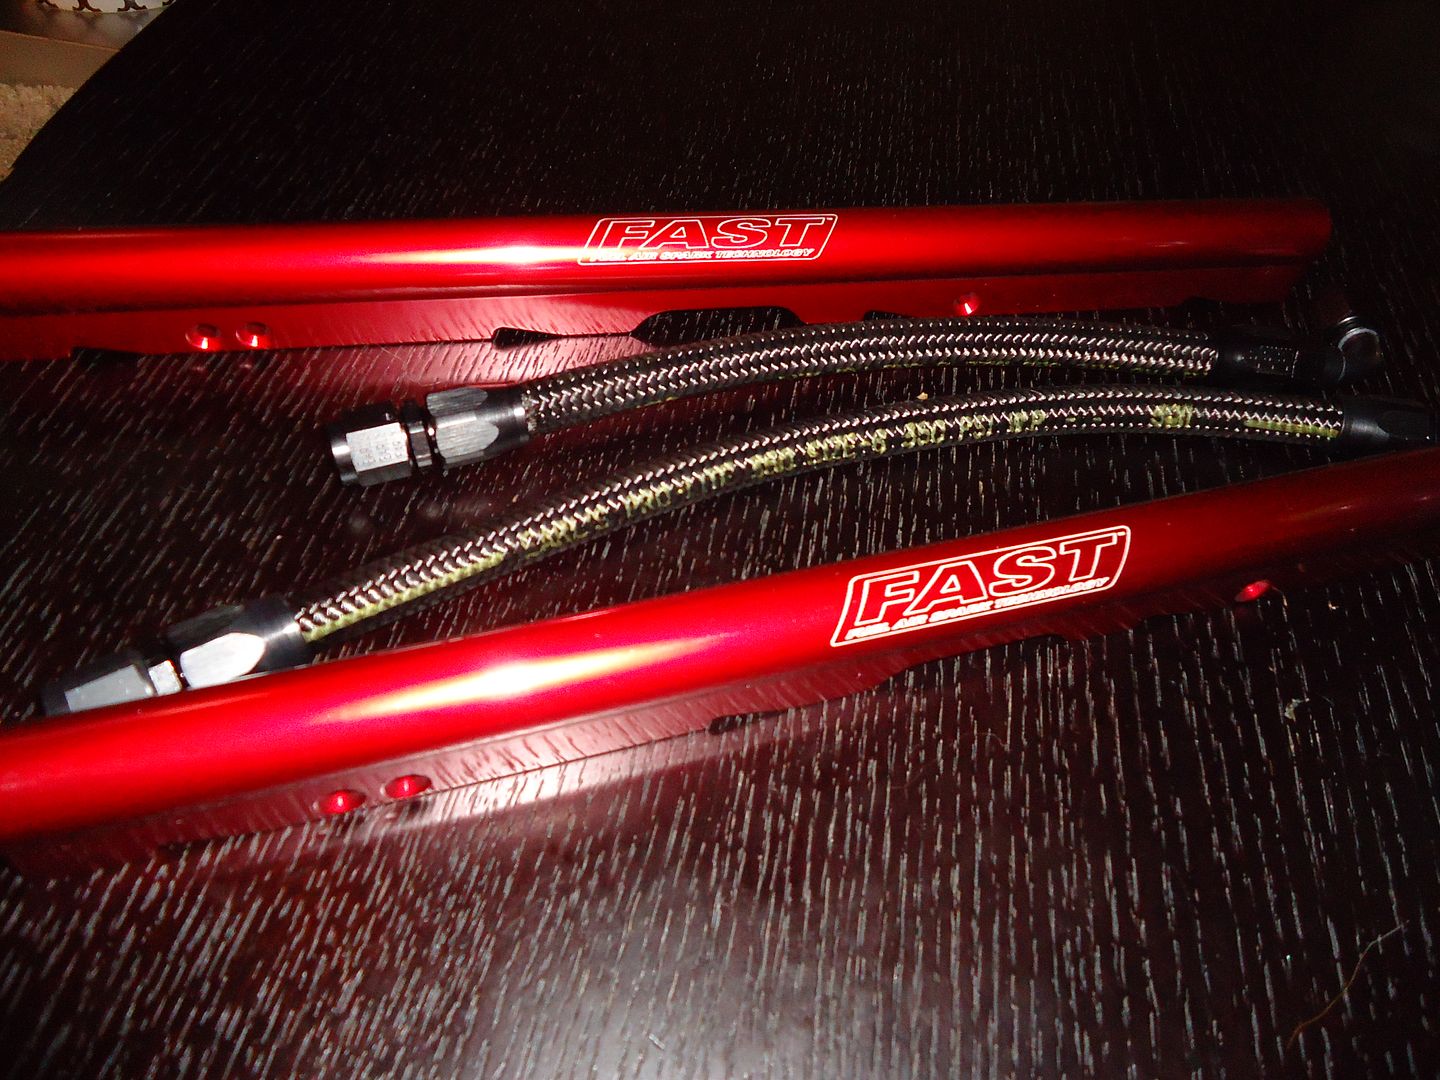
Going to look so much better then the OEM FAST rail..

This is how it looks installed.
Vengeance Racing/FAST LSXR Billet Fuel Rail Kit: $399.99

Next on the list was my Power By Max Super Angle kit for the Z33. If you guys have not seen this in action just watch Ryan Kado’s vids. He is rocking the same kit.
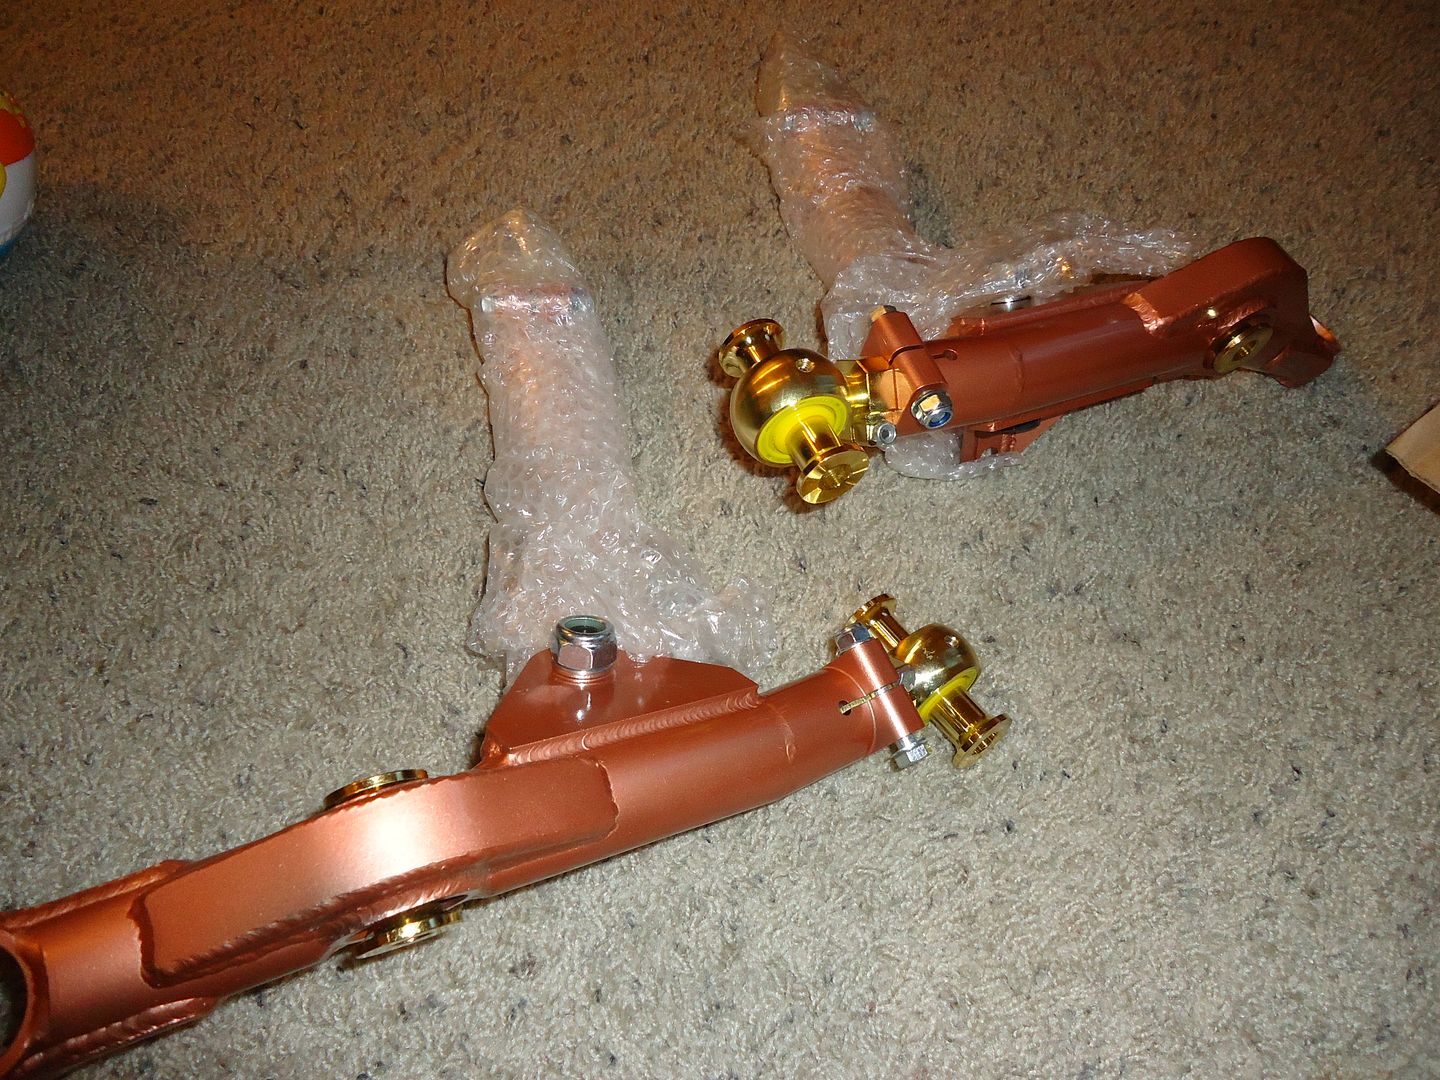
Can’t wait to mount these suckers up
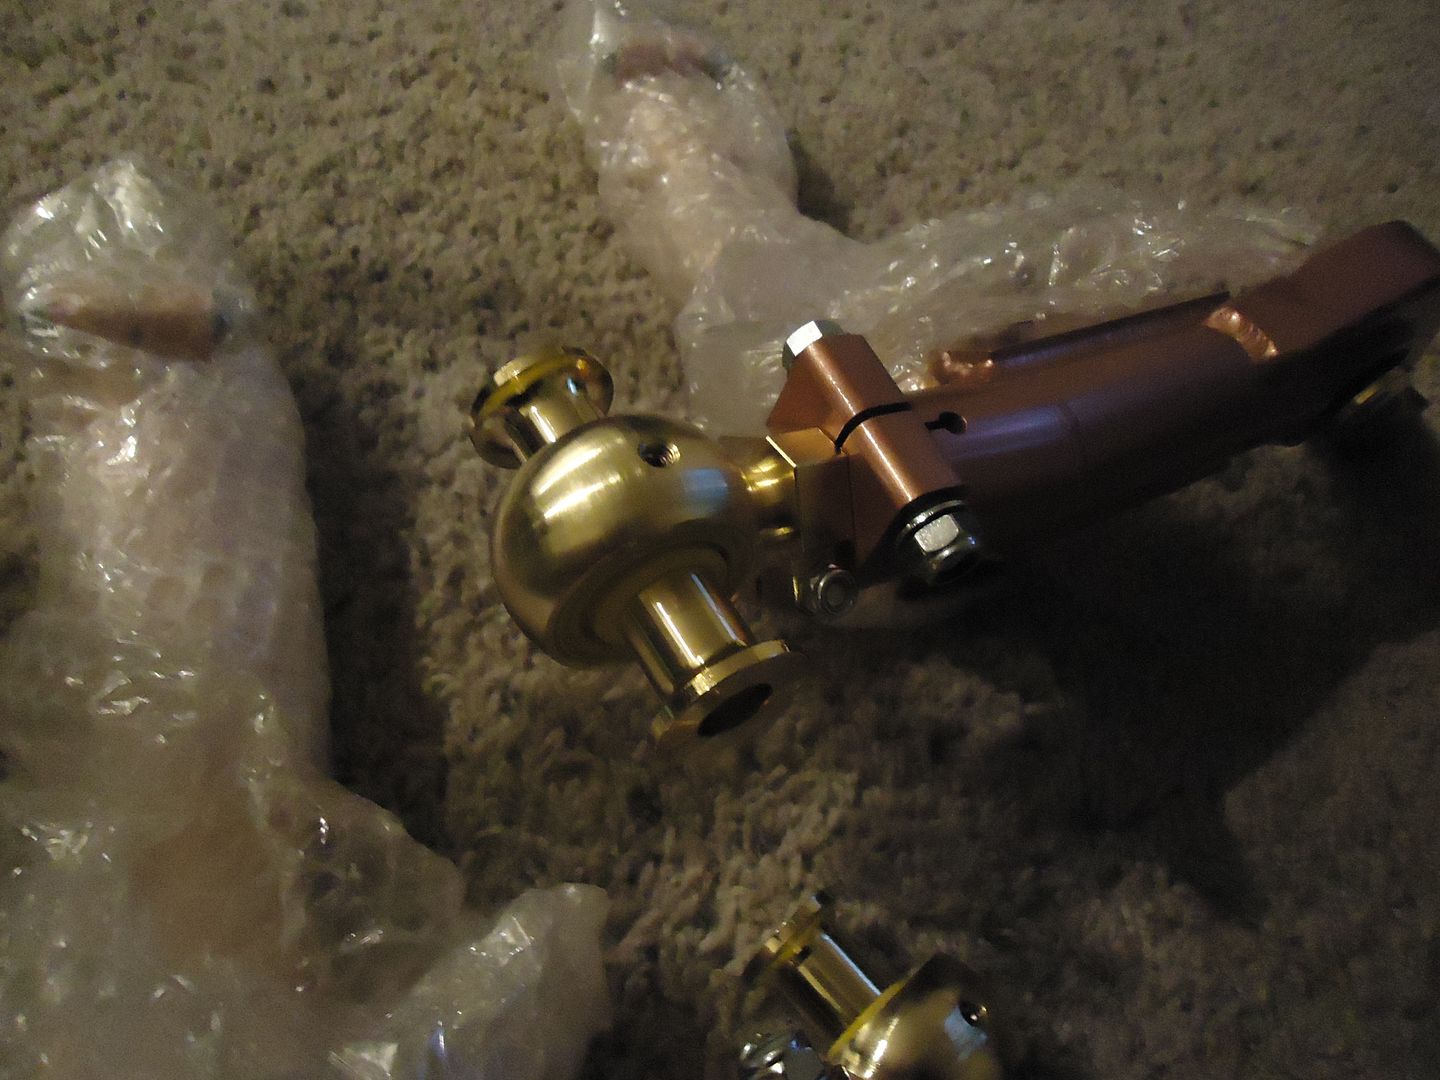
Going to have to run S14 inner tie rods and cut them done with this kit. Could run Z33s but they suggested running the S14 for more adjustablty.
Power By Max Super Angel kit: $800
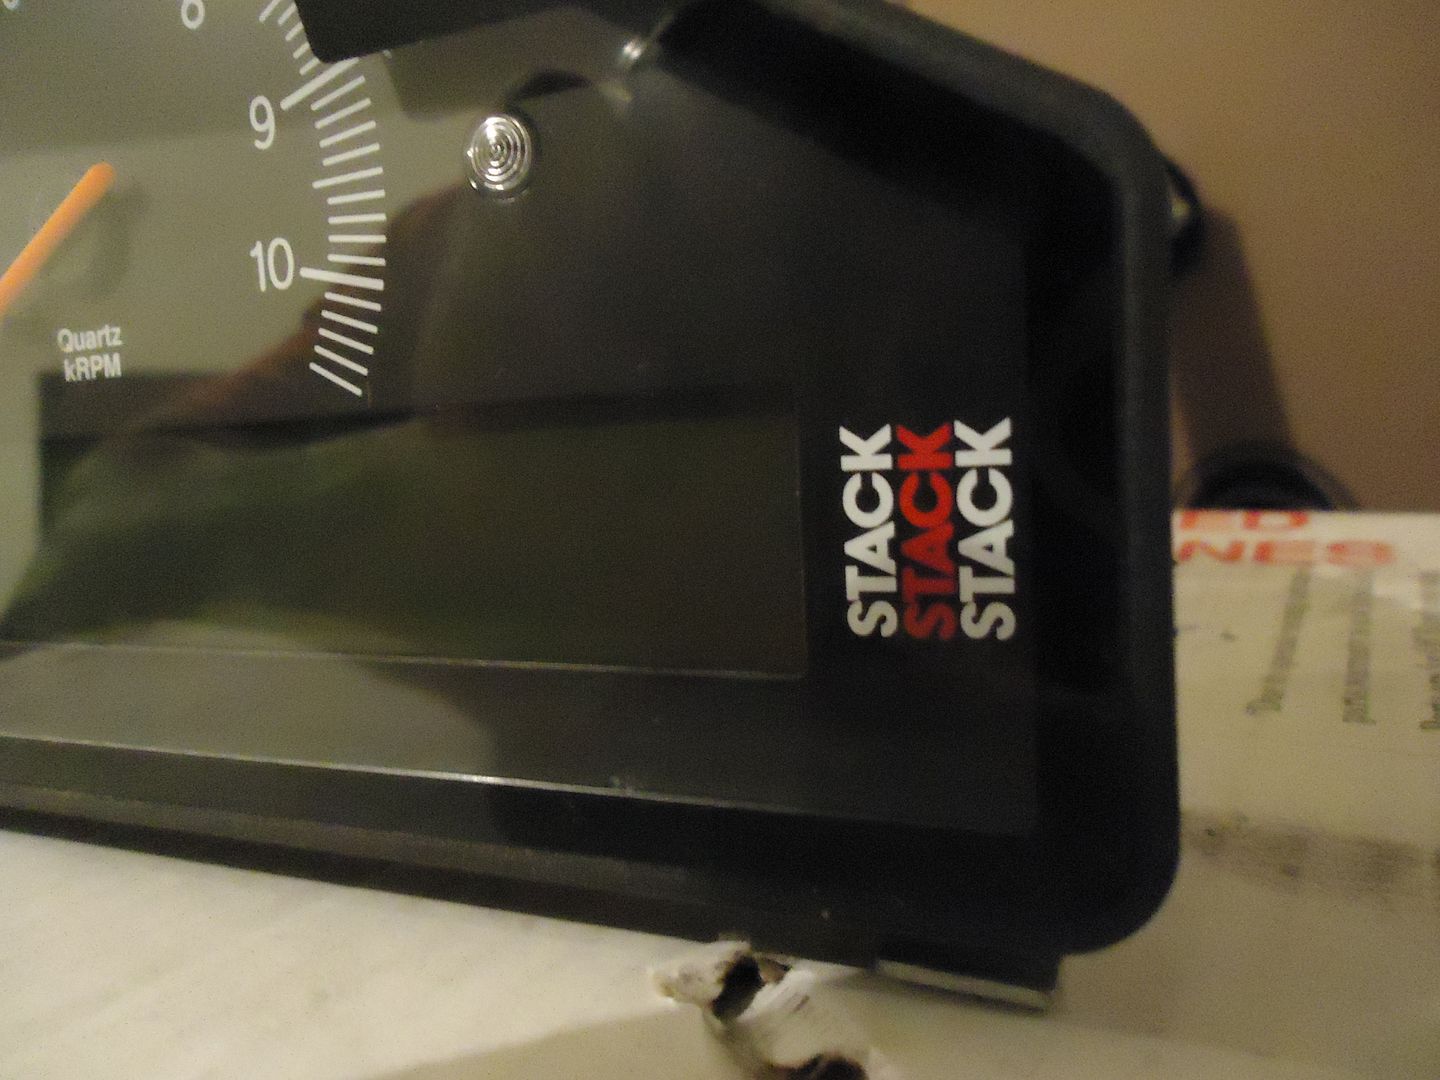
Next was some Stack gauge love…
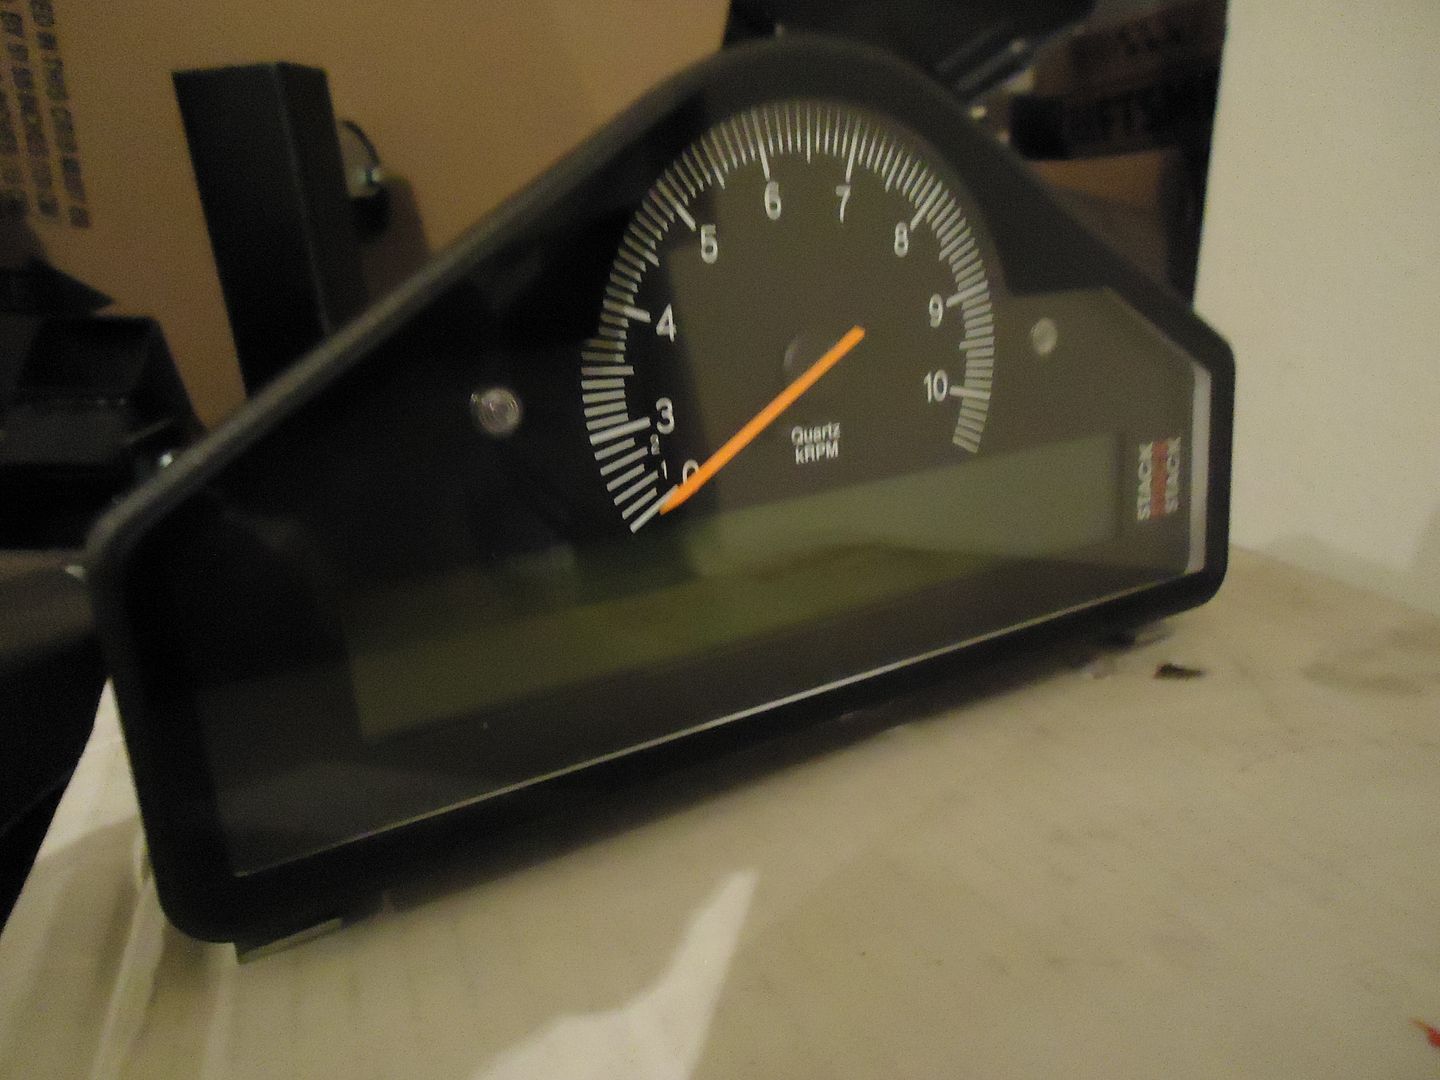
Picked up this sick Stack 81300 for a good price.. Going to make life so much easier with this..
Stack 81300: $1100
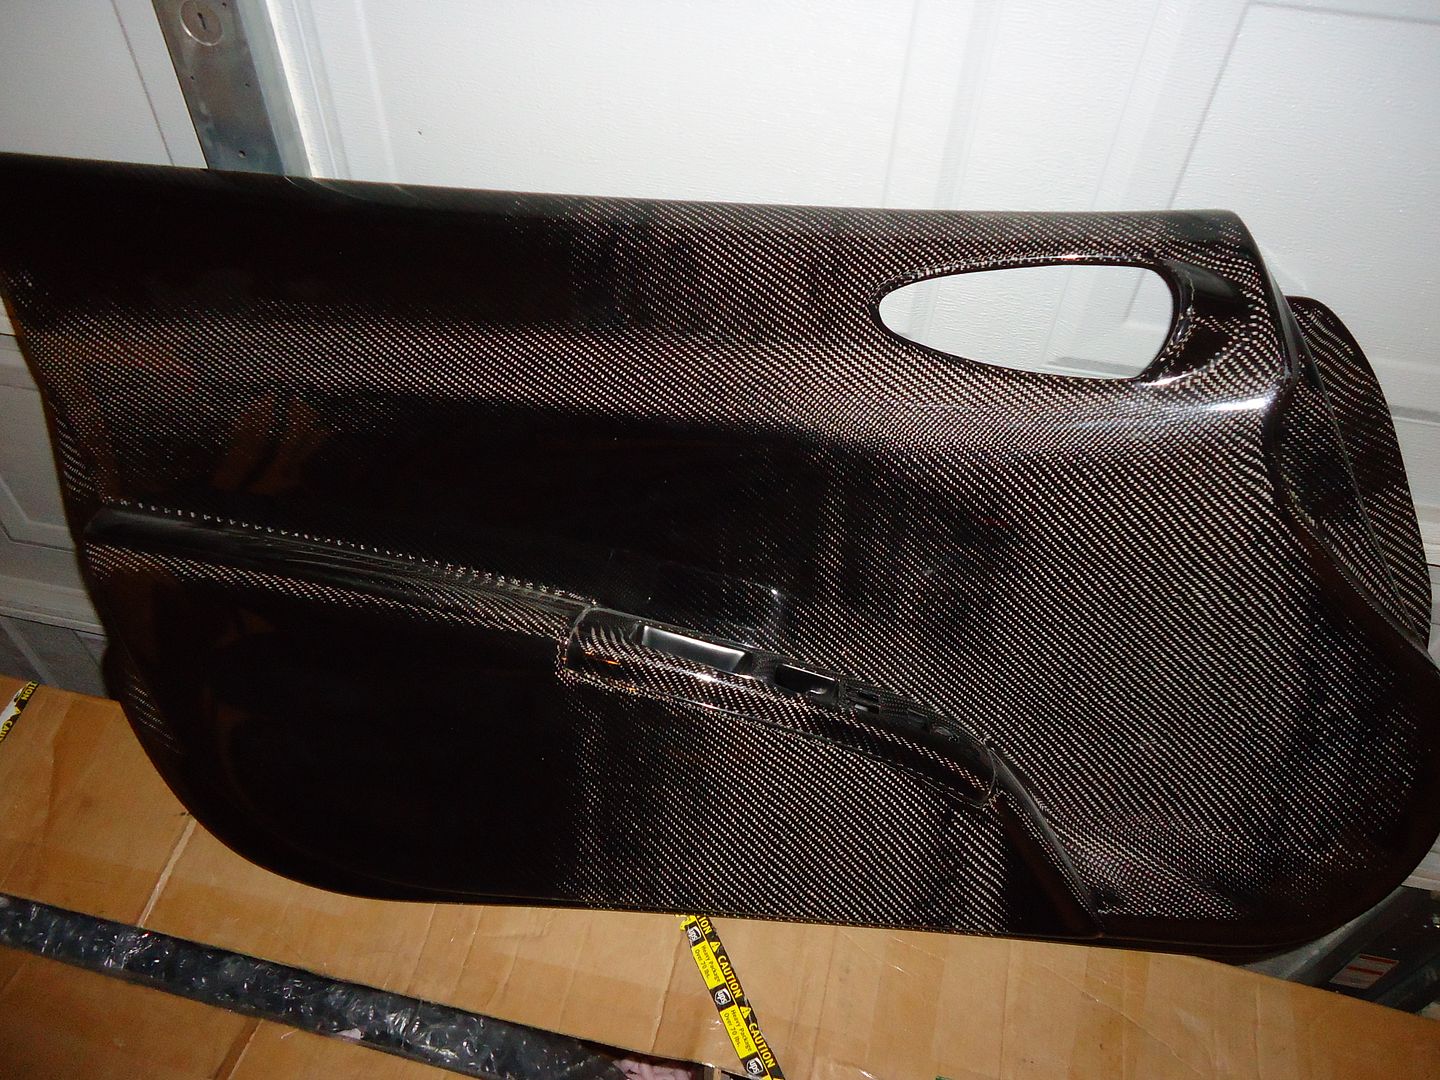
So these Carbon fiber door panels was kind of a impulse buy. Was a great deal though..lol
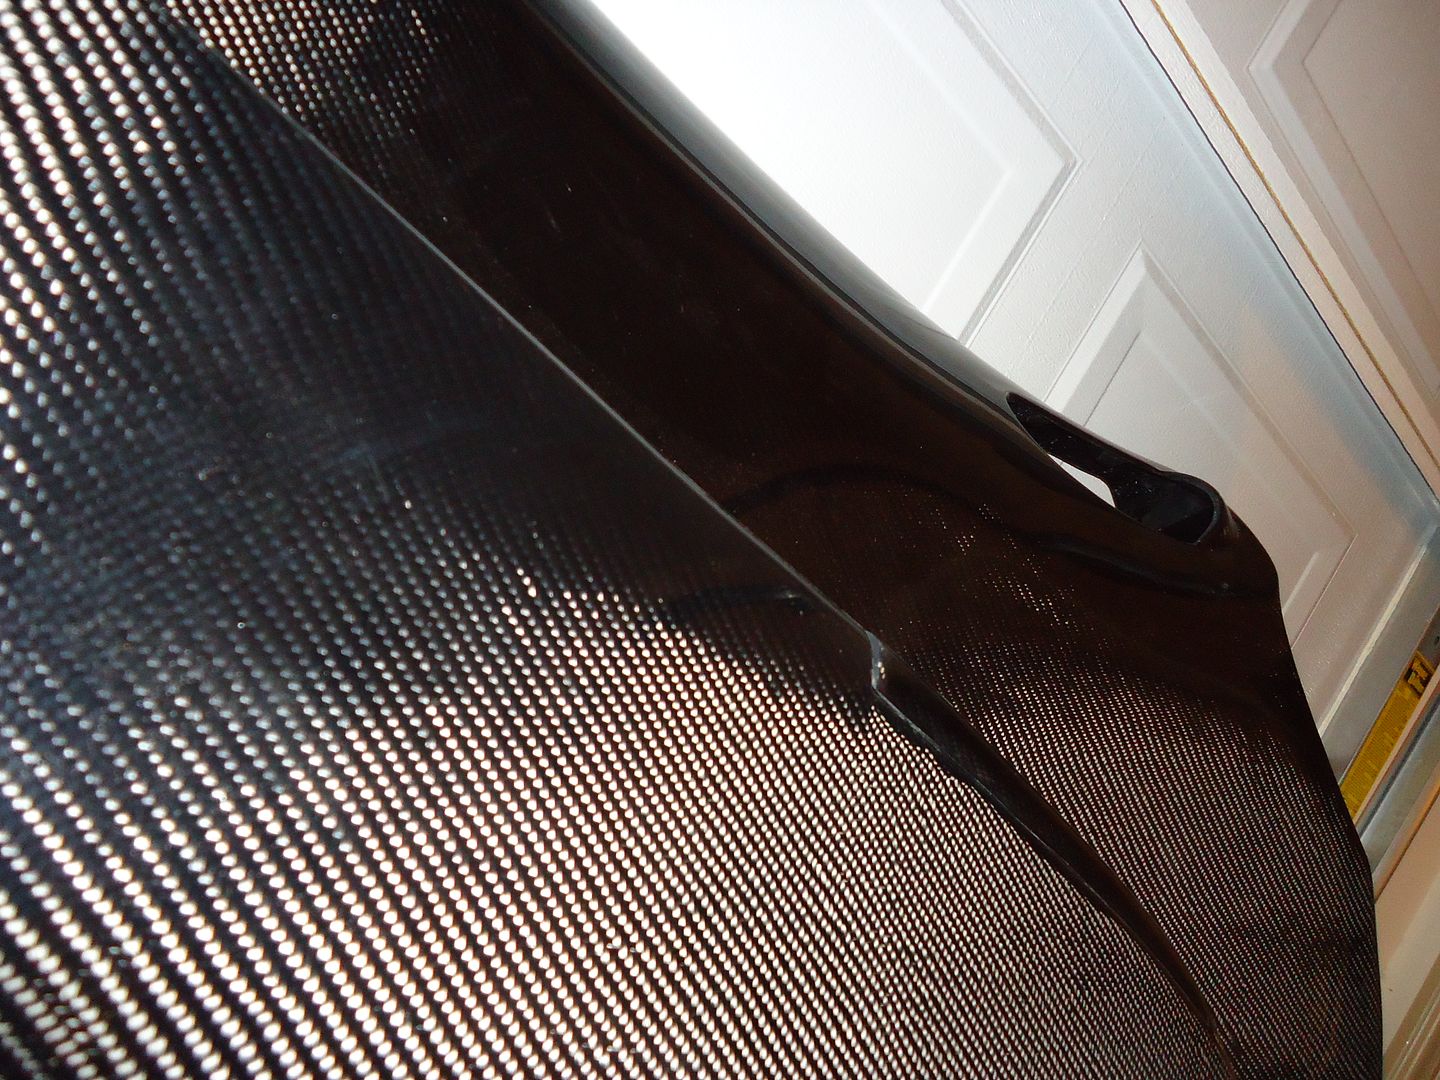
Wanted to do my own CF panels but this will work.. Going to have to cut out a opening for the door bars though..
Carbon Fiber door Panels: $350
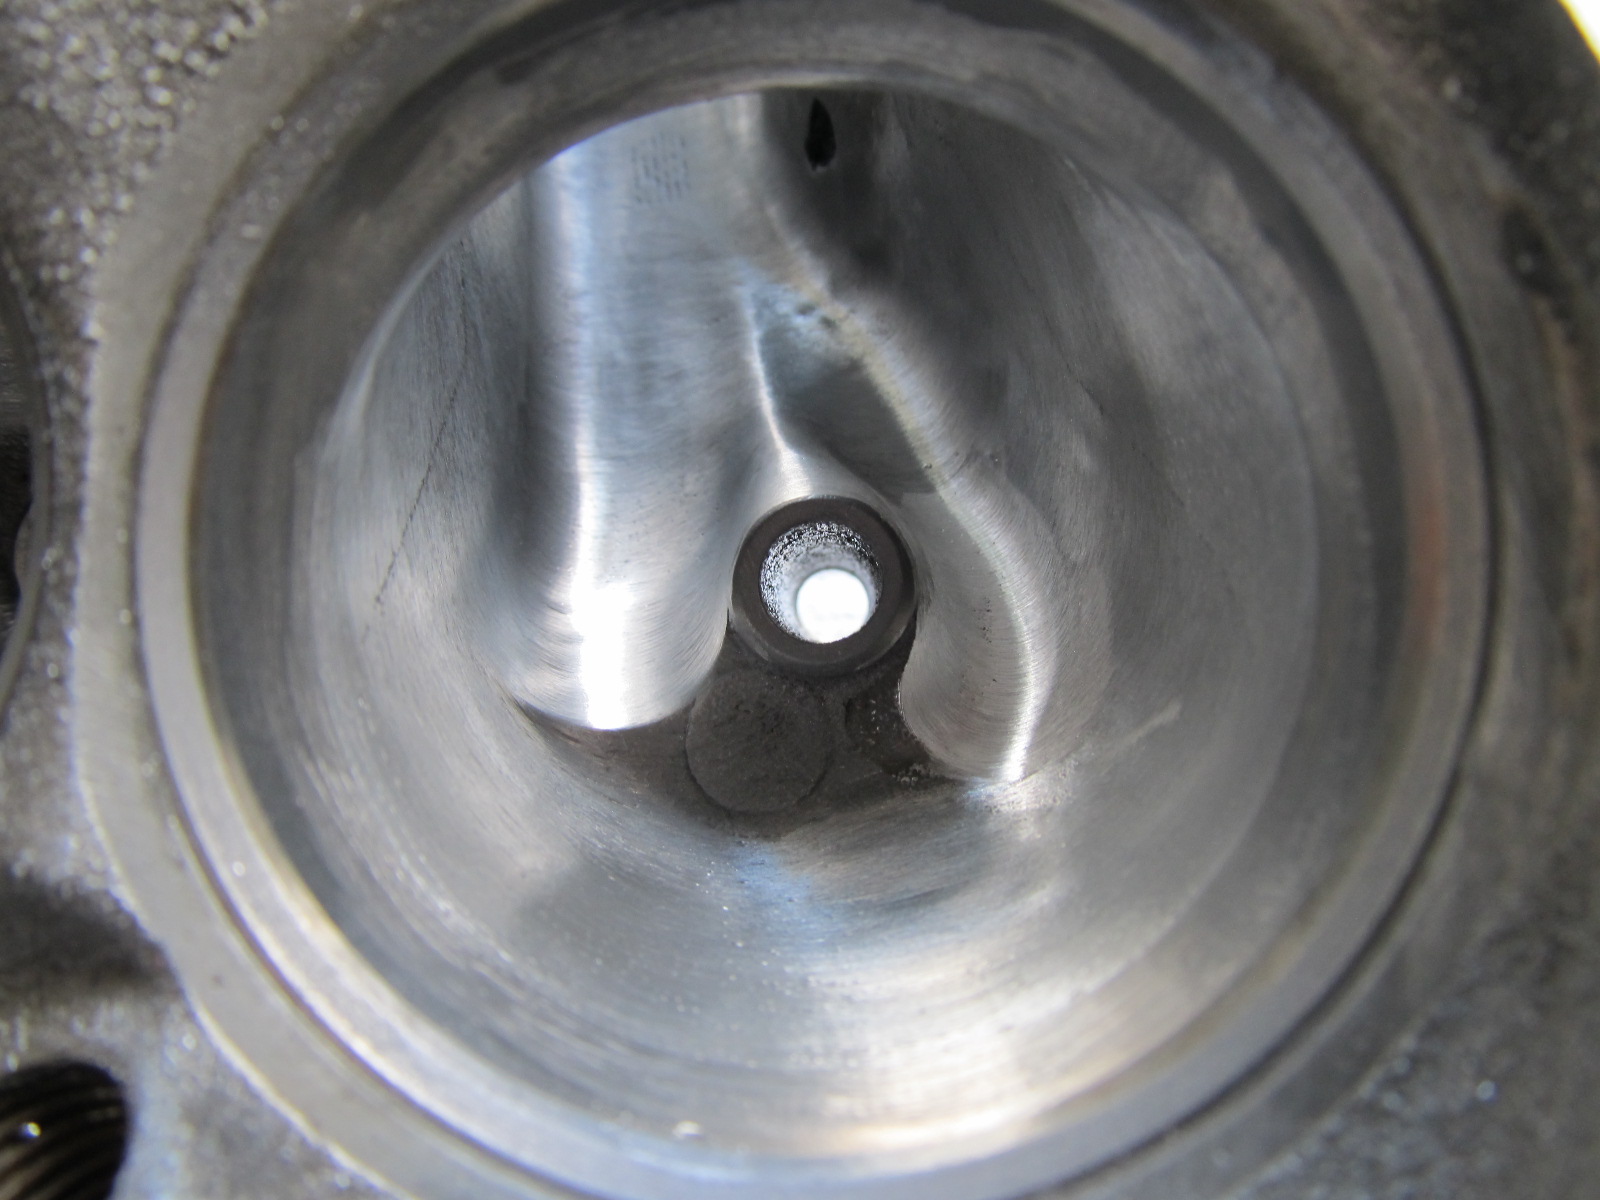
I also picked up some ported Milled heads, Had to drop on them.
I also got rid of the MS4 Cam and bought a Torquer V3 Cam.. Will be better suited for my build.
I also picked up some Delphi/Lucas 42lbs Fuel Injectors.
So lets jump into the car.. Started off using Dry ice which was really easy. Bought two bags from HEB and went to work..


The hard part was all the tar that was left over after the dry ice.. Used a Goo Gone professional liquid at HomeDepot, with a scraper. Took me some time but got it done.
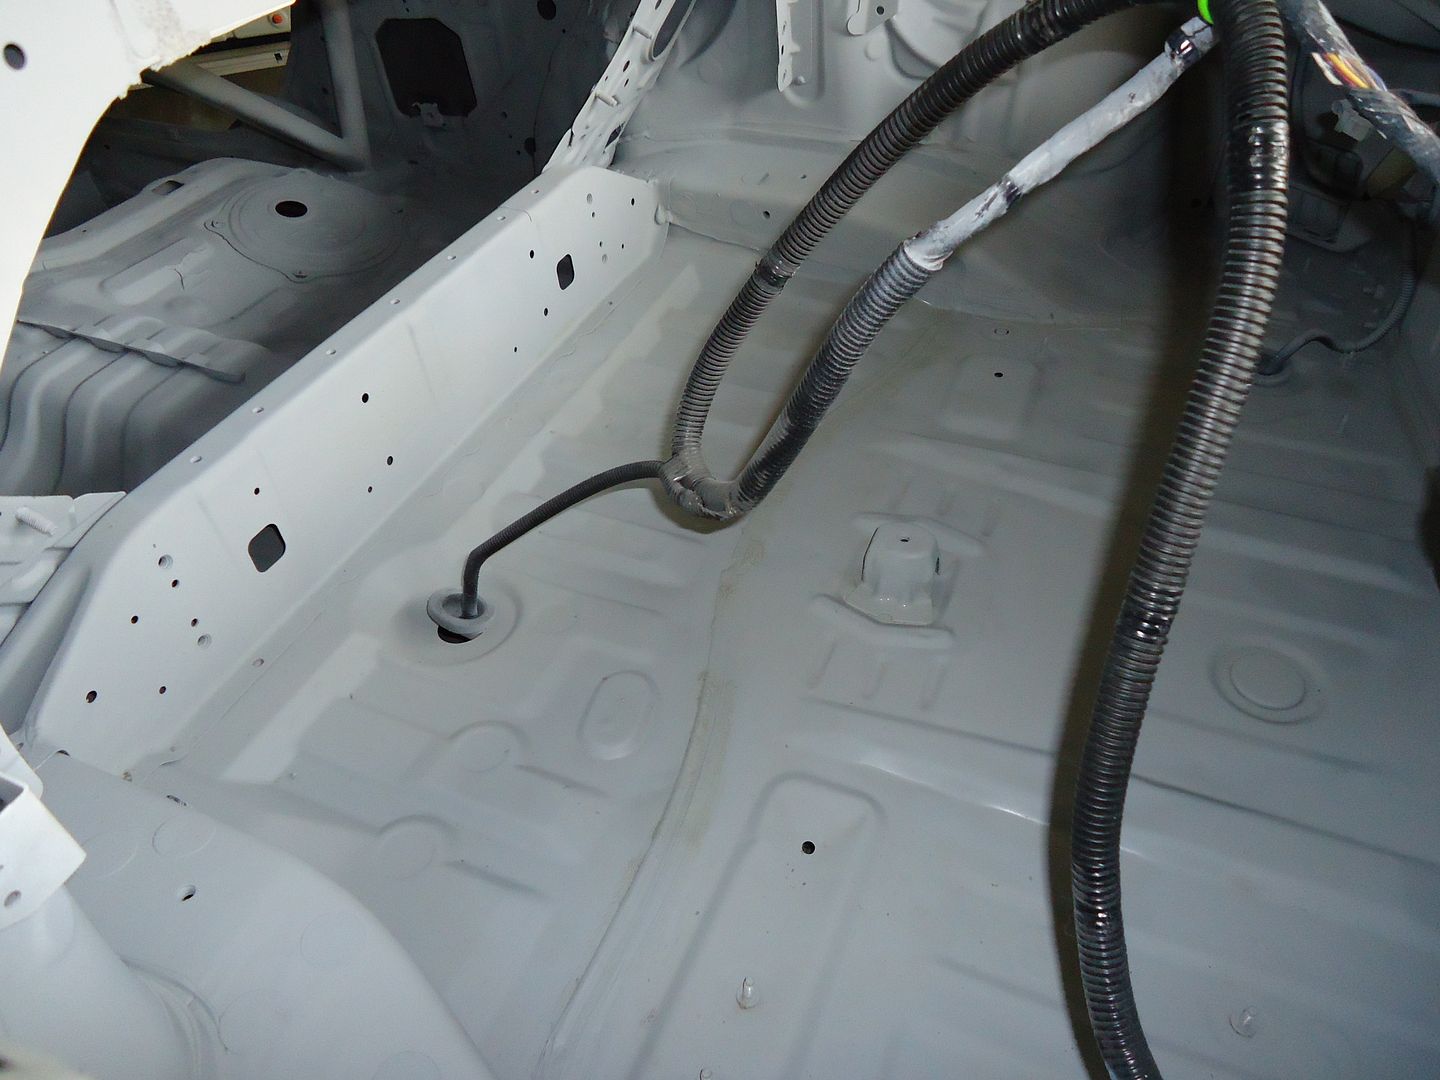
After that I primed the whole interior.
It already started to look nice…

After painting the cage the Hot Rodz Flatz Champagne gold, I wrapped the cage in foil so no white paint would get on it.
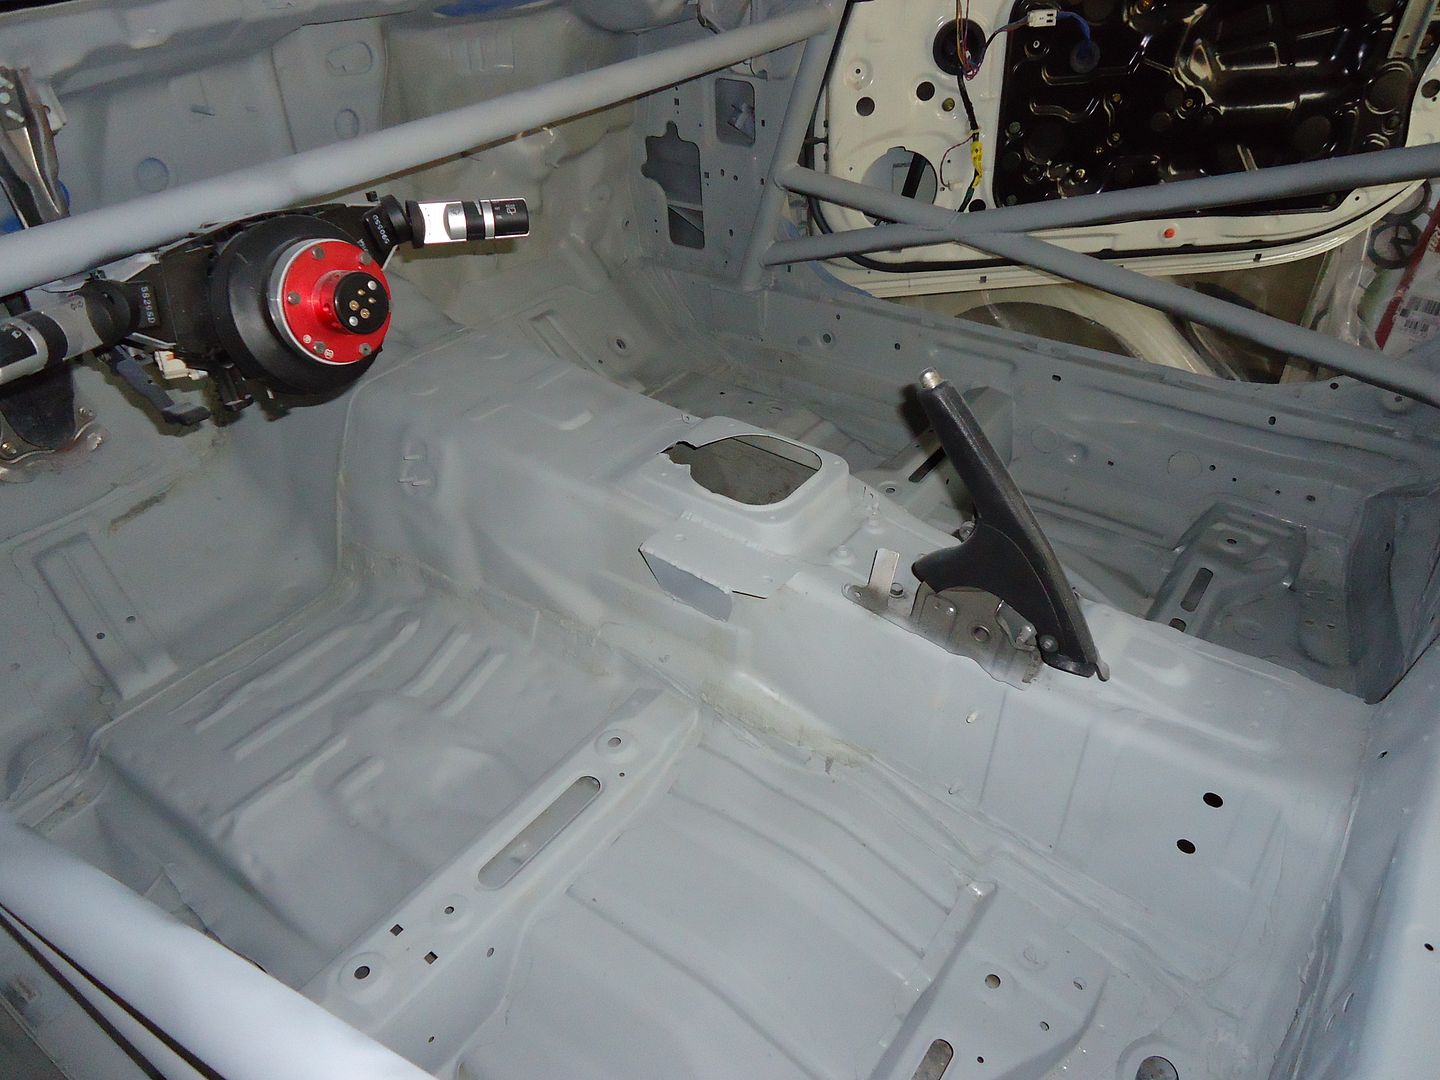
And BAM!! we have cocaine white interior…lol
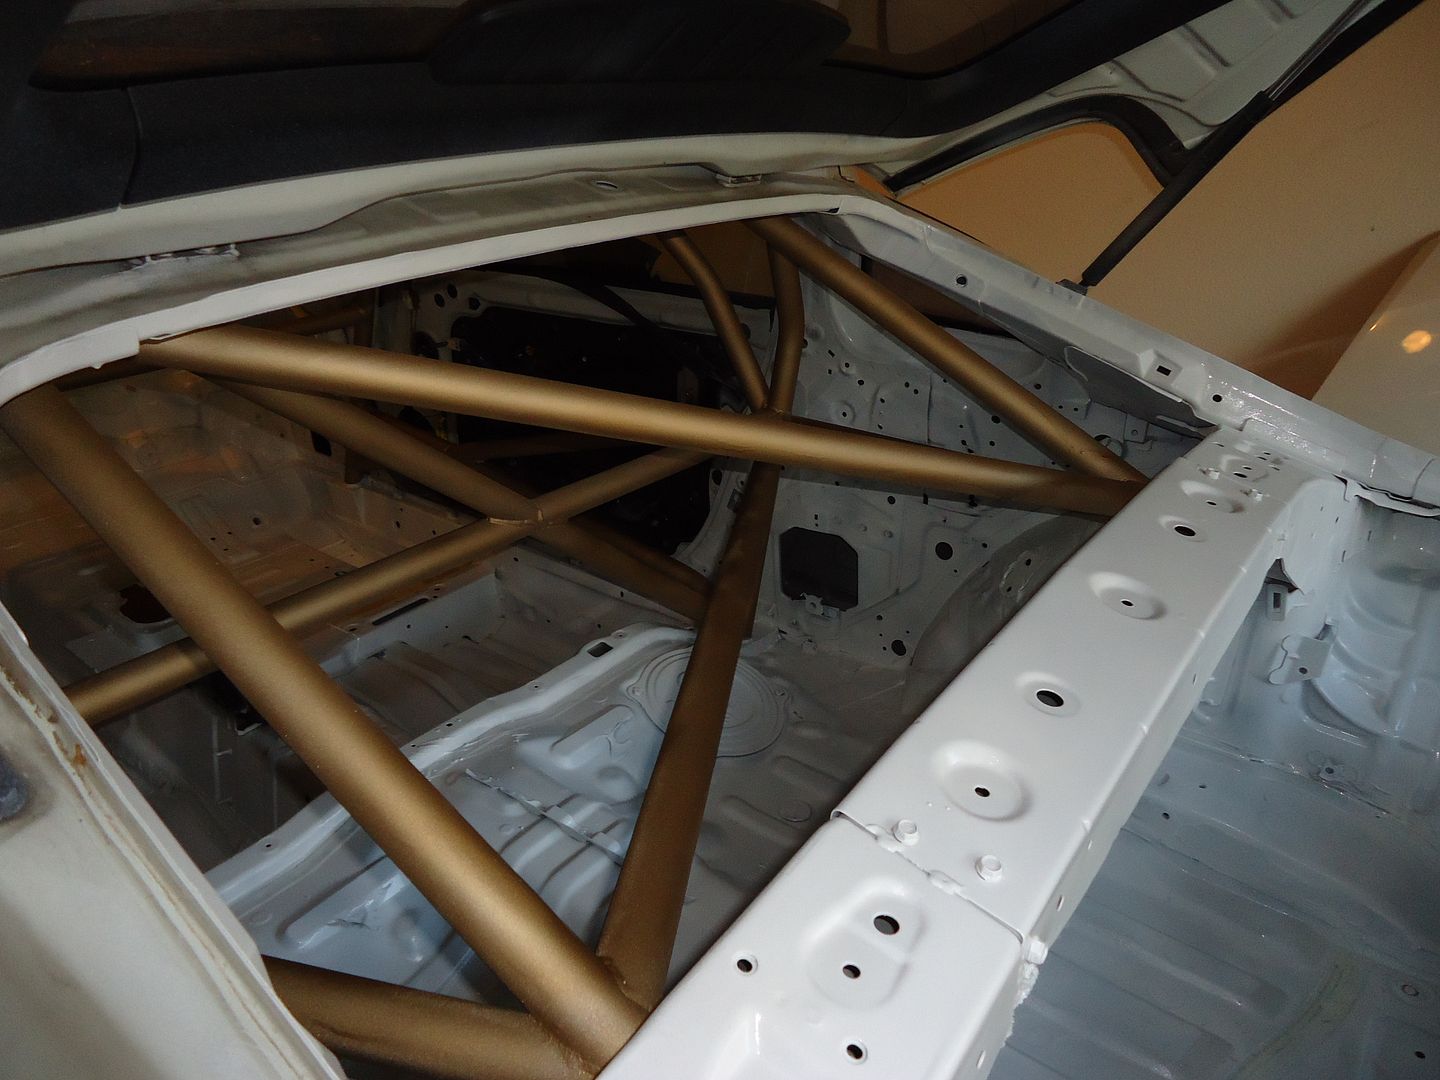
I think it came out pretty good for doing it in my garage.. Some drips here and there but looks good.
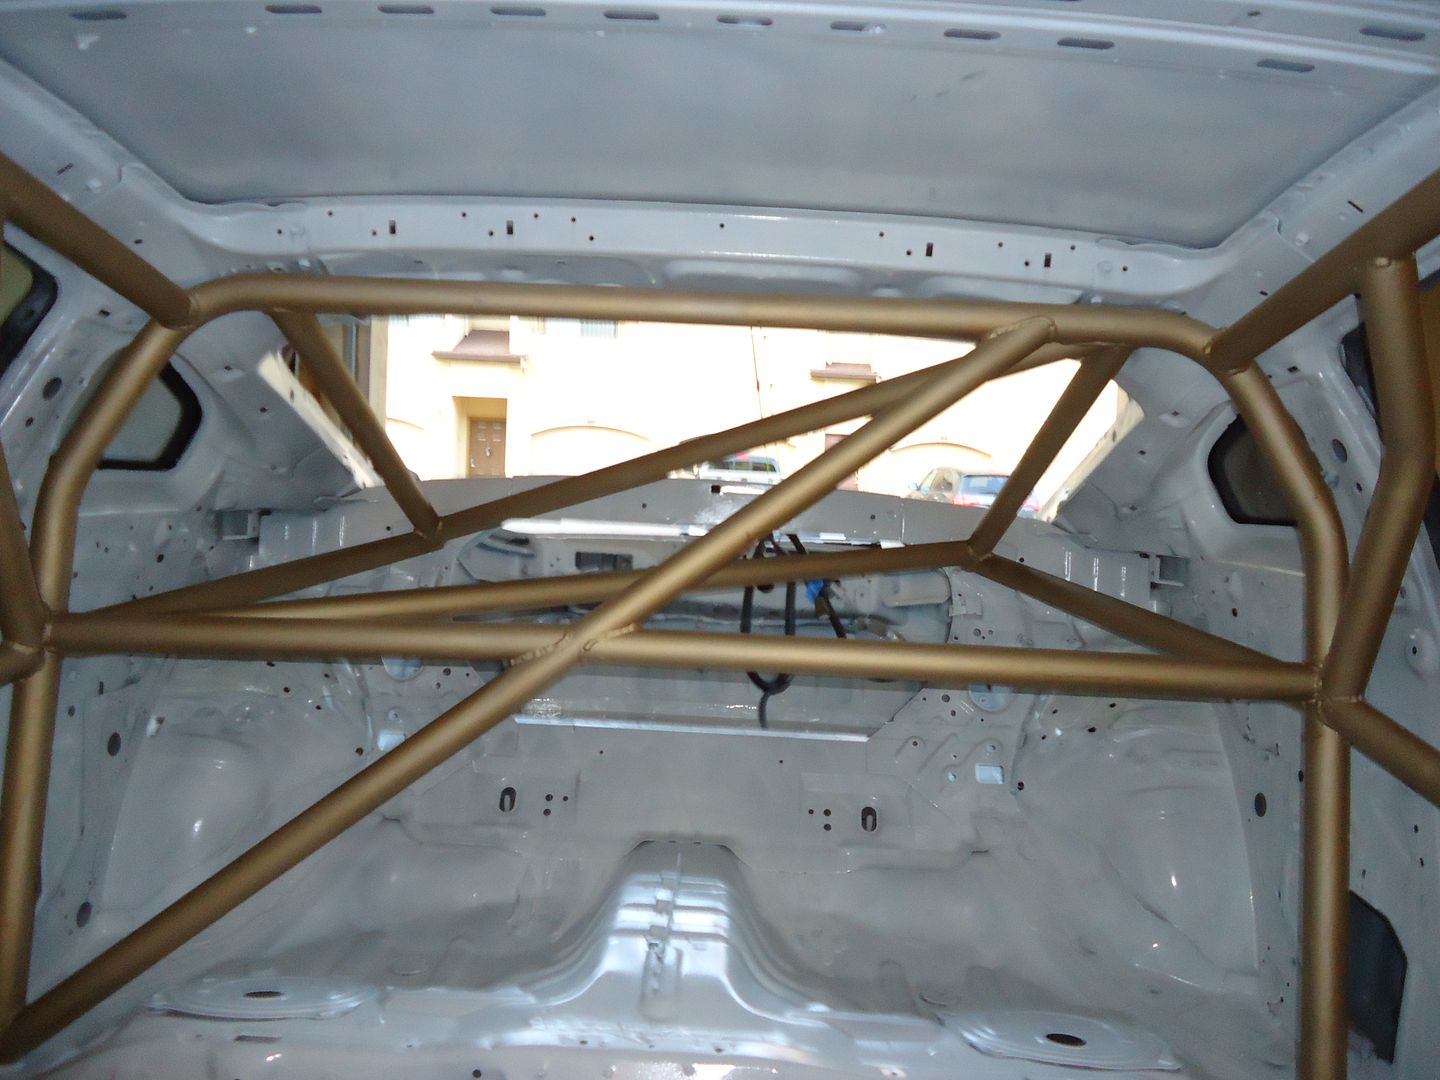
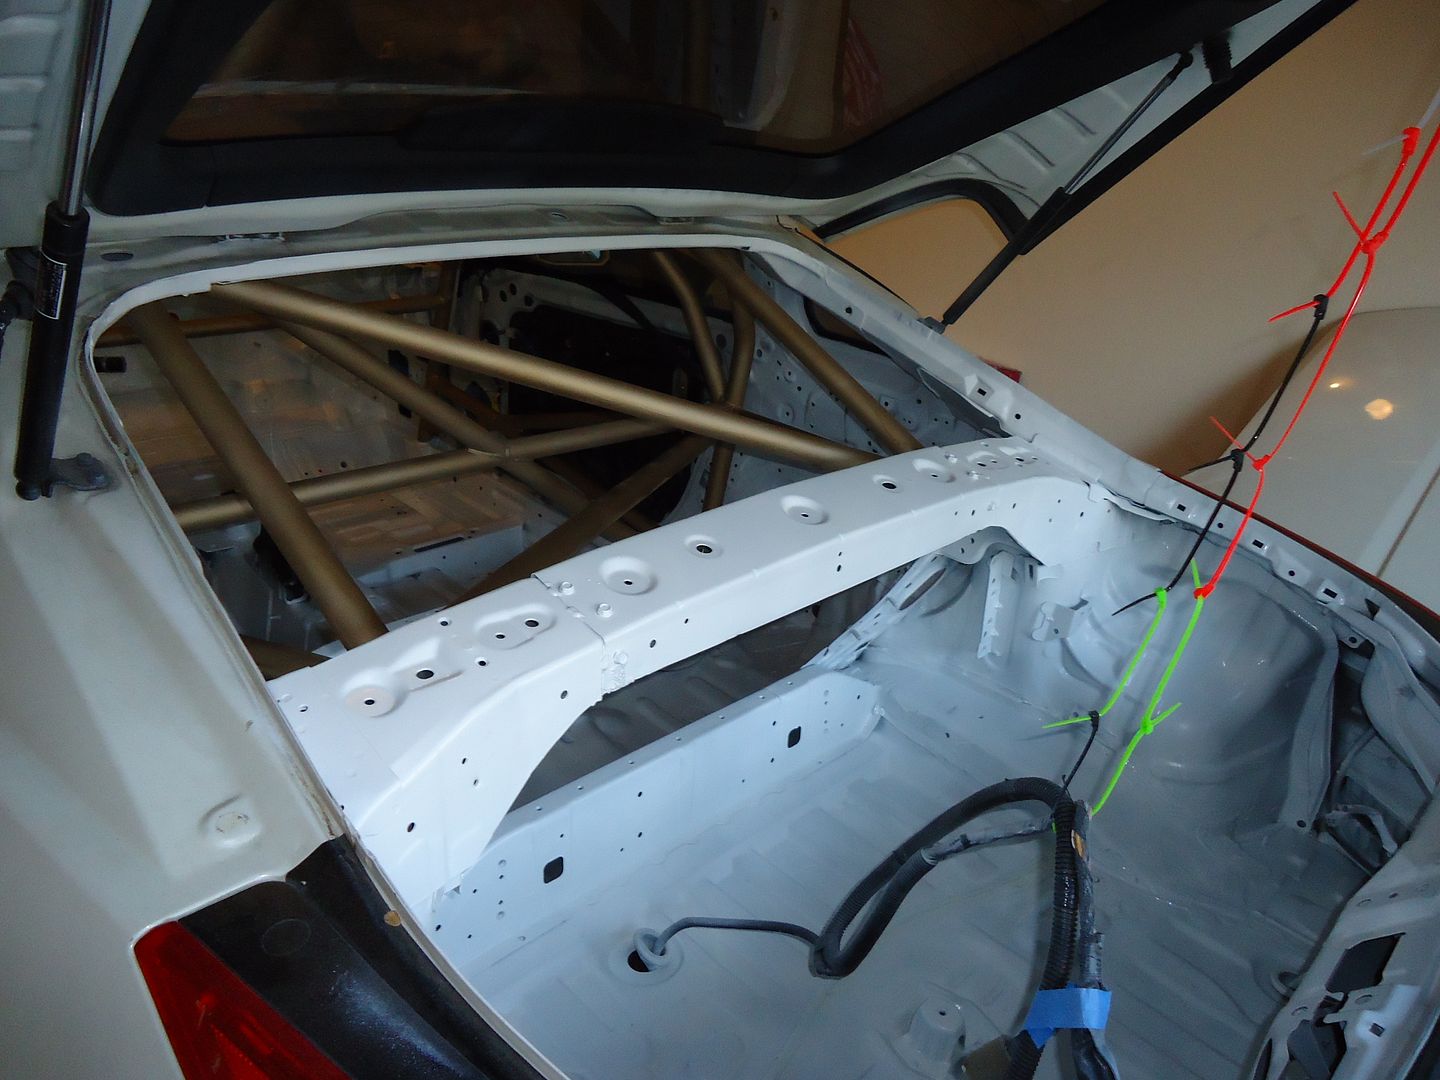
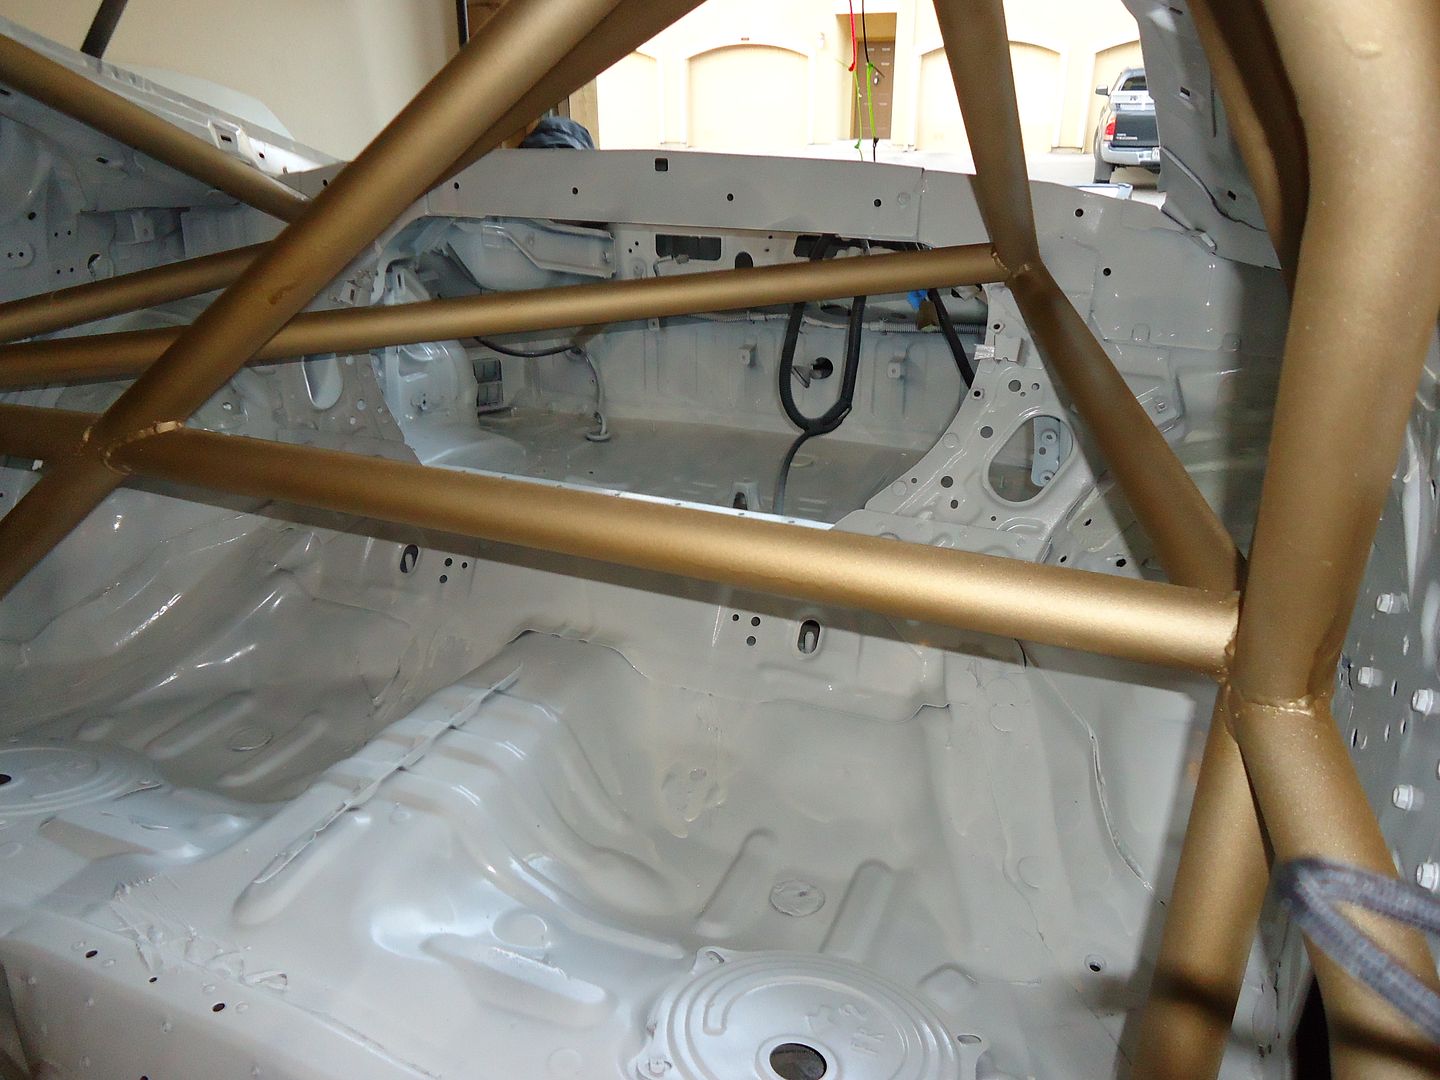
A shot of the rear..
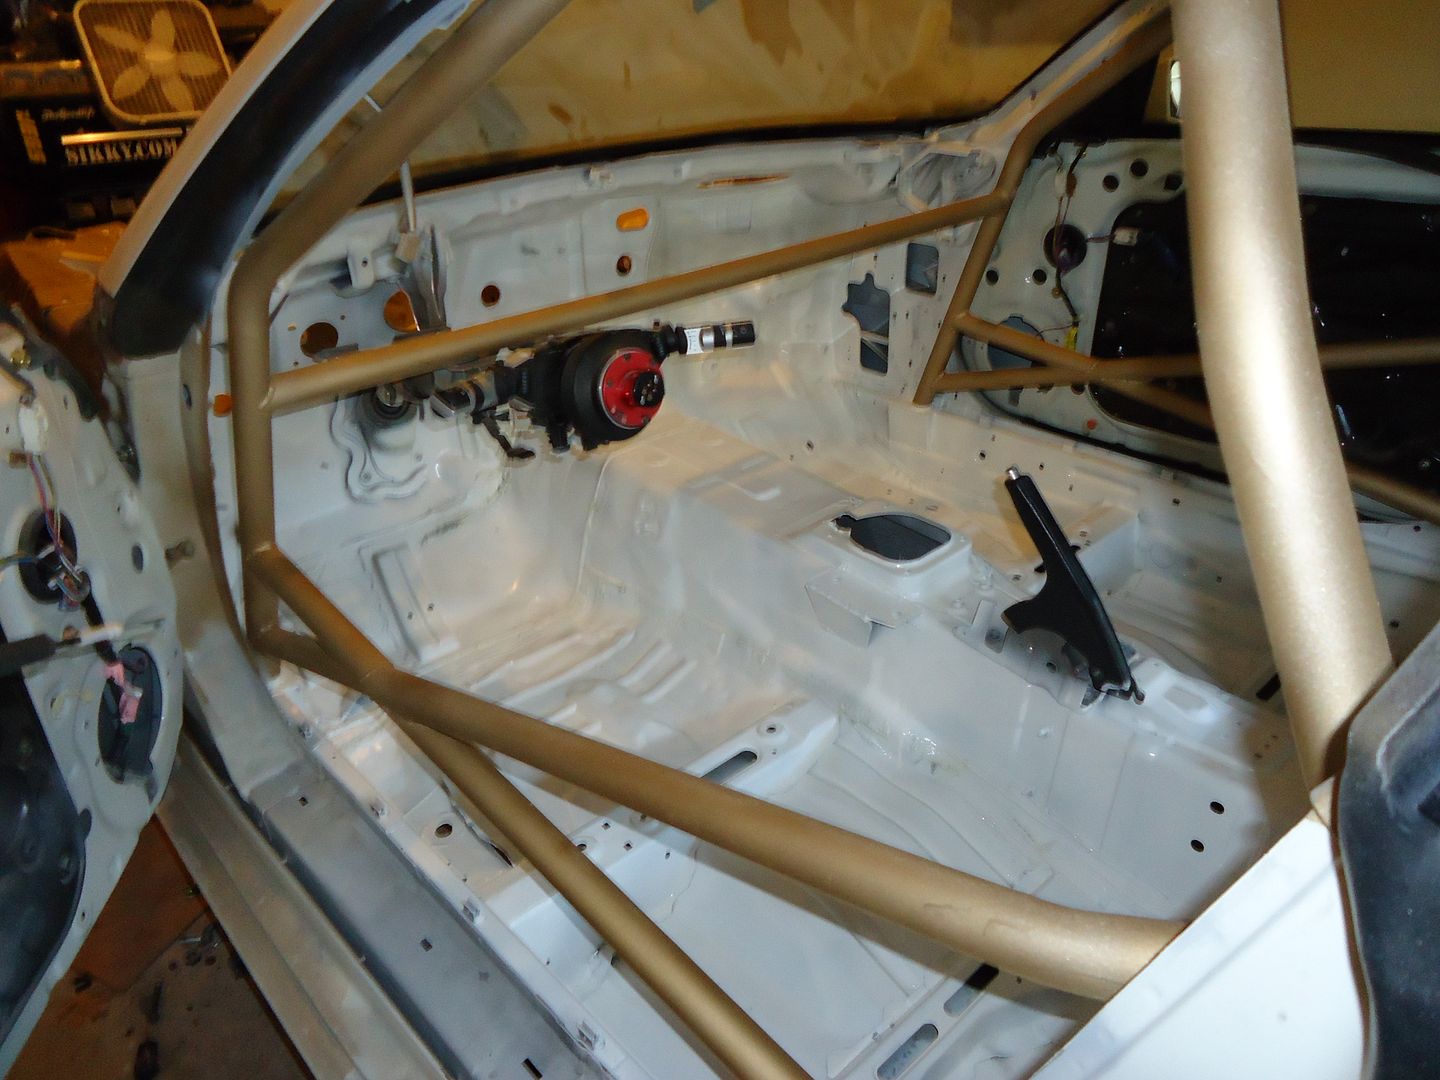
Can’t wait to instal my dash and center counsel..
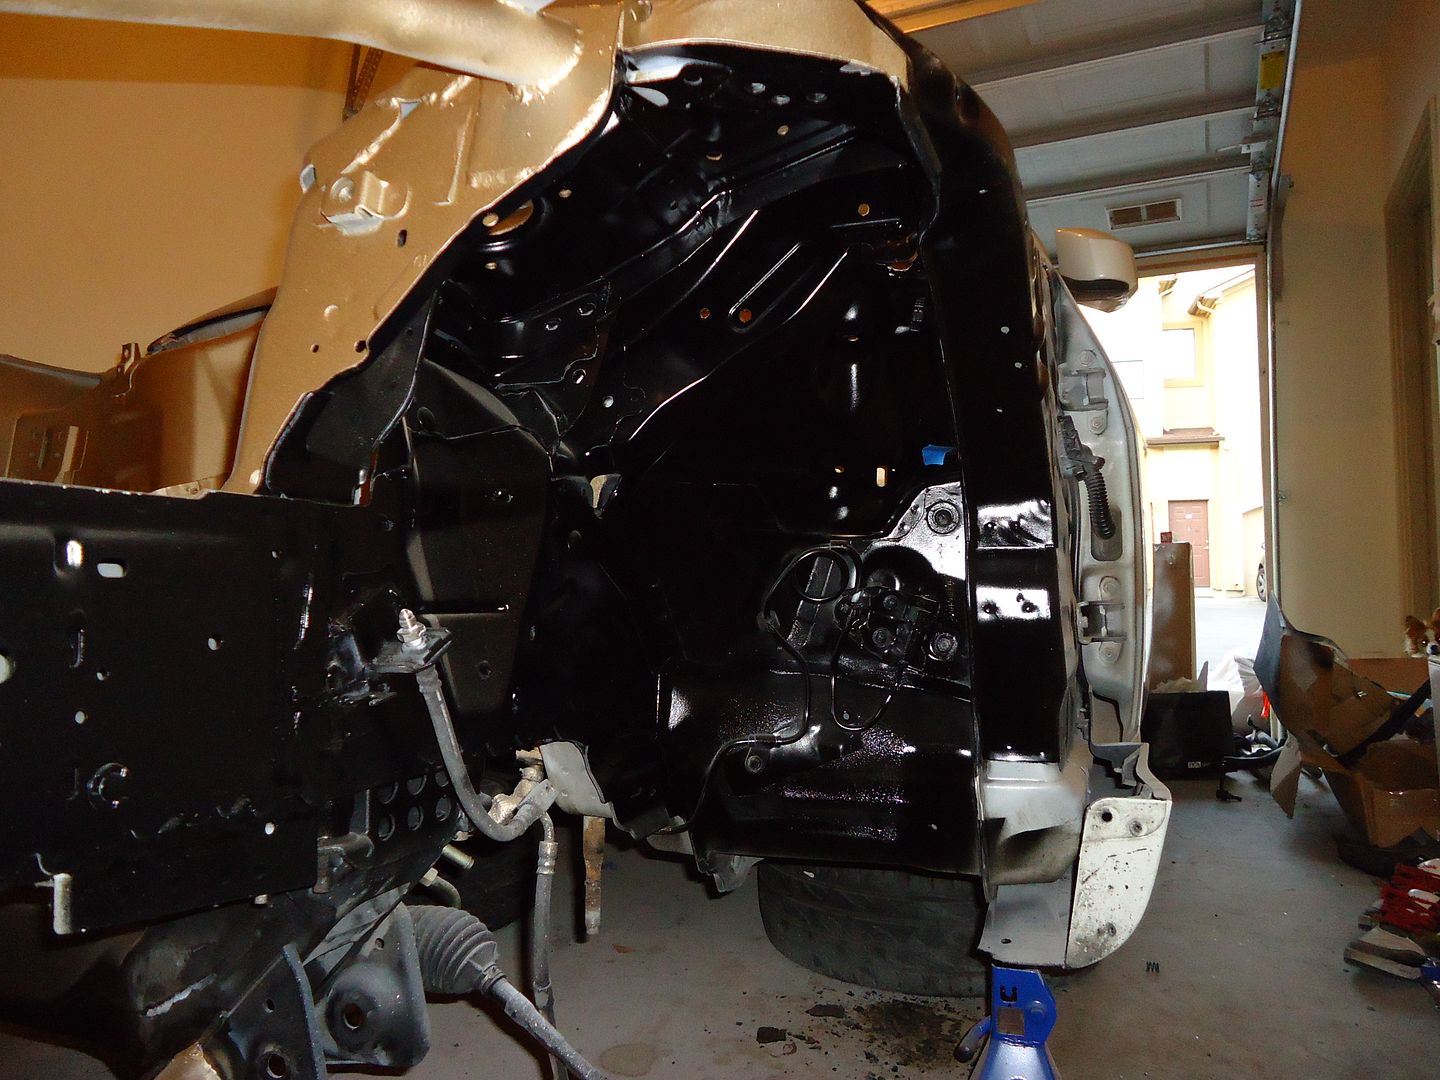
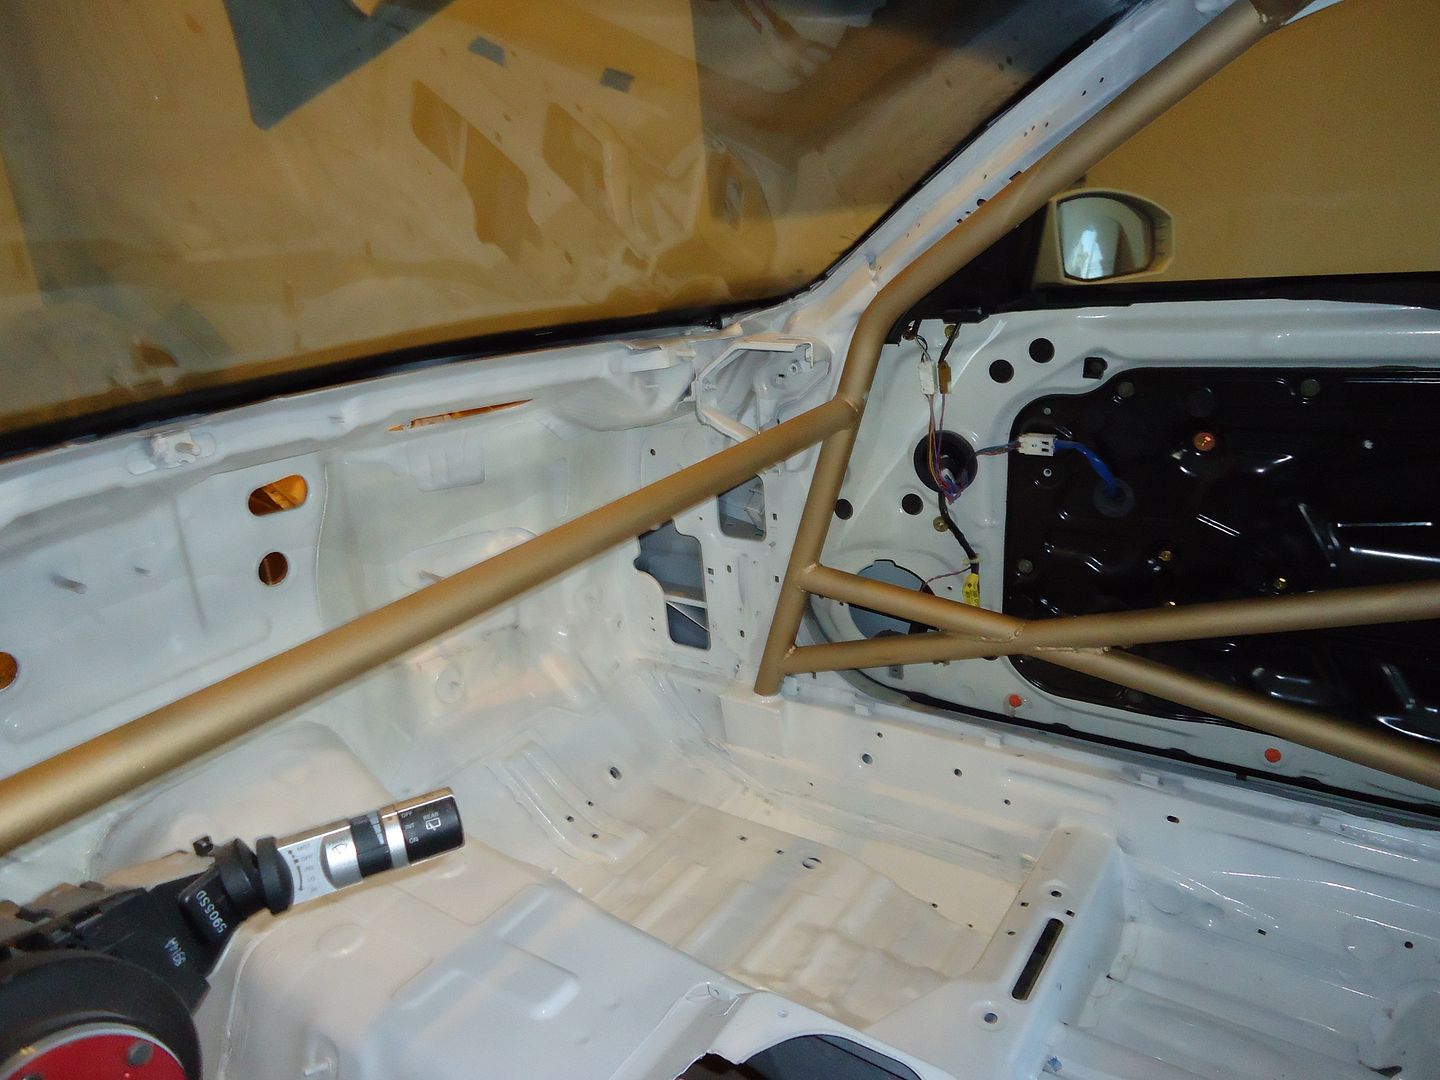
Moving towards the front I also painted under the fender wells..
Shot of the other side..
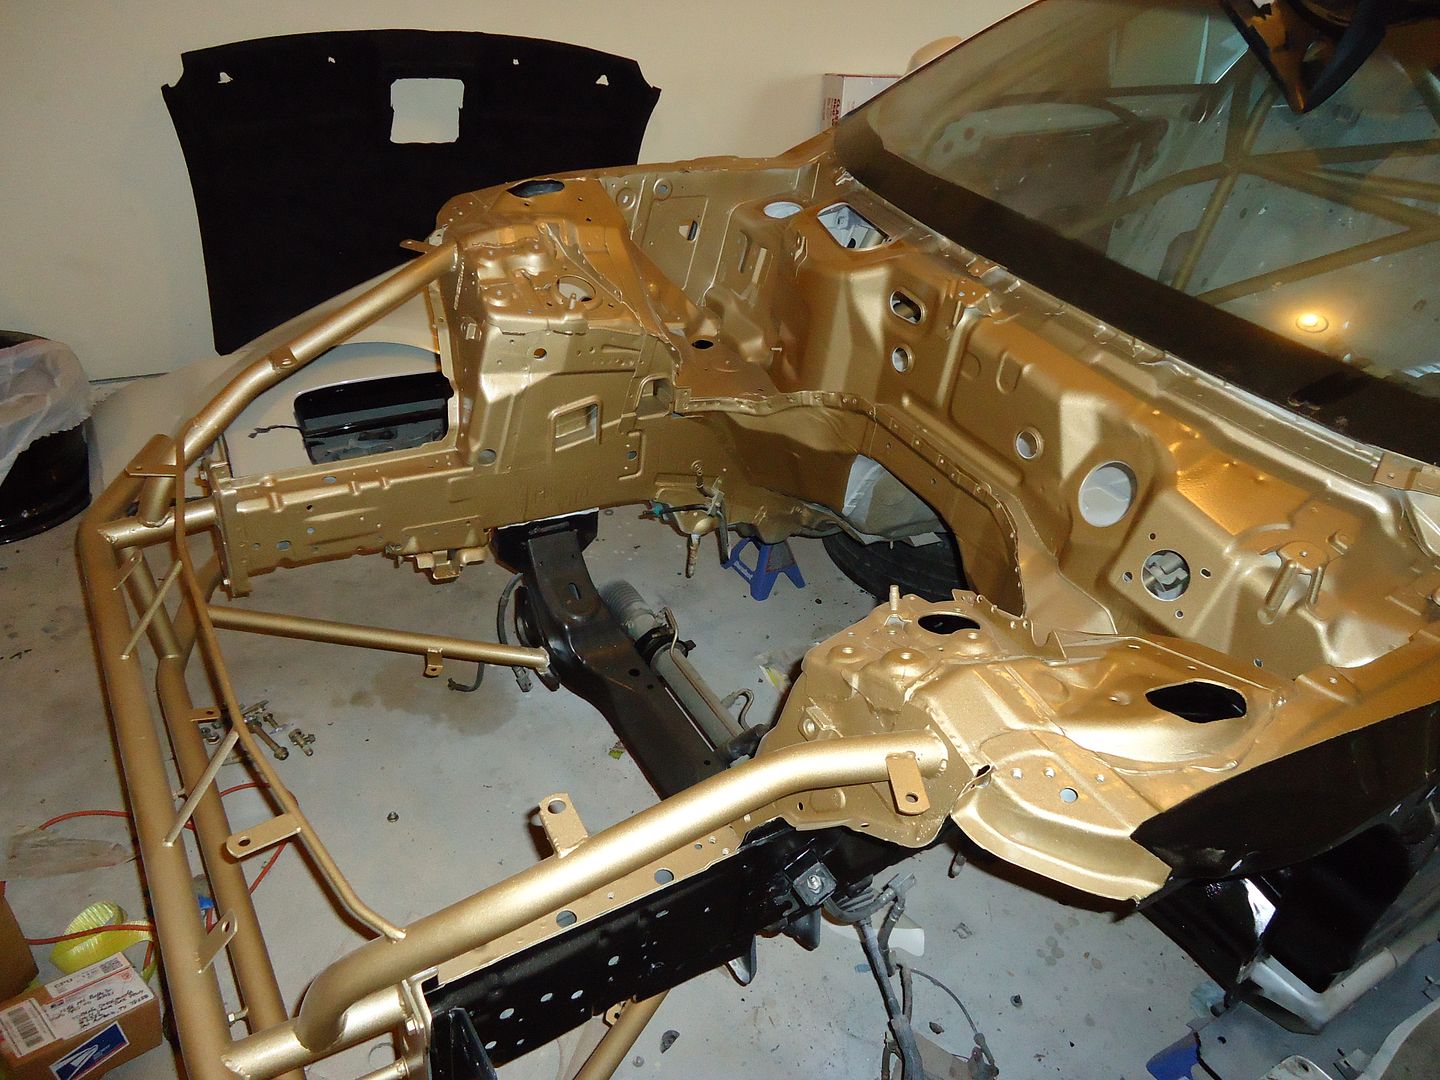
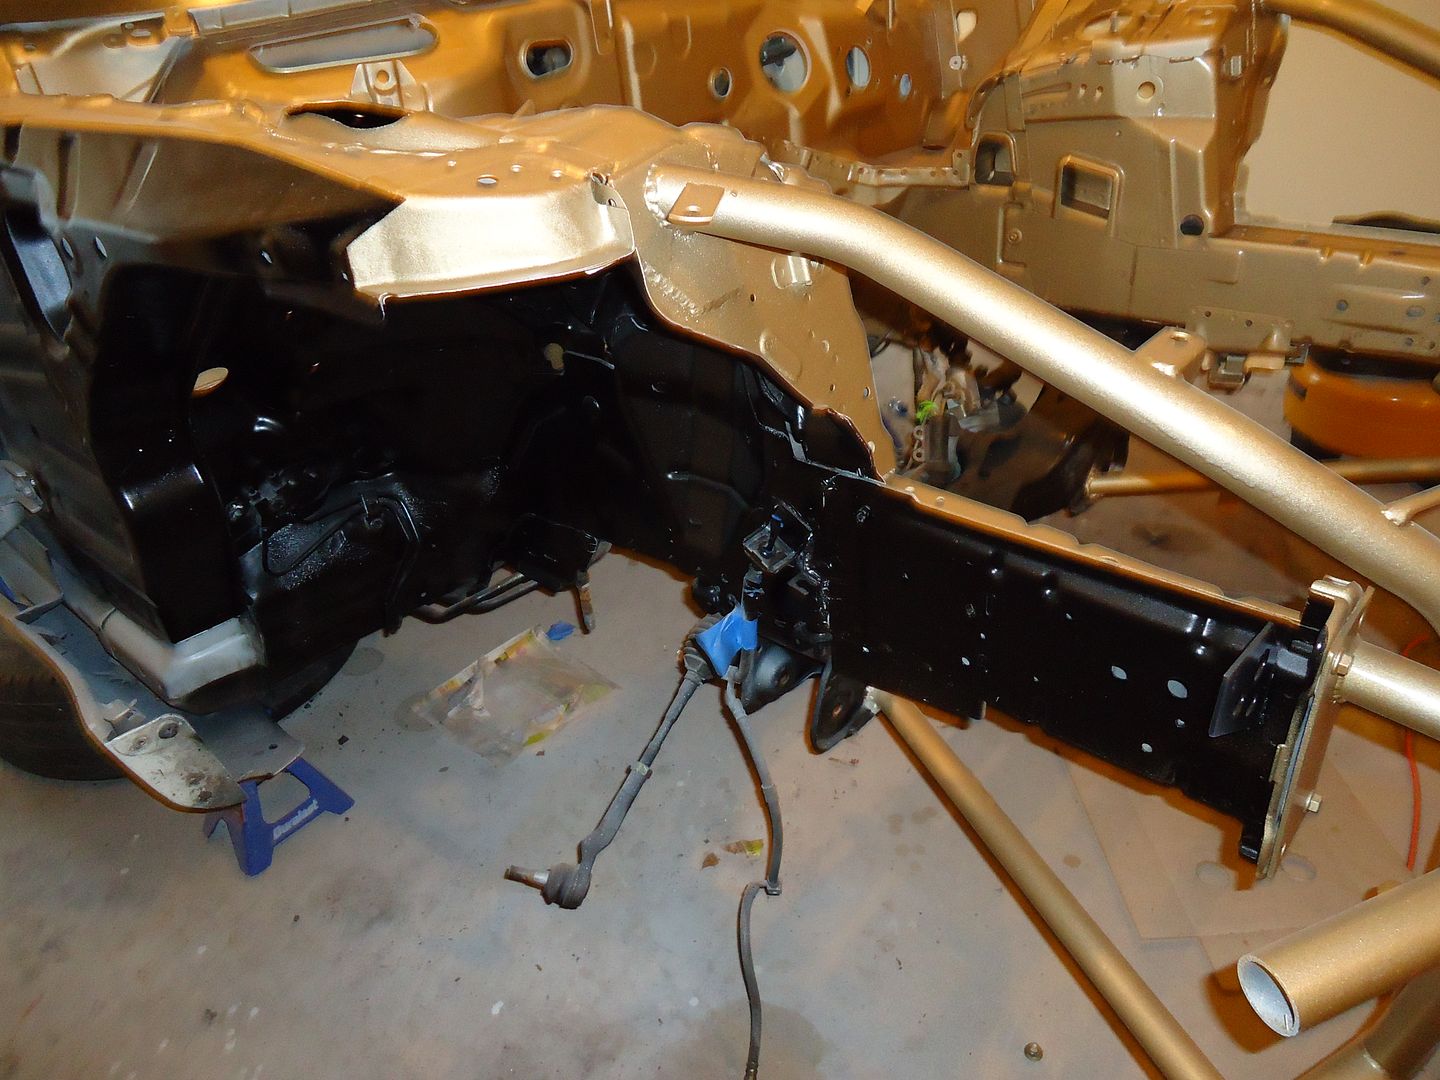
Here is the newly painted engine bay.. This is also Hot Rodz Flaz Champagne Gold but I added some clear to it..

And there you have it, Next step is to place my motor back together and have it ready for Stewart.. Getting close..
Total: $4,874.97
]Total on build: $19,322.13
- Final Fab Work: Exhaust & Intake - 29/07/2013
- 350zLS1 Build Getting Close - 12/05/2013
- It’s All About the Little Things - 02/11/2012
Coming together nicely!
Good job on the work you’re doing, but that harness from Chasebays is pure garbage!
damn … it’s amazing