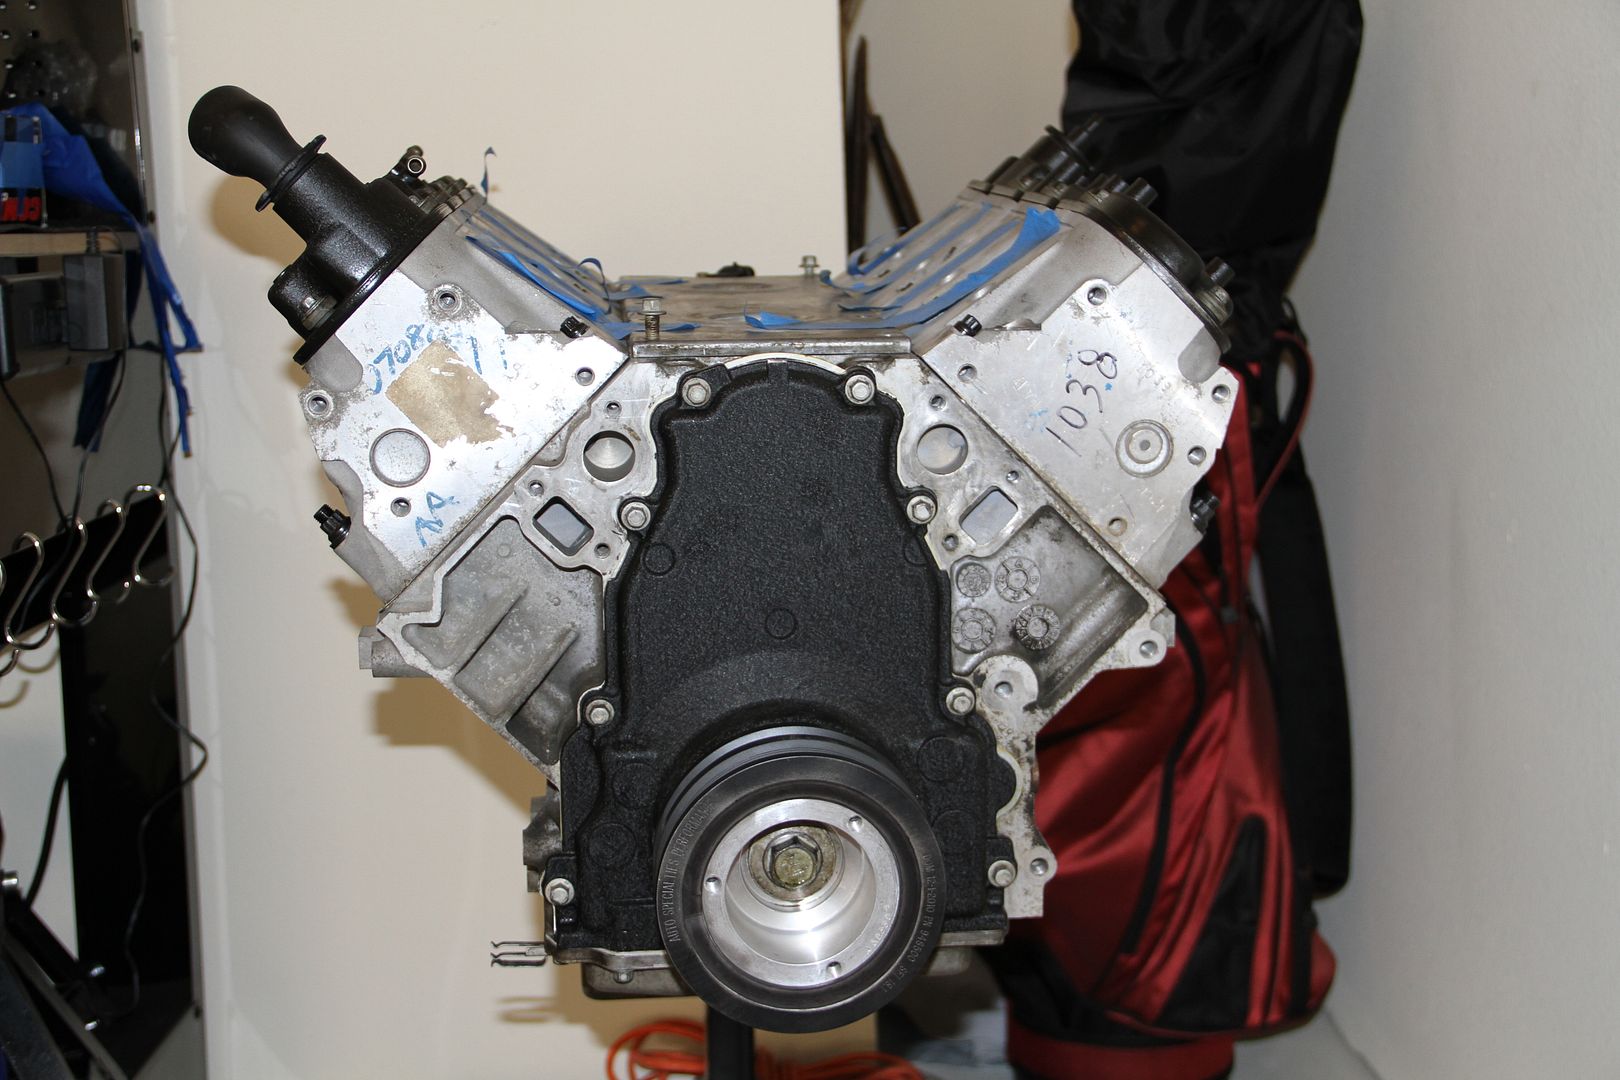
Okay folks sorry for the late updates but here they are.. Enjoy..
STAGE 1: Phase 3 ‘rocker arms/valve springs/ head Install’

Beer of choice this week is DogFish Head again but their Raison D’Etre. A deep, mahogany Belgian-style brown ale brewed with beet sugar, raisins, and Belgian-style yeast.
Man I just love the after taste of this beer, def a good summer time beer..

Okay what I have to install today is some, Dual Valve Springs, Hardened Chromoly Pushrods and Titanium Retainers that came with the Camshaft package I mentioned last week..Also ARP head studs, Comp Pro Rocker Arms and Comp Cam High Performance Valve Locks.
Comp Pro Rocker Arms: $300 (got from LS1tech.com)
Comp Cam High Performance Valve Locks: $31.99
ARP 12-point head studs: $279.99

First we have the Dual Valve Springs and Titanium Retainers…

These things are sooo sick..

First you have to place the bottom Retainers..

Pretty straight forward on this part..

Next is the Valve Seals.. Now to install these you will need a 12mm and a hammer. Tap, Tap, Tap, take your time and make sure they are straight. You don’t want to F one of these up and have to go out and buy new ones..

Seals all in place. Next reinstall the Valves

Bam!! Next are the Dual Springs

I bought some Comp Cam High Performance Valve Locks

Now you are going to use the same Valve Spring Compressor tool you rented from Advance Auto Parts to install them..

Place the Spring over the valve and then the top Retainer. Compress the Spring with the tool and then insert the Valve locks. Slowly release the tool and bam you have money…

All done with this head..On to the next..

Nice and easy.. These things looks so damn good..

Both heads are complete.. On to the next item at hand..

Next we have the lifters and lifter try. Pretty simple install…

Just place the roller lifters in the tray,, easy as it sounds..

Now drop into place…

Good to go…

And use a 10mm and torque to 106 in-lb.

Next we have the 12-point ARP head bolts

Comes with all the bolts to mount your heads to the block..

First you will install all the bolts in their proper location and tighten with an allen wrench.

Next install the head gasket. Mine came with my long block so I did not have to buy one.. It was brand new in the bag still.

Next I placed the heads on the block. Then installed the ARP bolts. Now to touque these down I followed the pic above and torque all 10 15mm bolts to 22lb-ft.
Edit: Okay I was confusing some people about the torque specs on the ARP bolts. You just need to follow the ARP instructions that came with the box.

Again it is a lot of work but worth it..:thumbup:

Close up…

Next are the Hardened Chromoly Pushrods

Texas Speed Shop knows their stuff and so glad they are in TX.. Good stuff..
To install the pushrods just drop them in…

Next are Comp Pro Rocker Arms. I got these off of LS1tech..

These things are so sick..

They come with their own guide plates.. You just need to torque them down to 22lb-ft.

Next install the rocker arms, now you have to set these rocker arms which is a pain so I just had a friend that knew how to do it come by and knock them out.

There you have it, all rocker arms installed, looks sick..

Now I painted my Valve covers the same black crinkle.. I think it looks legit..

Well folks there you have it. Heads all bolted up..
Total price so far: $3,076.96
Next STAGE 1: Phase 4 ‘Front Drive Assembly & Accessories’ Coming soon….
- Final Fab Work: Exhaust & Intake - 29/07/2013
- 350zLS1 Build Getting Close - 12/05/2013
- It’s All About the Little Things - 02/11/2012


super beast!